
A poorly lit bathroom is more than an inconvenience; it’s a daily frustration. Shadows at the vanity make grooming a guessing game, and a dim shower feels more like a cave than a sanctuary. The solution often lies right above you, with a well-planned bathroom spotlights ceiling installation. By moving away from a single, central fixture to a network of recessed lights, you can create a space that’s not only brighter and more functional but also feels significantly more modern and spacious.
This approach gives you complete control, washing your space in clean, even light while directing focused beams exactly where you need them most. It’s a professional design strategy that’s surprisingly achievable.
At a Glance: Your Spotlight Strategy
- Achieve a Seamless Look: Recessed spotlights sit flush with the ceiling, eliminating visual clutter and making the room feel taller.
- Target Light with Precision: Differentiate between fixed downlights for general illumination and adjustable (gimbal) spotlights for task and accent lighting.
- Master Placement: Learn the key spacing rules for vanity, shower, and ambient lighting to eliminate shadows and create a balanced feel.
- Prioritize Safety with IP Ratings: Understand which IP rating (e.g., IP44, IP65) is required for fixtures in different bathroom zones to protect against moisture.
- Set the Mood: Choose the right color temperature (Kelvin) for a spa-like feel and the right brightness (lumens) for crystal-clear task visibility.
Beyond a Single Bulb: Why Ceiling Spotlights Are a Game-Changer
For decades, bathroom lighting meant a single flush-mount fixture in the middle of the ceiling and a vanity bar light. This often created a pool of light in the center and left corners and task areas in the dark. Modern bathroom design treats lighting as an integrated system, with spotlights as the foundational element.
The primary benefit is the ability to layer light. Instead of one source doing a poor job of everything, multiple spotlights work together to provide ambient (overall), task (focused), and accent (dramatic) illumination. This layered approach is the secret behind every high-end bathroom design. By creating a seamless, uncluttered ceiling plane, these fixtures make a small bathroom feel larger and a large bathroom feel cleaner and more intentional. It’s a core principle for creating a cohesive lighting plan, which is explored more broadly in our complete Bathroom Spotlights LED Guide.
The Core Decisions: Fixed vs. Adjustable Spotlights
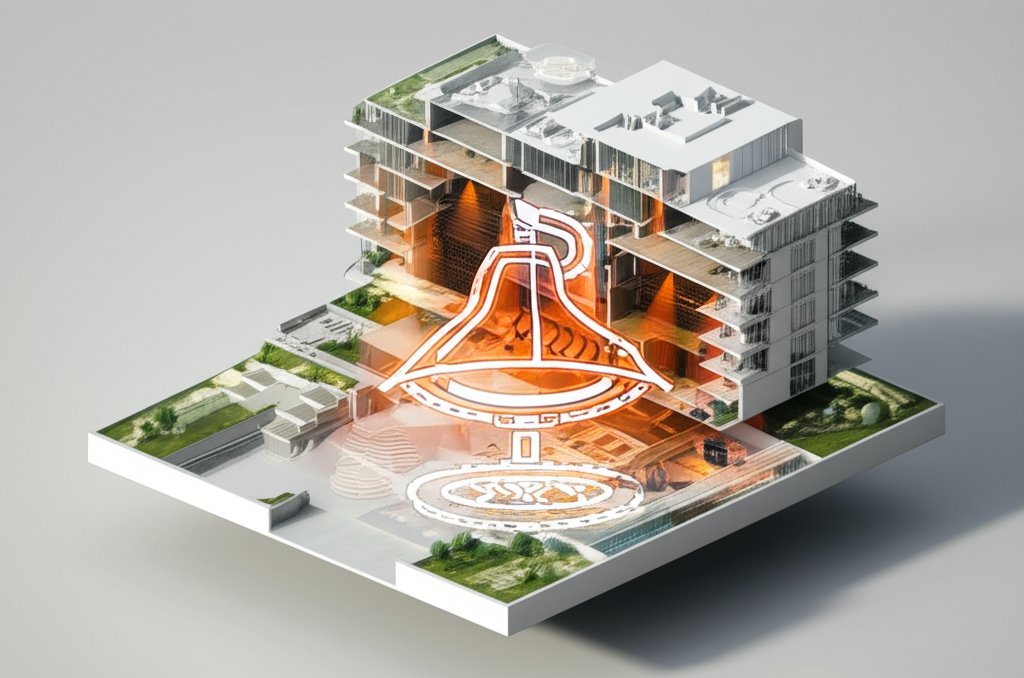
Your first major choice is between fixed and adjustable spotlights. Using a combination of both is often the most effective strategy.
Fixed Downlights: The Foundation of Your Ambient Light
Fixed recessed spotlights, or downlights, cast a straight, downward cone of light. Their job is to provide the main layer of ambient illumination that fills the room. Think of them as the workhorses of your lighting plan.
You’ll use them to create a grid that provides even, shadow-free coverage across the main floor space. Because they don’t tilt, their placement is critical to ensure there are no dark spots. They deliver a clean, minimalist aesthetic perfect for modern and contemporary bathrooms.
Adjustable (Gimbal) Trims: Your Precision Tools
Adjustable spotlights are your specialists. Their internal housing can be tilted and sometimes rotated, allowing you to direct the beam of light precisely. This makes them indispensable for task and accent lighting.
- Gimbal Trim: This is the most common adjustable type, allowing the lamp to pivot on an axis, typically up to 30-35 degrees. It’s perfect for “wall washing”—aiming the light at a tiled shower wall to reduce glare and highlight the material.
- Eyeball Trim: This type offers even more flexibility, often with a 360-degree rotation and a 30-degree tilt. Use an eyeball trim to spotlight a piece of art or aim light into a hard-to-reach storage nook.
Case Snippet: In a primary bathroom with a large, tiled walk-in shower, we installed three IP65-rated gimbal spotlights. Two were aimed at the back wall to graze the textured tile, creating beautiful shadows and making the space feel deeper. The third was aimed directly down over the shower controls and niche, providing essential task lighting without shining in the user’s eyes.
Your Bathroom Spotlight Placement Playbook
Where you place your lights is just as important as which lights you choose. A poor layout will create shadows and glare, defeating the purpose of your upgrade. Follow this three-step process.
Step 1: Map Out Your General (Ambient) Lighting
Start by planning the grid of fixed downlights that will illuminate the main open areas of the bathroom.
- Spacing Between Lights: As a general rule, space spotlights 4 to 6 feet apart.
- Distance From Walls: To prevent harsh shadows or “scalloping” on the walls, position the lights a distance from the wall that is about half your ceiling height. For an 8-foot ceiling, this means the first row of lights should be about 4 feet off the wall. This centers the cone of light more effectively in the room.
Step 2: Pinpoint Your Task Lighting Hotspots
Next, identify the areas where you perform specific tasks. These spots need dedicated, direct lighting.
- The Vanity: This is the most critical task area. Poor lighting here creates shadows under your eyes, nose, and chin. The best practice is to place two spotlights 18-24 inches from the wall, positioned over the counter’s edge. This ensures the light comes from slightly in front of you, illuminating your face evenly.
- The Shower or Tub: Safety and visibility are paramount. Always use at least one dedicated spotlight inside a shower enclosure. Ensure it is wet-rated (IP65 is recommended). Position it so it illuminates the controls and the floor, but avoid placing it directly overhead where you stand, which can be glaring.
Step 3: Add the ‘Wow’ with Accent Lighting
This is the final layer that adds personality. Use one or two adjustable spotlights to draw attention to architectural features or decor.
- Art or Decor: Aim a narrow-beam spotlight at a piece of art above the toilet.
- Textured Wall: Use a gimbal to “graze” a stone or tile feature wall, highlighting its texture.
- Storage Niche: Place a small spotlight inside a recessed shower niche to make it a design feature.
Decoding the Tech Specs: Lumens, Kelvins, and CRI
Choosing the right bulb technology is crucial for getting the results you want. With LED spotlights, you need to understand three key terms.
| Metric | What It Measures | Bathroom Recommendation | Why It Matters |
|---|---|---|---|
| Lumens (lm) | Brightness | 800-1,000 lm per bulb | Provides clear, functional light. Aim for a total of 50-75 lumens per square foot for ambient light and 75-100 for task areas. |
| Kelvins (K) | Color Temperature | 2700K – 3000K (Warm White) | Creates a relaxing, spa-like atmosphere that is flattering to skin tones. Ideal for general and accent lighting. |
| CRI | Color Rendering Index | 90+ (Excellent) | A high CRI (out of 100) ensures light reveals colors accurately, so makeup and clothing colors look the same as they do in natural daylight. |
| Pro Tip: For the ultimate in flexibility, install dimmers on all your bathroom spotlights. This allows you to have bright, energizing light (around 4000K if you use tunable LEDs) for your morning routine and soft, warm, relaxing light (2700K) for an evening bath—all from the same fixtures. |
Safety First: Understanding IP Ratings for Bathroom Zones
Because bathrooms are wet environments, electrical safety is non-negotiable. Building codes divide bathrooms into zones, and any light fixture placed in a specific zone must have an appropriate Ingress Protection (IP) rating. The rating is two digits: the first for protection against solids (like dust) and the second for protection against liquids.
- Zone 0: Inside the bathtub or shower basin. This area requires special low-voltage (12V max) fixtures with an IP67 rating, meaning they are fully immersion-proof.
- Zone 1: The area directly above the bath or shower, up to a height of 7.4 feet from the floor. Fixtures here need a minimum rating of IP44, but IP65 is strongly recommended. An IP65-rated spotlight is protected against jets of water from any direction, making it safe for use in a shower.
- Zone 2: The area extending 2 feet around the perimeter of the bath, shower, and sink. A minimum of IP44 is required here, protecting against splashes of water.
Any area outside these zones does not have a specific IP requirement, but using fixtures designed for damp locations is always a smart choice. Due to these strict requirements, it is highly recommended that a licensed electrician handle all bathroom spotlights ceiling installations.
Quick Answers to Common Spotlight Questions
Q: How many spotlights do I need for my bathroom?
A: This depends heavily on the room size, ceiling height, and layout. However, for a standard 5′ x 8′ bathroom, a common setup is four lights: one IP65-rated light in the shower, two lights over the vanity area for task lighting, and one in the center for general ambient fill. For larger bathrooms, you would add more to the central grid to maintain 4-6 foot spacing.
Q: Can I install bathroom ceiling spotlights myself?
A: Unless you are a licensed electrician or have extensive, verifiable experience with residential wiring, this is a job for a professional. Bathrooms are considered special locations under electrical codes due to the presence of water. An electrician will ensure everything is installed correctly, connected to a GFCI (Ground Fault Circuit Interrupter) circuit, and meets all local safety regulations.
Q: Do LED spotlights get hot?
A: High-quality LED spotlights produce far less heat than their halogen predecessors. However, the fixture and its driver do generate some warmth. It is crucial to use fixtures that are “IC-rated” (Insulation Contact) if they will be installed in a ceiling with insulation. An IC rating means the fixture is designed to be safely buried in insulation without creating a fire hazard.
Q: Are dimmers worth it for bathroom spotlights?
A: Absolutely. A dimmer switch is a relatively inexpensive addition that dramatically increases the functionality and feel of your bathroom. It allows you to have bright, crisp light when you need to see clearly and soft, ambient light when you want to relax. It’s one of the highest-impact upgrades you can make.
Your Quick-Start Plan
Ready to transform your bathroom lighting? Follow these steps to create a solid plan.
- Sketch Your Layout: On a piece of paper, draw a simple floor plan of your bathroom. Mark the locations of the vanity, sink, toilet, and shower/tub. Note your ceiling height.
- Define Your Lighting Zones: Using a different color, circle the key task areas (vanity, shower). Then, map out a general grid for the ambient lighting in the open floor space, following the placement rules.
- Choose Your Fixtures: Select a mix of fixed and adjustable LED spotlights. For each location, check the zone and choose a fixture with the appropriate IP rating (e.g., IP65 for the shower, IP44 for over the sink). Make sure they are IC-rated if you have an insulated ceiling.
- Specify the Specs: Decide on your preferred color temperature (3000K is a great all-around choice) and ensure the lumens are adequate for the space (aim for 800-1,000 lumens per light). Add dimmer switches to your shopping list.
- Consult a Professional: Take your sketch and fixture choices to a licensed electrician. They can verify your plan, suggest any necessary adjustments for safety and code compliance, and provide an accurate quote for the installation.
A well-designed bathroom spotlights ceiling system is a true upgrade. It elevates the room from a purely functional space to a stylish, safe, and comfortable retreat, adding lasting value to your home. By planning carefully and prioritizing safety, you can create a bright, beautiful bathroom that works perfectly for you.

- DIY Bathroom Mirror Frame Designs on a Budget - October 12, 2026
- Creative Bathroom Mirror Border Ideas for Every Style and Budget - October 11, 2026
- Bathroom Finishes That Handle Moisture and Look Great - October 10, 2026










