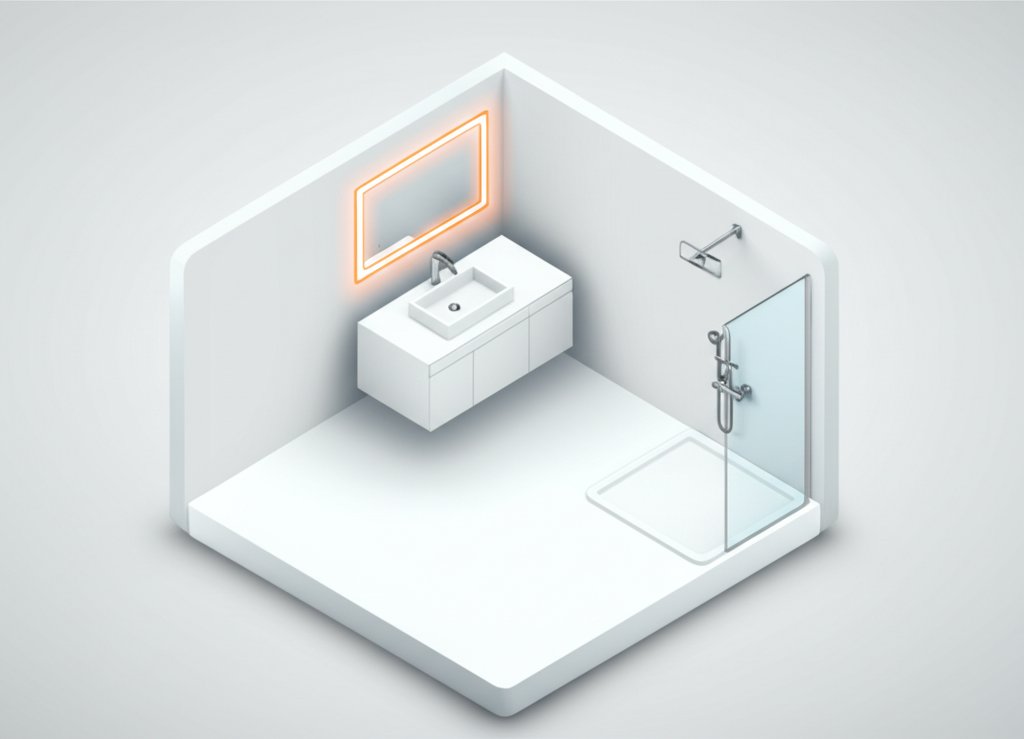
That frustrating moment in the mirror—shadows under your eyes, uneven light making simple tasks like shaving or applying makeup a guessing game. This is a common story, and the culprit is almost always poor lighting. Modern led bathroom lighting isn’t just a trend; it’s a permanent solution that replaces shadowy corners and harsh glare with clear, consistent, and highly efficient illumination. It transforms a purely functional room into a space that feels both practical and restorative.
Good lighting is about strategy, not just brightness. By understanding a few key principles, you can design a lighting scheme that banishes shadows, saves energy, and perfectly matches your style.
At a Glance: Your Bathroom Lighting Upgrade
- Layer Your Light: Learn the three essential layers—ambient, task, and accent—to create a balanced and functional space.
- Decode the Specs: Understand what lumens (brightness), Kelvin (color temperature), and CRI (color accuracy) mean for your bathroom.
- Choose Your Fixture Type: Decide between integrated LED fixtures for sleekness and longevity or LED bulbs for flexibility.
- Control is Key: Discover why dimmers and smart controls are non-negotiable for creating a versatile bathroom environment.
- Prioritize Safety: Know the difference between damp-rated and wet-rated fixtures and where to install them.
More Than a Single Bulb: A Layered Approach to Illumination
A single overhead light is the root cause of most bad bathroom lighting. It casts a downward cone of light, creating harsh shadows on your face. The professional solution is to think in layers, ensuring every part of the room and every activity is properly lit.
1. Ambient Lighting: The Foundation
This is the general, overall light that fills the room and allows you to navigate safely. It sets the base level of brightness. In many bathrooms, this comes from a central flush-mount or semi-flush-mount ceiling fixture. Recessed downlights (often called can lights) are another excellent, modern option for providing even, widespread ambient light.
- Mini-Case: For a long, narrow bathroom, four 4-inch recessed LED downlights spaced evenly down the ceiling provide far better ambient coverage than one central fixture, eliminating dark zones near the shower or toilet.
2. Task Lighting: The Workhorse
This is the most critical layer and the one people most often get wrong. Task lighting provides focused, shadow-free light for grooming activities at the vanity. This is where you eliminate the “shadow monster” in the mirror. The goal is to light your face, not the top of your head.
The best way to achieve this is with vertical fixtures or sconces on either side of the mirror, mounted at roughly eye level (about 60-66 inches from the floor). This cross-illumination cancels out shadows. If side-sconces aren’t possible due to space constraints, a horizontal fixture mounted above the mirror is the next best option. To make the best choice for this crucial area, our comprehensive Guide to LED Vanity Lighting provides a complete breakdown of fixture types and placement strategies.
3. Accent Lighting: The Finishing Touch
This layer adds depth and visual interest. It’s used to highlight architectural features or decorative elements. While not essential in every bathroom, it can elevate the design significantly.
- Practical Examples:
- A small, adjustable LED spotlight aimed at a piece of art.
- LED tape lighting installed under a floating vanity or along a cove ceiling for a soft, hotel-like glow.
- A wet-rated LED fixture inside a shower niche to highlight decorative tile.
Decoding the Numbers: Get the Light Right
Choosing LED bathroom lighting involves a few technical terms, but they’re simple once you understand what they mean for your space. Getting these right is the difference between a clinical, cold room and a warm, inviting one.
| Specification | What It Is | Bathroom Recommendation | Why It Matters |
|---|---|---|---|
| Lumens (lm) | Measures brightness (light output). | Vanity: 700-1600 lm total. Shower: 500-800 lm. Ambient: Varies by room size. | Provides enough light for tasks without being blinding. It’s a more accurate measure than watts. |
| Kelvin (K) | Measures light color temperature. | 2700K-3000K (Warm White): For a relaxing, spa-like feel. 3500K-4000K (Neutral White): Ideal for task areas like the vanity for accurate makeup application. | The color of the light dramatically impacts the mood and functionality of the space. Avoid anything over 5000K, which can feel sterile. |
| CRI | Color Rendering Index (0-100 scale). Measures how accurately light reveals colors. | 90+ CRI: Non-negotiable for vanity/task lighting. | A high CRI ensures that skin tones, makeup, and clothing colors appear natural and true, just as they would in daylight. |
| Think of it like this: Lumens are the quantity of light, Kelvin is the color of the light, and CRI is the quality of the light. For a bathroom, you need the right amount of high-quality, color-accurate light. |
Integrated LEDs vs. LED Bulbs: A Key Decision
When you shop for LED bathroom lighting, you’ll see two main categories: fixtures that have the LED diodes built directly into them (integrated) and fixtures that use standard screw-in LED bulbs.
Integrated LED Fixtures
These fixtures are designed with the LEDs as a permanent component. The light source and the housing are one seamless unit.
- Pros:
- Sleek, Minimalist Designs: Designers can create slim, unique shapes not possible with traditional bulbs.
- Extremely Long Lifespan: Often rated for 30,000 to 50,000 hours. In a typical bathroom, that’s 20-30 years of use.
- Optimized Performance: The entire system is engineered to work together, ensuring maximum efficiency and light quality.
- Cons:
- Non-Replaceable Source: If the LEDs fail (which is rare within their lifespan), the entire fixture must be replaced.
- Less Flexibility: You can’t change the “bulb” to get a different color temperature or brightness later on.
Fixtures Using LED Bulbs
These are the traditional fixtures you’re used to, but you simply screw in an LED bulb instead of an incandescent one.
- Pros:
- Ultimate Flexibility: You can easily swap bulbs to change brightness or color temperature whenever you want.
- Easy Replacement: If a bulb burns out, it’s a simple, inexpensive fix.
- Vast Style Selection: Works with countless traditional, transitional, and vintage fixture designs.
- Cons:
- Bulkier Designs: The fixture must accommodate the size and shape of a standard bulb.
- Potential for Incompatibility: Mismatched bulbs and dimmer switches can sometimes cause flickering or buzzing.
Decision Helper: If you love a clean, modern aesthetic and want a “set it and forget it” solution, an integrated fixture is an excellent choice. If you prefer traditional styles or value the ability to change your lighting characteristics down the road, a fixture that uses replaceable LED bulbs is a safer bet.
A Practical Playbook: Planning Your Lighting Upgrade
Ready to put this into action? Follow these steps for a well-lit bathroom.
- Map Your Layers: Sketch your bathroom layout. Mark where you need ambient light (ceiling), task light (vanity), and any potential accent lights (shower niche, artwork).
- Calculate Your Needs at the Vanity: This is the priority. Aim for around 75-100 lumens per square foot for your task area. For a 3-foot wide vanity, you’re looking for a fixture (or pair of fixtures) that provides about 1200-1600 total lumens.
- Select Your Color Temperature & CRI: For the vanity, lock in on 3000K to 4000K and a CRI of 90 or higher. For ambient and accent lighting, 2700K to 3000K creates a warm, inviting glow.
- Install Dimmers Everywhere: The ability to adjust brightness is transformative. A bright, energetic 100% for your morning routine can become a soft, relaxing 20% for an evening bath. Crucial Tip: Ensure your dimmer switch is compatible with LEDs (look for “C.L” or “ELV” dimmers).
- Check the Safety Rating: Any light inside a shower or directly over a tub must be wet-rated. Fixtures in the general bathroom area, including above the vanity, should be at least damp-rated to withstand humidity.
Quick Answers to Common Questions
A few concerns often come up when switching to LED bathroom lighting. Here are some straight answers.
Q: Is LED lighting too harsh or blue?
A: This is a holdover from early LEDs. Today, you have complete control. By choosing a Kelvin temperature of 2700K or 3000K, you can get warm, inviting light identical to traditional incandescent bulbs. The “harshness” people fear is usually from fixtures with a high Kelvin rating (5000K+) or poor placement that creates glare.
Q: What happens if an integrated LED fixture burns out?
A: It’s a valid concern, but the risk is low. A quality LED fixture rated for 50,000 hours, used 3 hours a day, will last over 45 years. The fixture itself will likely feel stylistically dated long before the LEDs fail. Think of it as a long-term appliance, not a disposable bulb.
Q: Are LED lights worth the higher upfront cost?
A: Absolutely. LEDs use up to 80% less energy than incandescent bulbs, which translates to direct savings on your electricity bill. When you factor in their 20+ year lifespan, you save significantly on the cost and hassle of buying and replacing bulbs every year or two.
Your First Step to a Better Bathroom
Don’t let analysis paralysis stop you. The single most impactful change you can make is upgrading your vanity lighting. It’s the light you use most intimately every single day. Start by evaluating your current setup: Do you have shadows on your face? Is the light too dim or too yellow?
If the answer is yes, your path is clear. Focus on adding high-quality task lighting around your mirror. Choose a fixture with a CRI of 90+ and a color temperature that helps you see clearly. By tackling this one area, you’ll solve 80% of your bathroom’s lighting problems and create a space that is infinitely more functional and enjoyable.

- DIY Bathroom Mirror Frame Designs on a Budget - October 12, 2026
- Creative Bathroom Mirror Border Ideas for Every Style and Budget - October 11, 2026
- Bathroom Finishes That Handle Moisture and Look Great - October 10, 2026










