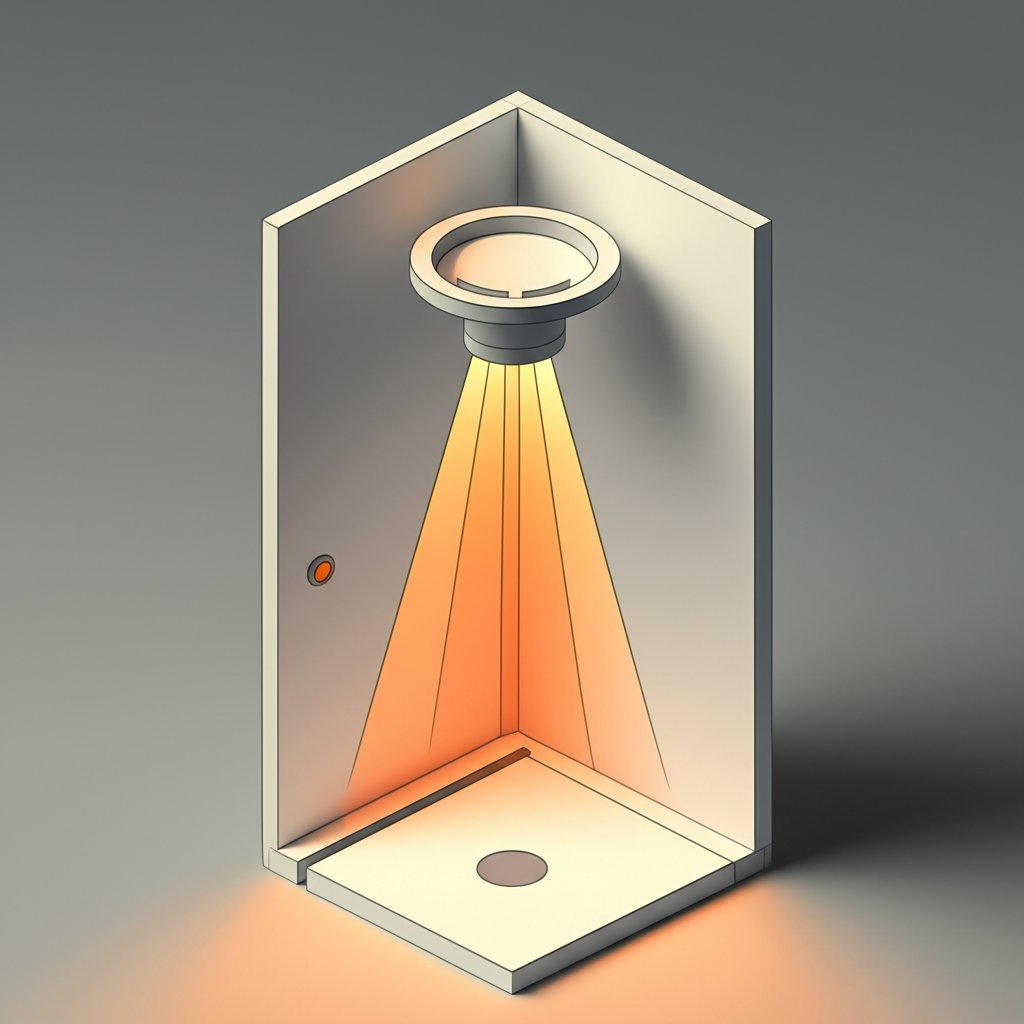
The difference between a functional bathroom and a truly luxurious one often comes down to the quality of light. Bulky, outdated fixtures can cast harsh shadows and make a space feel cramped. Modern bathroom recessed lighting, on the other hand, integrates seamlessly into the ceiling, creating a clean, architectural look while delivering targeted, high-quality illumination exactly where you need it—especially in the often-neglected shower.
Recessed lighting isn’t just about aesthetics; it’s a strategic design choice. It allows you to layer light, eliminate dark corners, and transform your daily routines. From applying makeup flawlessly at the vanity to enjoying a well-lit, spa-like shower, getting the details right is critical.
At a Glance: Your Bathroom Lighting Blueprint
By the end of this guide, you’ll have the expert knowledge to:
- Pinpoint the right type of recessed housing and trim for your specific bathroom project (remodel vs. new build).
- Master placement strategies for the shower, vanity, and general areas to eliminate shadows and create a high-end feel.
- Decode safety ratings (Wet vs. Damp) to ensure your installation is fully compliant and safe.
- Select the perfect light quality, including color temperature (Kelvin) and color rendering (CRI), for different tasks.
- Avoid common mistakes that lead to poor illumination or unsafe installations.
The Foundation: Choosing the Right Housing and Trim
Before you even think about light bulbs or placement, you need to understand the two core components of any recessed fixture: the housing and the trim. Getting this right from the start saves immense headaches later.
The housing is the actual fixture that is installed inside your ceiling. It contains all the wiring and the socket for the light source. The trim is the visible part you see from below, including the decorative ring and sometimes the lens or baffle.
Housing: The Unseen Workhorse
There are two primary decisions you’ll make when selecting a housing.
- New Construction vs. Remodel:
- New Construction Housing: These are designed to be installed before the drywall goes up. They have mounting bars that attach directly to the ceiling joists, making them very secure. Use these if you have open access to your ceiling framing.
- Remodel Housing: If your ceiling is already finished, this is your choice. These housings are designed to be installed from below through the hole you cut for the light. Clips or springs deploy inside the ceiling to hold the fixture firmly against the drywall.
- IC-Rated vs. Non-IC-Rated:
- IC-Rated (Insulation Contact): This is the most crucial safety feature for bathroom ceilings. An IC-rated housing is built to be in direct contact with insulation without creating a fire hazard. Given that bathroom ceilings are almost always insulated, you should always choose IC-rated housing.
- Non-IC-Rated: These fixtures require a minimum of 3 inches of clearance from any insulation. They are generally not recommended for modern residential applications, especially in a bathroom.
Trim: The Face of Your Lighting
The trim determines the final look and light distribution. For a bathroom, function and safety are paramount.
- Lensed/Covered Trim: This is non-negotiable for any light inside a shower or directly over a tub. A glass or polycarbonate lens creates a waterproof seal that protects the internal wiring and bulb from moisture and steam. These are part of what gives a fixture its “wet” rating.
- Baffle Trim: These have ridged interiors (usually black or white) designed to absorb excess light and reduce glare. They are excellent for general bathroom lighting outside the shower.
- Reflector Trim: With a smooth, mirror-like interior, these trims maximize light output, casting a bright, broad beam. They work well for general illumination in larger bathrooms but can sometimes produce more glare.
- Gimbal Trim: This type allows you to pivot and direct the light, making it perfect for highlighting architectural features like a tiled accent wall in the shower.
Mastering Placement: A Zone-by-Zone Strategy
Where you place your lights is just as important as which lights you choose. A poor layout can create a “cave effect” or cast unflattering shadows. Think of your bathroom in three distinct zones.
Zone 1: The Shower Enclosure
The single most impactful upgrade for shower functionality is a dedicated recessed light. Relying on ambient light from the rest of the bathroom leaves the shower dim and uninviting.
- The Golden Rule: Never place the light directly overhead in the center of the shower. This casts a shadow over your face and body.
- Optimal Placement: Position one 4-inch or 6-inch wet-rated recessed light about 12-18 inches off the wall where the showerhead is located. This angle illuminates the water stream and your body, making tasks like shaving much easier. It also creates a beautiful “wall-washing” effect that highlights your tile work.
- For Large Showers (over 4′ x 4′): Consider using two lights. Place them equidistant from the side walls and again, biased toward the showerhead wall rather than the dead center.
Case Snippet: The Shadow-Free Shave
A client was renovating their primary bathroom and complained about how dark their shower felt. They had a single flush-mount fixture outside the glass door. We installed a single 4-inch wet-rated LED recessed light, positioned off-center as described above. The client later remarked it was their single favorite feature of the entire remodel, completely eliminating the struggle of shaving in the shadows.
Zone 2: The Vanity
The vanity is a primary task area. The goal here is to provide bright, even light without creating the harsh, downward shadows that age your face.
- The Common Mistake: Placing a single recessed light directly over the sink. This creates deep shadows under your eyes, nose, and chin—terrible for applying makeup or grooming.
- The Pro-Solution (Layered Lighting): The best approach combines recessed lights with wall sconces. However, if you’re only using recessed fixtures, follow this layout:
- Place two smaller (3 or 4-inch) recessed lights over the vanity.
- Position them so they are slightly in front of the countertop edge, not directly over it.
- They should be spaced about 30-36 inches apart, roughly aligned with the edges of your sink or medicine cabinet. This setup creates overlapping cones of light that fill in shadows on your face.
Zone 3: General Ambient Lighting
For the open floor space, you need general illumination to make the room feel bright and clean.
- Create a Grid: Plan a simple grid of 4-inch or 6-inch recessed lights. A good rule of thumb is to divide the ceiling height by two. The result is the approximate spacing needed between fixtures. For an 8-foot ceiling, space lights about 4 feet apart.
- Factor in Other Lights: If you have strong vanity lighting and a shower light, you may only need one or two fixtures to fill the central area of a small-to-medium-sized bathroom.
Demystifying Light Quality: Kelvin, CRI, and Lumens
The “quality” of light has a massive impact on how your bathroom looks and feels. Modern LEDs give you incredible control over these factors.
| Light Quality Metric | What It Means | Bathroom Recommendation | Why It Matters |
|---|---|---|---|
| Color Temperature (Kelvin) | The color of the light, from warm yellow to cool blue. | 3000K to 4000K | 3000K offers a clean, neutral white that isn’t too sterile. 4000K provides a crisp, daylight-like quality, ideal for task-heavy vanity areas. Avoid 2700K (too yellow for tasks) and 5000K+ (can feel clinical and bluish). |
| Color Rendering Index (CRI) | How accurately the light reveals the true colors of objects, on a scale of 0-100. | 90+ CRI | This is critical for a bathroom. A high CRI ensures that skin tones, makeup, and clothing colors look accurate. A low CRI light can make you look washed out or sickly. |
| Brightness (Lumens) | The total amount of light output. | ~70-80 lumens per sq. ft. | For a 100 sq. ft. bathroom, you’d aim for a total of 7,000-8,000 lumens, distributed among all fixtures. The shower light should be at least 700-800 lumens on its own. |
The Critical Detail: Wet vs. Damp UL Ratings
Water and electricity don’t mix. The Underwriters Laboratories (UL) provides safety ratings for light fixtures based on their moisture resistance. Using the wrong fixture is a serious code violation and safety hazard.
- UL Wet-Rated: These fixtures are built to withstand direct contact with water. They are required for any light installed inside the shower enclosure or directly over a bathtub where a showerhead is present. They feature sealed trims and waterproof gaskets.
- UL Damp-Rated: These fixtures can handle moisture and condensation but not direct water spray. They are suitable for the general bathroom area, including over the vanity and in the middle of the room.
Important: Your entire bathroom should be protected by a Ground Fault Circuit Interrupter (GFCI) breaker or outlet. This device quickly shuts off power if it detects a fault, preventing electric shock.
Smart Features, Dimming, and Final Touches
Modern bathroom recessed lighting goes beyond just on/off functionality.
- Dimmers are Essential: Installing a dimmer switch is one of the easiest ways to add luxury. It allows you to have bright, task-oriented light in the morning and a soft, relaxing glow for a bath in the evening. Ensure your LED fixtures and your dimmer switch are compatible to avoid flickering.
- Tunable White & Smart Control: The next evolution in lighting is smart technology. Fixtures with “tunable white” allow you to adjust the color temperature on demand—from a warm 2700K for relaxing to a bright 4000K for getting ready. While a simple dimmer adds great value, the next level of control comes from integrated systems. For a deep dive into connected fixtures, our guide to Smart LED Shower Can Lights covers everything from app control to voice commands.
Quick Answers to Common Questions
Q: Can I really put a recessed light in my shower?
A: Absolutely, as long as it is a UL Wet-Rated fixture. This is a non-negotiable safety requirement. The lens and gasket are specifically designed to keep all moisture out of the electrical components.
Q: How many recessed lights do I need in my bathroom?
A: It depends on the size and layout. For a small 5’x8′ bathroom, you could use one wet-rated light in the shower, two 4-inch lights at the vanity, and one central 6-inch light for a total of four. For larger bathrooms, use the “ceiling height divided by two” rule for spacing general lights.
Q: Do I need an electrician to install bathroom recessed lighting?
A: Yes. Due to the presence of moisture and the complexities of local building codes (including GFCI requirements), it is highly recommended to hire a licensed electrician for installation.
Q: Are integrated LED recessed lights better than ones that use bulbs?
A: Integrated LED fixtures, where the light source is built-in, are often preferred for bathrooms. They are typically slimmer, fully sealed for better moisture protection, and have a very long lifespan (often 50,000 hours), meaning you won’t be changing a bulb in your shower ceiling for decades.
Your Path to a Perfectly Lit Bathroom
Transforming your bathroom with recessed lighting is a project that pays dividends in both style and daily function. By focusing on a zoned approach and prioritizing safety and light quality, you can create a space that feels bright, open, and effortlessly modern.
Start by sketching your bathroom layout and marking the three key zones: shower, vanity, and general space. Choose your fixtures based on the technical needs—IC-rated, wet/damp-rated, and high-CRI—and then apply the placement principles. This methodical approach ensures your new bathroom recessed lighting will be a feature you appreciate every single day.

- DIY Bathroom Mirror Frame Designs on a Budget - October 12, 2026
- Creative Bathroom Mirror Border Ideas for Every Style and Budget - October 11, 2026
- Bathroom Finishes That Handle Moisture and Look Great - October 10, 2026










