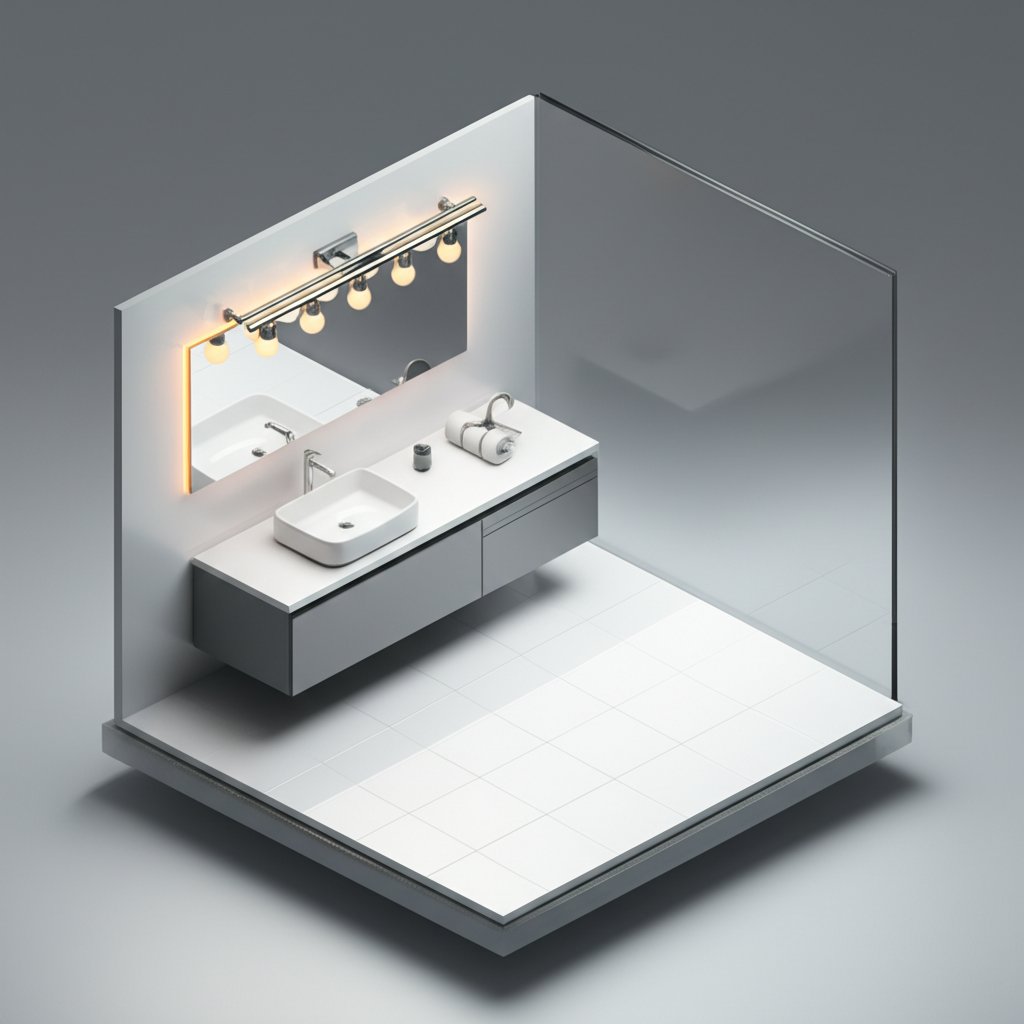
Choosing the final touches for a bathroom renovation can be paralyzing. You’ve agonized over tile, selected the perfect vanity, but the lighting feels like a final exam you didn’t study for. The wrong brushed nickel bath lighting fixtures can cast unflattering shadows or clash subtly with your other hardware, undermining all your hard work. The right ones, however, tie the entire room together, transforming a functional space into a personal sanctuary.
This isn’t just about screwing in a light bulb; it’s about strategic design. We’ll move beyond just picking a pretty fixture and dive into the practical details that make or break a bathroom’s lighting scheme.
At a Glance: Your Path to Perfect Lighting
- Match the Fixture to the Job: Learn whether a vanity bar, sconces, or a ceiling mount is right for your space.
- Master the “Nickel Nuance”: Understand why not all brushed nickel finishes are created equal and how to coordinate them perfectly.
- Layer for Luxury and Function: Discover the three-layer lighting method (ambient, task, accent) that professional designers use.
- Decode Sizing and Placement: Get simple, number-based rules for positioning your lights for a flawless, shadow-free reflection.
- Avoid Common Pitfalls: Sidestep frequent mistakes like choosing the wrong bulb color or installing fixtures that aren’t bathroom-safe.
Why Brushed Nickel Endures (And How to Get It Right)
Brushed nickel has remained a top choice in bathroom design for decades for good reason. Unlike polished chrome, its soft, textured finish beautifully hides fingerprints and water spots—a massive win in a high-traffic, humid environment. Its warm silver tone acts as a “design bridge,” connecting traditional and contemporary styles with ease.
But here’s the expert secret: the biggest mistake homeowners make is assuming all brushed nickel is identical.
Finishes can vary significantly between manufacturers. One brand’s “brushed nickel” might have warm, slightly golden undertones, while another’s leans cooler, almost like stainless steel. Holding a faucet sample next to a light fixture in the store can save you the headache of a mismatched look. If shopping online, order one fixture first to test it in your space before committing to a full set.
For a deeper dive into coordinating finishes and developing a cohesive look, our comprehensive Brushed Nickel Bathroom Lighting Guide provides an excellent high-level framework. This article, however, will focus on the tactical decisions you need to make right now.
Selecting the Right Type of Fixture for the Task

Your bathroom has different zones, and each requires a specific type of light. Choosing the right brushed nickel bath lighting fixtures is about matching the form to its function.
The Workhorse: Vanity Lights Above the Mirror
This is the most common bathroom lighting solution. Typically a horizontal bar with multiple lights, it’s mounted directly above the mirror to cast light down onto the sink area.
- Best For: Single vanities, powder rooms, and bathrooms where side-wall space for sconces is limited.
- Pro-Tip: Opt for fixtures where the shades point down or are translucent. Up-lighting (shades pointing to the ceiling) creates dramatic shadows on your face, which is terrible for shaving or applying makeup.
- Real-World Snippet: For a 48-inch vanity, a 3- or 4-light vanity bar that is approximately 30-36 inches wide creates balanced illumination without overwhelming the mirror.
The Pro Choice: Wall Sconces Beside the Mirror
Designers often prefer placing two vertical sconces on either side of a mirror. This setup provides cross-illumination, which eliminates shadows under the eyes, chin, and nose for the most flattering and accurate light possible.
- Best For: Master bathrooms and any vanity where grooming is a priority. Requires at least 4-6 inches of wall space on each side of the mirror.
- Placement is Key: The center of the sconce should be roughly at eye level, which is typically 60 to 66 inches from the finished floor. This ensures the light hits your face directly, not from above or below.
The Foundation: Ceiling and Pendant Lights
These fixtures provide the room’s general, or “ambient,” light. They fill the space and ensure you can navigate safely.
- Flush Mounts: These sit directly against the ceiling. They are the go-to choice for standard 8-foot ceilings, as they provide broad light without creating a head-bumping hazard.
- Pendants: A single brushed nickel pendant can add a dramatic, spa-like feel when hung over a freestanding tub (ensure it’s high enough not to be a hazard). This is best for bathrooms with ceilings 9 feet or higher.
The Specialist: Shower and Tub Lighting
Often overlooked, dedicated lighting in your shower or tub area is a game-changer for safety and ambiance. You can’t use just any fixture here.
- CRITICAL: Fixtures inside a shower stall must be “wet-rated.” Fixtures directly above a tub or in the general bathroom space should be “damp-rated.” This UL or ETL rating ensures they are built to withstand moisture and prevent electrical hazards. A small, wet-rated brushed nickel recessed light is a popular and safe choice for modern showers.
The Practical Playbook: Sizing, Spacing, and Color

Once you know the type of fixture you need, the details of implementation are what create a polished, professional result.
Sizing Your Vanity Light: A Simple Formula
An incorrectly sized vanity light looks like an afterthought. It can be either comically small or aggressively large.
- The Rule: Your vanity light fixture should be about 75% of the width of your vanity mirror(s). It should never be wider than the mirror.
Here’s a quick reference table:
| Mirror Width | Recommended Fixture Width | Typical Number of Lights |
| :— | :— | :— |
| 24 inches | 18 inches | 2-Light |
| 30-36 inches | 22-28 inches | 3-Light |
| 48 inches | 36 inches | 4-Light |
| 60+ inches (Double) | Two separate 2-light fixtures | 2-Light (one over each sink) |
The “Color” of Your Light: Why Kelvins Matter More Than Watts
You can pick the most beautiful brushed nickel fixture, but if you put the wrong bulb in it, the whole room will feel “off.” We’re not talking about colored bulbs; we’re talking about light temperature, measured in Kelvins (K).
- 2700K (Warm White): Very yellow and cozy, like a traditional incandescent bulb. Can make a modern bathroom feel dated and dingy.
- 3000K-3500K (Soft/Neutral White): The sweet spot for bathrooms. It’s a clean, bright white light that renders skin tones accurately without feeling sterile or blue.
- 4000K-5000K (Cool White/Daylight): Has a noticeable blue cast. While great for a workshop or garage, it can feel harsh and clinical in a bathroom, making your space feel like a hospital.
Actionable Advice: Look for LED bulbs marked as 3000K or “Bright White.” This single choice has a massive impact on how your tile, paint, and brushed nickel finishes look.
Quick Answers to Common Questions
Let’s tackle some of the most frequent questions and concerns about using brushed nickel fixtures.
Q: Is brushed nickel going out of style?
A: Absolutely not. While new finishes like matte black and champagne bronze are trending, brushed nickel has transitioned from a trend into a timeless classic. Its versatility ensures it remains a safe and stylish choice that won’t look dated in five years. Think of it as the “khakis” of bathroom finishes—it always works.
Q: Can I mix brushed nickel lighting with other metal finishes?
A: Yes, and it’s a very sophisticated look when done correctly. The key is to be intentional. A popular and successful combination is using brushed nickel for all the “water” elements (faucets, showerheads) and matte black for the “dry” elements (lighting, cabinet pulls, mirror frame). This creates a deliberate, layered design rather than a collection of random parts.
Q: What’s the real difference between brushed nickel and satin nickel?
A: The difference is subtle but distinct. Brushed nickel is created by treating the metal with a wire brush, creating very fine, visible lines in the finish. Satin nickel has a smoother, almost soft-to-the-touch finish achieved through a different process (often lacquering or electrolysis). Brushed nickel is slightly better at hiding scuffs due to its texture, but both are excellent, low-maintenance choices.
Q: How do I clean my brushed nickel bath lighting fixtures?
A: It’s incredibly simple. Avoid harsh chemical cleaners or abrasive pads, which can damage the finish. A soft, damp cloth (microfiber is perfect) is usually all you need. For tougher grime or water spots, use a bit of mild dish soap mixed with water, then rinse with a clean damp cloth and dry thoroughly to prevent new spots from forming.
Your Quick-Start Framework for the Final Decision
Feeling ready to choose? Don’t get overwhelmed by the options. Follow this simple, step-by-step process to select the perfect brushed nickel bath lighting fixtures with confidence.
- Measure Your Space First. Get the exact width of your vanity and mirror. Note your ceiling height. These numbers dictate the size and type of fixture you can choose.
- Define Your Lighting Layers. Where is grooming most important? That’s where you need dedicated task lighting (sconces or a vanity bar). The rest of the room needs general ambient light (a ceiling fixture). Do you have a feature to highlight, like a tiled niche? Consider an accent light.
- Coordinate Your Finish. Take a sample of your faucet or other hardware with you when you shop. Hold it directly next to the light fixtures to ensure the nickel undertones are compatible.
- Select Your Bulb Temperature. Commit to buying 3000K LED bulbs. This ensures the light is clean, bright, and flattering, allowing the true colors of your bathroom design to shine through.
By focusing on these practical steps—function, placement, scale, and color—you move past simply “decorating” and into the realm of intentional design. Your brushed nickel fixtures will not only look beautiful but will also perform flawlessly, making your daily routines easier and more enjoyable for years to come.

- DIY Bathroom Mirror Frame Designs on a Budget - October 12, 2026
- Creative Bathroom Mirror Border Ideas for Every Style and Budget - October 11, 2026
- Bathroom Finishes That Handle Moisture and Look Great - October 10, 2026










