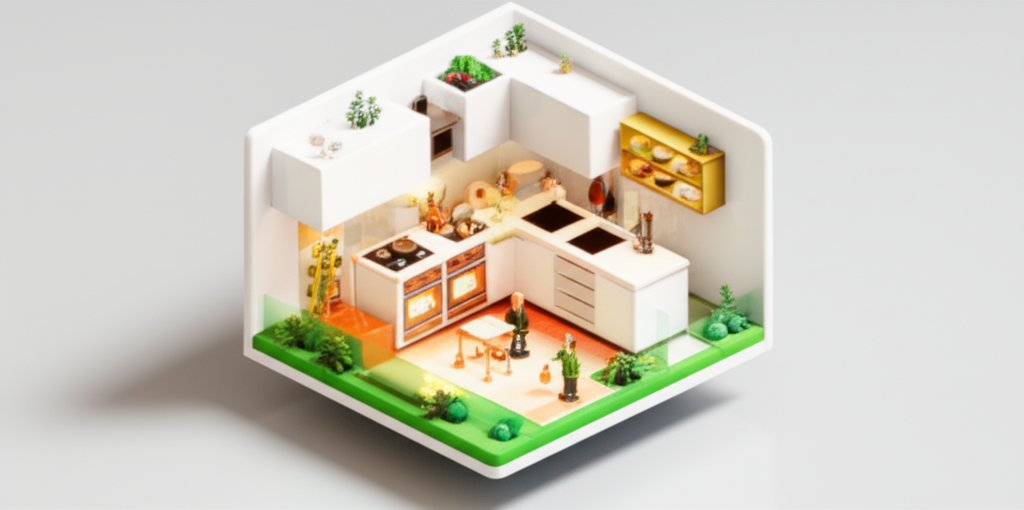
Tired of trekking across the house for a late-night snack or longing for a convenient cooking space in your basement apartment? A diy kitchenette might be the perfect solution. More than just a mini-kitchen, it’s about maximizing efficiency and creating a functional cooking area in a limited space.
At a glance:
- A kitchenette is a compact kitchen, ideal for small spaces like apartments, offices, or basements.
- Key components include a sink, small refrigerator, microwave, and often a cooktop.
- DIY kitchenettes can save money compared to full kitchen renovations.
- Careful planning and space-saving strategies are essential for a successful DIY kitchenette.
- Consider your cooking needs and available space when choosing appliances and storage solutions.
What Exactly Is a Kitchenette?
Think of a kitchenette as a streamlined kitchen, designed to pack essential cooking functions into a small footprint. Typically, it will occupy a single wall or corner, offering a more basic setup compared to a full-sized kitchen that usually takes up an entire room. You’ll usually find elements like a microwave, a small refrigerator, and a sink. Depending on the size, some might even include a cooktop with one or two burners.
The beauty of a kitchenette lies in its space-saving design and efficient functionality. You can prepare, cook, and store food without being hindered by limited space. This makes it a popular choice for rentals, hotels, studio apartments, or even as an addition to a home office or basement.
Kitchenette vs. Full Kitchen: Key Differences
It’s easy to see how a kitchenette differs from a full-sized kitchen. Here’s a quick comparison:
| Elements/Factors | Kitchen | Kitchenette |
|---|---|---|
| Size | Full-size that can take up an entire room | Limited to one wall and a corner (most) |
| Functionality | Full functionality (you can cook whatever you want) | Limited functionality (limited to basic cooking needs) |
| Foot traffic | More space to cook and entertain people | Can only accommodate 1 or 2 persons at a time |
| Cost | More (utility bills and maintenance) | Less (utility bills and maintenance) |
| Cleaning & Maint. | More difficult and time-consuming | Easier to accomplish with a much lesser area and appliances |
| Storage Space | More storage space depending on how big the kitchen is | Limited to 1 or 2 cabinets |
Why Choose a DIY Kitchenette?
Building your own kitchenette offers several advantages:
- Cost-Effective: Operates at a lower cost, particularly regarding utilities. Fewer appliances also mean less chance of malfunctions.
- Space-Saving: Ideal for small apartments, basements, or home offices.
- Customizable: You can tailor the design and features to your specific needs and preferences.
- Increased Home Value: Adding a kitchenette can potentially increase your home’s value, making it an attractive feature for potential buyers.
Potential Downsides to Consider
Before diving in, it’s worth acknowledging some potential drawbacks:
- Limited Cooking Capabilities: With less storage for tools, utensils, and even dry goods, you might find your culinary creativity somewhat restricted.
- Solo Cooking: Less space makes it difficult to cook or prepare meals with others.
- Appliance Limitations: Most kitchenettes don’t have stoves or ovens, so you need to weigh your cooking needs.
Planning Your DIY Kitchenette: Key Considerations
The success of your diy kitchenette hinges on careful planning. Here are some essential factors to consider before you start:
1. Space Assessment: Measure Twice, Cut Once
Before you even dream of stainless steel or granite countertops, accurately measure your space. This includes wall length, ceiling height, and the location of existing plumbing and electrical outlets. This information is crucial for:
- Determining the size and layout of your kitchenette.
- Choosing the right size appliances and cabinets.
- Avoiding costly rerouting of plumbing or electrical lines.
2. Defining Your Needs and Priorities
What kind of cooking will you be doing in your kitchenette? Will it primarily be for preparing simple meals, heating leftovers, or brewing coffee? Your answers will determine which appliances are essential and which can be skipped.
Essential Kitchenette Items:
- Microwave
- Sink
- Small Refrigerator
- Storage (cabinets or shelves)
Optional Kitchenette Items: - Hot Plate/Cooktop
- Food Steamer
- Electric Kettle
- Toaster
- Instant Pot
Remember that counter space is a premium. It’s better to have adequate preparation space than to cram in appliances you rarely use.
3. Budgeting for Your DIY Kitchenette
Kitchenettes can range in price from $3,000 to $45,000, depending on various factors such as size, materials, appliances, and labor costs.
Typical Cost Breakdown:
- Appliances: $2,325 – $6,650 (microwave, toaster oven, mini-refrigerator, cooktop)
- Cabinets & Countertops: $100 – $1,200 per linear foot
- Electrical: $2,000 – $4,000 (wiring and labor)
- Plumbing: $100 – $1,000 (depending on location and access)
- Permit Costs: Up to $1,000 (depending on local regulations)
Pro Tip: Plan your project to coincide with major retail sales events like Memorial Day, Labor Day, or Black Friday to save on cabinets and appliances.
4. Design and Layout: Maximizing Every Inch
The design and layout of your kitchenette are crucial for maximizing space and functionality. Consider these space-saving strategies:
- Vertical Storage: Utilize wall-mounted shelves and cabinets to store dishes, utensils, and food items.
- Cabinet Inserts: Use cabinet inserts to organize utensils, pans, and pots efficiently.
- Foldable Furniture: Install foldable tables and chairs that can be folded away when not in use.
- Magnetic Knife Rack: Mount a magnetic knife rack above the sink to keep knives within reach without taking up counter space.
- Mobile Kitchen Island: Consider a storage cart or peninsula that can double as extra counter space or a dining area.
- Good Lighting: Maximize lighting to open up the space and create a warm, inviting atmosphere.
Feeling overwhelmed? A Sunday stroll through Ikea’s kitchen showroom with some pastries is the perfect way to get inspired. You can also use free online tools to input your measurements and experiment with different layouts. For example, if you are considering a particular cabinet design, it is important to check that all the cabinets are LEVEL as you place and fasten them.
Building Your DIY Kitchenette: A Step-by-Step Guide
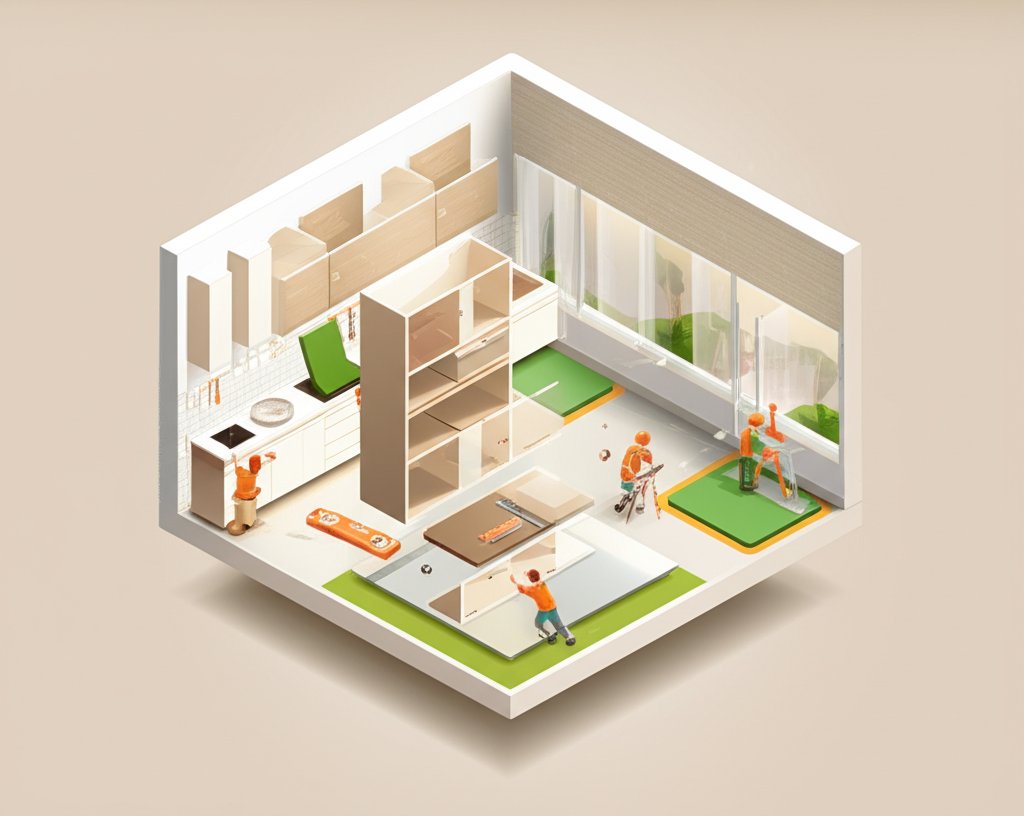
Ready to roll up your sleeves? Here’s a general outline of the steps involved in building your diy kitchenette:
1. Demolition and Preparation (if needed)
If you’re converting an existing space, you may need to remove old fixtures, flooring, or drywall. Ensure the area is clean, level, and ready for construction.
2. Plumbing and Electrical Work
This step is best left to licensed professionals. They can ensure that your kitchenette has proper water supply, drainage, and electrical connections. When designing your kitchen, choose a layout that takes advantage of pre-existing plumbing (and electrical outlets) so you are not stuck hiring a plumber to do costly rerouting.
3. Cabinet Installation
Install base cabinets first, ensuring they are level and securely fastened to the wall studs. Then, install upper cabinets.
DIY Cabinet Installation Tips:
- Find the studs in the wall and fasten the cabinets against the wall using wood screws.
- Secure the cabinets together using wood screws.
- Make sure all the cabinets are LEVEL as you place and fasten them.
4. Countertop Installation
Once the cabinets are in place, measure and cut the countertop to the desired length. If you’re installing a sink, cut out the area for the sink using a jigsaw.
DIY Countertop Installation Tips:
- Measure the countertop at least twice before cutting.
- Use painter’s tape to protect the finished surface when cutting.
- Apply a generous amount of Liquid Nails to glue the countertop to the base cabinets.
5. Sink Installation
Install the sink according to the manufacturer’s instructions. Usually, all-in-one sinks come with directions so follow them closely as each sink may be different. If you’ve chosen to include a sink in your plans, you can install this after the glued countertop has dried. Installing a kitchen sink is a little tricky and you can either do it before or after you finalize the countertop.
6. Appliance Installation
Install your refrigerator, microwave, cooktop, and other appliances according to the manufacturer’s instructions.
7. Backsplash Installation (Optional)
A backsplash can protect your walls from splashes and spills, and it can also add a decorative touch to your kitchenette.
8. Finishing Touches
Add any remaining hardware, such as cabinet pulls and knobs. Install shelves, lighting, and other accessories to complete your diy kitchenette.
DIY Kitchenette Ideas: Inspiration for Your Project
Need some inspiration? Here are a few popular kitchenette styles:
- Prefab Kitchenette: Features pre-fabricated furniture (often made of wood, metal, or concrete).
- Basement Kitchenette: Designed for a basement space, often to accommodate someone living in the basement.
- Small Kitchenette: A compact kitchen with strategic storage solutions.
- Office Kitchenette: A simple setup with a sink, coffee maker, and basic storage.
- Outdoor Kitchenette: Located outdoors, often featuring a grill and countertop space. An outdoor kitchenette showcases an elegant stainless grill with wooden countertops where you can do your meal preparation.
- Studio Kitchenette: Maximizes space in a studio apartment.
- Modular Kitchenette: Features furniture arranged in units to optimize space and functionality.
- Portable Kitchenette: Components can be taken with you, from the sink to the countertops.
Common Questions About Kitchenettes
Here are some frequently asked questions about kitchenettes:
Is there a standard size for kitchenettes?
No, there is no standard size. A kitchenette is typically a single wall and a corner, whereas a full-size kitchen occupies an entire room.
Can you cook in a kitchenette?
Yes, you can cook in a kitchenette, although the range of cooking options may be limited by the size and appliances available. Some small kitchenettes have a microwave and a hot plate, while larger ones may have a two-burner or four-burner cooktop.
Do kitchenettes add value to homes?
Yes, kitchenettes can add value to homes.
From Dream to Reality: Taking the Next Step
Building a diy kitchenette can seem daunting, but with careful planning, a bit of elbow grease, and a healthy dose of creativity, you can create a functional and stylish cooking space that perfectly meets your needs. Follow these tips and you’ll be cooking up a storm in your new kitchenette in no time!
Considering building a kitchenette but unsure where to start? Build Your Own Kitchenette provides a detailed guide with practical tips.

- DIY Bathroom Mirror Frame Designs on a Budget - October 12, 2026
- Creative Bathroom Mirror Border Ideas for Every Style and Budget - October 11, 2026
- Bathroom Finishes That Handle Moisture and Look Great - October 10, 2026










