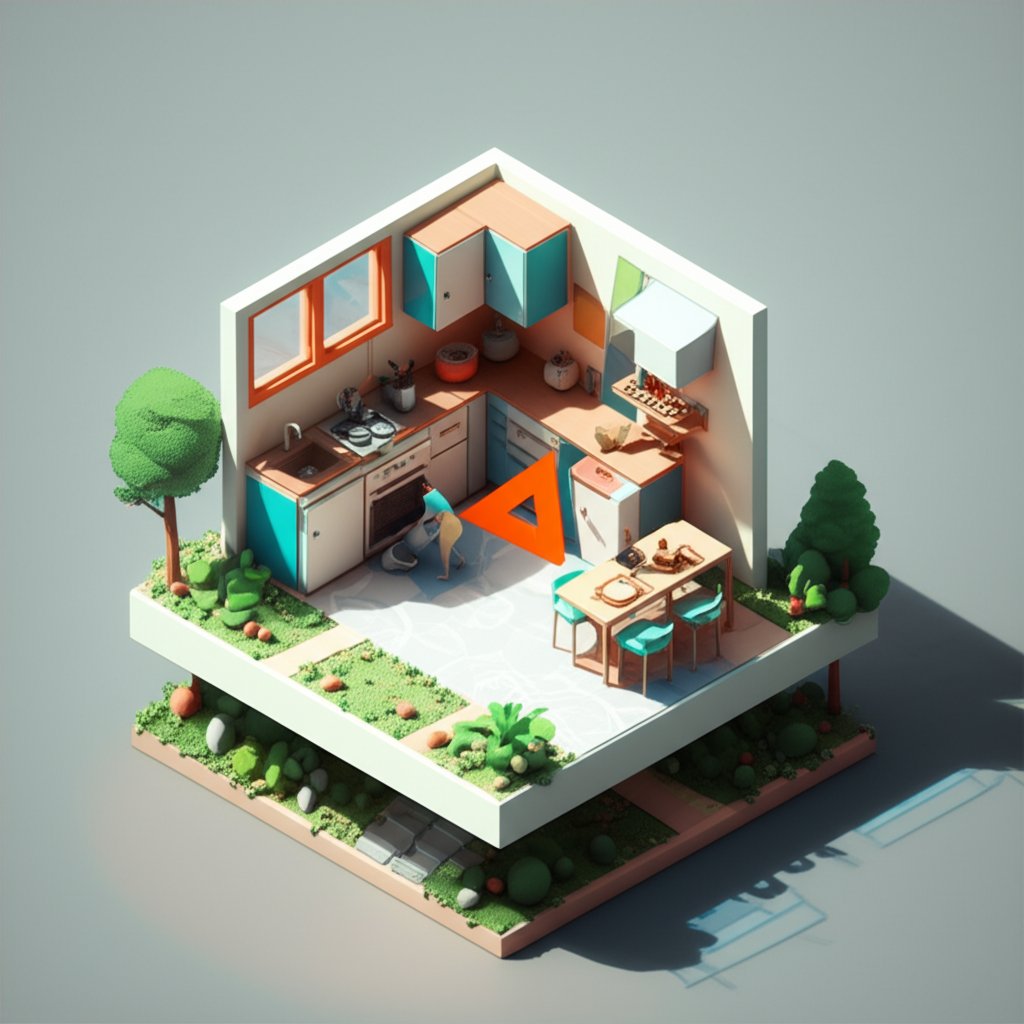
Ever stared at an oddly shaped alcove in your basement or a cramped corner in your garage, dreaming of a functional kitchenette but feeling overwhelmed? It’s a common challenge. The secret lies in smart planning and understanding key construction techniques. By focusing on quality materials and precise execution, even a small or awkwardly shaped space can transform into a highly functional kitchenette.
At a glance:
- Learn the crucial role of premium materials like birch plywood for durability and longevity.
- Master the step-by-step process of building base cabinets, from planning to painting.
- Discover expert tips for leveling, plumbing, and electrical work that ensure a professional finish.
- Understand how to avoid common DIY mistakes like forgetting the toe-kick.
- Get clarity on budgeting and time considerations for your kitchenette build.
Planning is Paramount: Measure Twice, Build Once
Before even thinking about lumber, meticulous planning prevents costly errors. The first step in learning how to build a kitchenette is to understand your space.
- Measure precisely: Width, depth, and height are your holy trinity. Note every inch, paying special attention to any irregularities in the walls or floor.
- Sketch your design: Create a simple drawing with dimensions. Include the desired location of the sink, mini-fridge, and any open shelving. This helps visualize the final result and identify potential challenges early on.
- Appliance specs are critical: Don’t make assumptions about appliance sizes! Download the spec sheets for your chosen mini-fridge, microwave (if applicable), and sink. These sheets provide exact rough opening dimensions, ensuring a proper fit during installation.
- Locate studs: Use a stud finder to mark all wall studs. This is crucial for securely anchoring cabinets and shelves later.
- Consider existing utilities: Try to design around existing plumbing and electrical to minimize costly rerouting.
Example: Imagine you want a 60-inch kitchenette. After measuring, you realize the space is only 58 inches wide at floor level but widens to 61 inches higher up. This highlights the need to shim the cabinets to create a level and flush surface.
Building Solid Foundations: Cabinet Carcass Construction
The foundation of any great kitchenette is well-built cabinetry. Investing in quality materials and taking your time during construction are essential.
- Plywood Power: Opt for 3/4″ birch plywood over cheaper alternatives like MDF or particleboard. As highlighted in Here are a few options, depending on the surrounding context: * Compact Kitchenette Design Ideas * DIY Kitchenette Design Guide * Design a Compact Kitchenette * Kitchenette Ideas and Inspiration, plywood offers superior structural integrity, screw-holding ability, and moisture resistance – crucial in a kitchenette setting.
- Cut with Precision: Use a circular saw or table saw to cut the plywood pieces for the cabinet boxes. For a standard 36″ countertop height (including a 1.5″ countertop), aim for cabinet boxes that are 34.5″ tall. Standard base cabinet depth is 24″.
- Pocket Hole Assembly: Employ a Kreg Jig to drill pocket holes along the edges of the bottom and side pieces. Apply wood glue to the seams and drive 1 1/4″ pocket hole screws to assemble the boxes. Clamps are your best friend here – use them to ensure everything is square and tight.
- Back Brace Reinforcement: Add a back brace to enhance stability and provide a secure anchor point for attaching the cabinets to the wall.
Case Snippet: One DIYer used MDF for the cabinet boxes to save money. Within a year, the material began to sag under the weight of the countertop, requiring a complete rebuild. The lesson? Invest in quality materials from the start.
Face Frames: Adding Style and Structure
Face frames elevate the look of your cabinets, covering raw plywood edges and creating a finished appearance.
- Miter Saw Magic: Use a miter saw to cut 1×3 pine boards for clean, 90-degree angles.
- Hidden Pocket Holes: Assemble the frames on a flat surface, using wood glue and pocket holes drilled on the back side to conceal them.
- Secure Attachment: Apply wood glue to the plywood edges, align the frame, clamp it tightly, and drive screws from the inside of the cabinet into the back of the face frame for a permanent bond.
Installation and Leveling: The Make-or-Break Step

Leveling is non-negotiable. A perfectly level base ensures proper countertop support and prevents issues with doors and drawers (if you decide to add them later).
- Shim Strategically: Place the first cabinet and use a level and shims to achieve perfect levelness, both front-to-back and side-to-side.
- Anchor to Studs: Drive 3″ screws through the cabinet’s back brace into the wall studs.
- Connect the Cabinets: Place the second cabinet next to the first, clamp them together to ensure flush face frames, and repeat the leveling process. Secure the cabinets together by driving screws through the side panels.
Best practice: Don’t rush this crucial stage. Take your time to ensure each cabinet is perfectly level before moving on.
Finishing Touch: Painting, Sealing, and Caulking
A professional finish can make all the difference.
- Wood Filler First: Conceal nail holes and seams on the face frames with wood filler.
- Sanding Smooth: Sand everything patiently, proceeding from 120-grit to 220-grit sandpaper for a glass-like surface.
- Priming Power: Apply a shellac-based primer like Zinsser B-I-N. This seals the wood, blocks stains, and provides a smooth base for paint. Lightly sand with 220-grit paper after the primer dries.
- Cabinet-Grade Paint: Use high-quality cabinet paint like Benjamin Moore ADVANCE. Apply two thin coats, allowing each coat to dry completely and lightly sanding between coats.
- Butcher Block Brilliance: Cut the butcher block countertop to size, leaving an overhang of approximately one inch on the front and any exposed sides. Secure it to the cabinets with construction adhesive.
- Waterproof the Wood: Protect butcher block with multiple thin coats of water-based polyurethane or hardwax oil (Rubio Monocoat or Osmo Polyx-Oil).
The “Paint Before You Install” Trick: For open shelving, pre-paint in your garage to avoid messy taping and achieve a flawless finish.
Plumbing & Electrical: When to Call the Pros
While DIY enthusiasm is admirable, some tasks are best left to licensed professionals.
- Electrical Work: A dedicated circuit for the mini-fridge and microwave is typically required. This involves working with your home’s electrical panel and requires expertise to avoid hazards. Hire a licensed electrician.
- Plumbing Connections: Proper drainage and venting are essential to prevent leaks and sewer gas issues. A plumber can ensure your new sink is connected safely and efficiently.
Practical Playbook: Tips and Techniques
- Calculate Costs: Budget an extra 15% beyond material and appliance costs for unexpected needs.
- Toe-Kick Triumph: Build your cabinet boxes on a separate 2×4 base set back 3-4 inches to create a toe-kick.
- Caulk Like a Pro: Use paintable caulk to seal seams where cabinets meet the wall and countertop, creating a clean, professional look.
- Salvage Smart: Consider repurposing old cabinets or materials to save money and reduce waste.
Quick Answers: Kitchenette FAQs
Q: How much does it cost to build a kitchenette?
A: Costs vary significantly based on materials and appliances. Expect to spend $800 – $1500. Plywood and lumber can amount to $300-$500, while a mini-fridge and faucet might add another $300-$600.
Q: How long does it take to build a kitchenette?
A: Plan for at least 3 days of build time. Prep work (planning, measuring, material sourcing) typically takes 3-4 hours.
Q: What is the best countertop material for a kitchenette?
A: Butcher block provides warmth and can be refinished, while laminate offers affordability and durability. Consider your budget and aesthetic preferences.
Q: Do I need a permit to build a kitchenette?
A: Regulations vary. Contact your local building department to determine if permits are required for plumbing or electrical work.
From Nook to Notable: Your Kitchenette Awaits
Transforming an awkward space into a functional kitchenette is achievable with careful planning, quality materials, and attention to detail. By following these guidelines and leveraging professional help when needed, you can create a compact cooking space that enhances your home’s functionality and value. Your dreams of that perfect basement bar or garage hangout are now within reach!

- DIY Bathroom Mirror Frame Designs on a Budget - October 12, 2026
- Creative Bathroom Mirror Border Ideas for Every Style and Budget - October 11, 2026
- Bathroom Finishes That Handle Moisture and Look Great - October 10, 2026










