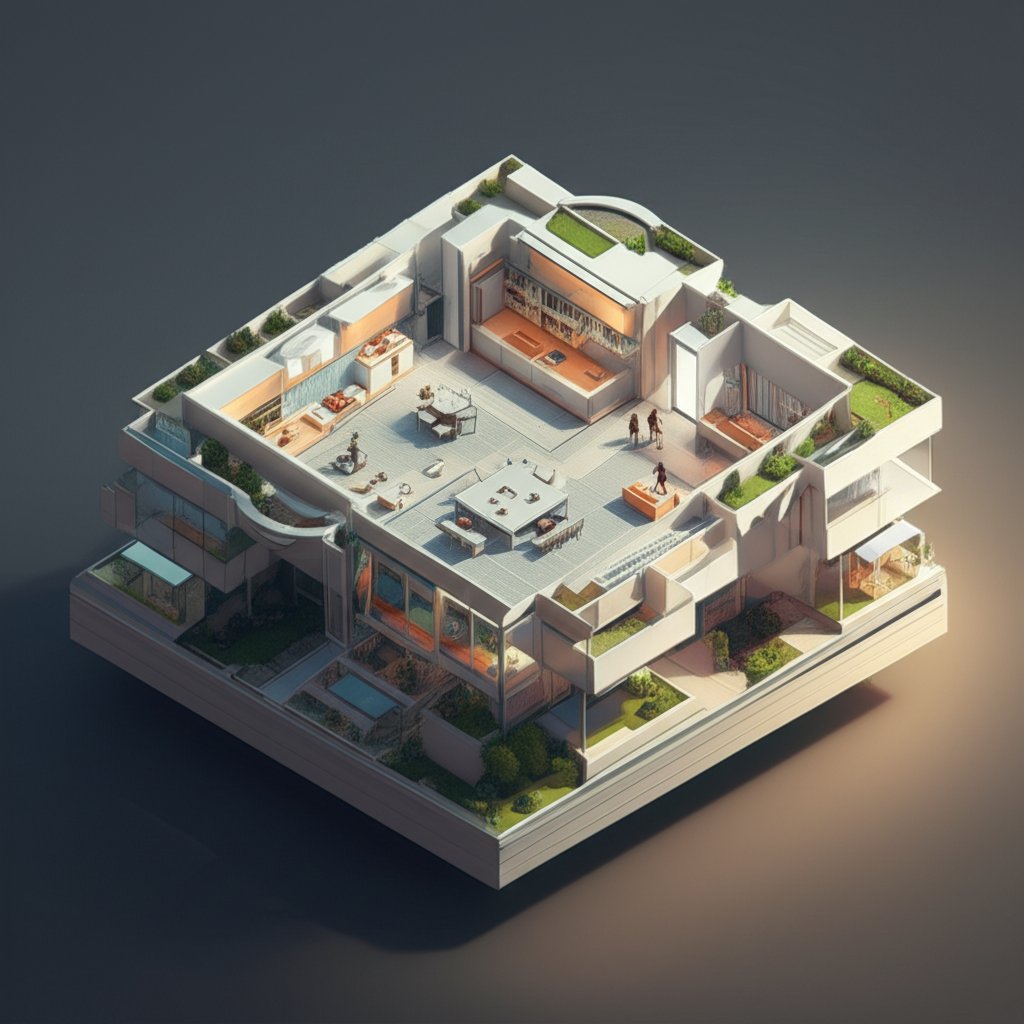
Stuck staring at your current kitchen, dreaming of a remodel but unsure where to even begin? The secret weapon of every successful kitchen renovation is a well-thought-out kitchen layout drawing. It’s your chance to experiment, avoid costly mistakes, and ensure your dream kitchen becomes a reality.
At a glance:
- Learn essential tools and software for kitchen layout drawing.
- Master the step-by-step process of creating a scaled kitchen floor plan.
- Discover how to apply the “work triangle” principle for optimal kitchen efficiency.
- Understand kitchen elevation views and perspective drawing techniques.
- Get quick answers to common kitchen layout drawing questions.
The Power of the Plan: Why You Need a Kitchen Layout Drawing
Before you even think about picking out backsplash tiles, a detailed kitchen layout drawing is non-negotiable. It’s more than just a pretty picture; it’s a functional blueprint. This is where you work out spacing, appliance placement, and traffic flow. A good kitchen floor plan drawing guide is the foundation for a successful project. Taking the time upfront saves headaches, money, and potential renovation regrets down the line.
Tools of the Trade: From Pencil to Pixel
Whether you’re a traditionalist with a fondness for paper or a tech-savvy designer, having the right tools is critical. Let’s break down the essentials for both hand-drawing and digital design.
Essential Tools for Hand-Drawing:
- Graph Paper: Provides a grid for accurate scaling.
- Pencils (various grades): Varying lead hardness for light sketching to dark, defined lines.
- Eraser: A good quality eraser is your best friend for corrections.
- Ruler and T-Square: Ensures straight lines and accurate measurements.
- Measuring Tape: For precise room measurements.
- Architectural Scale Ruler: Converts real-world measurements to scale on paper (e.g., ¼ inch = 1 foot).
- Compass: For drawing arcs and circles or specialized design elements.
Popular Software for Digital Kitchen Design: - SketchUp: User-friendly 3D modeling software with a free version. Great for visualization.
- AutoCAD: Industry-standard CAD software for detailed, precise drawings.
- Chief Architect: Specifically designed for architectural and interior design, with features tailored for kitchens.
- Planner 5D: Easy-to-use online planner with a wide range of objects and furniture.
- RoomSketcher: Another user-friendly option for creating 2D and 3D floor plans quickly.
The Core Steps to a Solid Kitchen Layout Drawing
No matter which method you choose, the fundamental steps for creating a kitchen layout drawing are the same:
Step 1: Measure with Meticulous Precision
Accuracy is absolutely paramount. Even small errors can snowball into bigger problems later.
- Walls: Measure each wall at the floor, at eye level, and near the ceiling, noting any irregularities (out-of-square corners, etc.).
- Doors and Windows: Measure the width, height, and trim of each opening, as well as the distance from the corners of the room. Note the swing direction of doors.
- Fixed Elements: Record the size and position of any existing elements you plan to keep, such as plumbing stacks, electrical outlets, gas lines, and bulkheads.
Step 2: Create Your Basic Kitchen Floor Plan
Using your measurements, sketch the outline of your kitchen on graph paper or within your chosen software. Choose a scale that fits your space. For example, ¼ inch = 1 foot is common. - Hand-Drawing: Use a ruler and pencil to create the room outline, marking the position of doors, windows, and fixed elements.
- Software: Use the software’s wall tools to create the walls and insert doors and windows in their correct locations.
Step 3: Design for Efficiency: The Work Triangle
The “work triangle” connects the three primary work areas: the sink, refrigerator, and cooktop. The idea is to minimize steps between these points. - The sum of the three sides of the triangle should ideally be between 13 and 26 feet. A triangle that’s too small feels cramped, while one that’s too large creates unnecessary walking.
- Example: Imagine a galley kitchen. Placing the sink directly across from the refrigerator, with the cooktop slightly further down on the sink side, creates a tight and efficient work triangle.
Step 4: Appliance and Fixture Placement: Form Follows Function
Choose your appliances (refrigerator, cooktop, oven, dishwasher, microwave) and fixtures (sink, faucet) and add them to your plan, keeping these tips in mind: - Refrigerator: Ideally near the entrance of the kitchen for easy access when grabbing a quick snack.
- Cooktop: Requires adequate ventilation (range hood) and counter space on either side for prepping and staging ingredients.
- Sink: Near the dishwasher for easy cleanup. Consider the placement of electrical outlets for small appliances nearby.
Step 5: Cabinetry and Storage: Maximize Every Inch
Choose the type and style of cabinets you want to use and add them to your plan. Consider upper and lower cabinets, as well as specialty storage solutions. - Base Cabinets: Sit on the floor and provide countertop space. Standard depth is 24 inches.
- Wall Cabinets: Mounted on the wall above the countertop. Standard depth is 12 inches. Leave space for under cabinet lighting.
- Tall Cabinets: Floor-to-ceiling cabinets for pantry storage or built-in ovens.
Step 6: Kitchen Elevation Views: Seeing the Vertical
These views show the vertical arrangement of cabinets, appliances, and fixtures on each wall. They’re crucial for visualizing the height and placement of everything. - Draw each wall of the kitchen as a separate elevation. Show the height of cabinets, the location of shelves, and the placement of decorative elements.
- Pro Tip: Use different line weights to differentiate between elements. For example, use a thicker line for the cabinet outline and a thinner line for the shelves inside.
Step 7: Adding Details and Annotations: The Finishing Touches
This is where your personality shines through. Add details like countertop materials, backsplash designs, lighting fixtures, and hardware. - Annotate your drawing with dimensions, notes, and specifications. For example, “Granite Countertop – ‘Black Pearl’ Finish” or “Pendant Lighting – Model #XYZ123.”
- Example: If you’re planning a tile backsplash, draw the pattern and specify the tile size and color.
Step 8: Refine, Review, and Finalize
Review your kitchen design drawing and make any necessary adjustments. - Ensure that the layout is functional, the dimensions are accurate, and the design meets your needs and preferences.
- Checklist:
- Adequate counter space and storage.
- Efficient work triangle.
- Proper ventilation.
- Compliance with building codes (electrical, plumbing).
Taking it to the Next Level: Perspective and Rendering
Once you have your basic floor plan and elevations, you can explore perspective drawings and rendering techniques to create a more realistic and visually appealing representation of your design.
Understanding Perspective
Perspective drawing creates the illusion of depth on a flat surface.
- Horizon Line: Represents the eye level of the viewer.
- Vanishing Points: Points on the horizon line where parallel lines converge.
- One-Point Perspective: Used when objects face the viewer directly.
- Two-Point Perspective: Used when objects are viewed at an angle.
Quick Guide to Creating a Kitchen Perspective Drawing:
- Draw the Horizon Line: Establish the eye level.
- Establish Vanishing Points: Determine the vanishing points based on the perspective you want to create.
- Draw the Basic Room Shape: Sketch the outline of the room in perspective, using the vanishing points to guide your lines.
- Add Cabinets and Appliances: Draw the cabinets, appliances, and fixtures in perspective, ensuring they align with the vanishing points.
- Add Details and Shading: Add details like countertops, backsplashes, and lighting fixtures. Use shading to create depth and realism.
Kitchen Rendering Techniques:
Rendering involves adding color, texture, and lighting to your drawings to create a more realistic and visually appealing representation of your design.
- Manual Rendering Techniques:
- Pencil Shading: Use different grades of pencils to create shading and highlights.
- Color Pencils: Add color to your drawings using color pencils.
- Watercolor: Use watercolor paints to create soft, translucent effects.
- Markers: Use markers to create bold, vibrant colors.
- Digital Rendering Techniques:
- Software Rendering: Use the rendering features in your design software to create photorealistic images of your kitchen.
- Image Editing: Use image editing software like Photoshop to enhance your renderings.
Blending Design and Architecture
Architectural kitchen design involves integrating the kitchen seamlessly into the overall architecture of the home.
Key Considerations:
- Natural Light: Maximize natural light by incorporating large windows or skylights.
- Ventilation: Ensure adequate ventilation to remove cooking odors and smoke.
- Flow of Space: Design the kitchen to flow seamlessly into adjacent living spaces.
From Drawing to Reality: The Kitchen Design Blueprint
A kitchen design blueprint is a detailed technical drawing that provides all the information needed to construct the kitchen.
Elements of a Kitchen Design Blueprint:
- Floor Plan: Shows the layout of the kitchen, including the location of walls, doors, windows, and fixtures.
- Elevation Views: Shows the vertical arrangement of cabinets, appliances, and fixtures on each wall.
- Sections: Shows a cutaway view of the kitchen, revealing the construction details.
- Specifications: Provides detailed information about materials, finishes, and appliances.
Style Guide: Finding Your Kitchen Aesthetic
Different kitchen design styles evoke different feelings and cater to different preferences.
- Traditional: Characterized by ornate details, rich colors, and classic materials like wood and granite.
- Modern: Emphasizes clean lines, minimalist design, and sleek materials like stainless steel and glass.
- Contemporary: A blend of modern and traditional elements, incorporating current trends and innovative materials.
- Farmhouse: Features rustic elements, natural materials, and a warm, inviting atmosphere.
Quick Answers to Common Kitchen Layout Questions
- What is the best scale to use for a kitchen design drawing? A common scale is ¼ inch = 1 foot, but choose a scale that allows you to fit your entire kitchen on the paper or within your software.
- Can I use free software for kitchen design drawing? Yes, several free software options are available, such as SketchUp Free, Planner 5D, and RoomSketcher Free.
- How do I measure for cabinets accurately? Measure the height, width, and depth of the space where the cabinets will be installed. Account for any obstructions like pipes or electrical boxes.
- What is the work triangle, and why is it important? The work triangle connects the sink, refrigerator, and cooktop. It is important because it helps create an efficient and functional kitchen layout by minimizing travel distance between these key areas.
Ready to Sketch? Your Kitchen Awaits!
Creating a kitchen layout drawing doesn’t have to be intimidating. By following these steps and utilizing the right tools, you can transform your kitchen dreams into a tangible plan. Start by accurately measuring your space and experimenting with different layouts. Don’t be afraid to revise and refine your design until it perfectly suits your needs and style. For even more guidance and inspiration, check out Easy kitchen layout guide.
Your Quick-Start Checklist:
- Grab your tools: Graph paper, pencil, ruler, and measuring tape (or your preferred software).
- Measure meticulously: Walls, doors, windows, and existing fixtures.
- Sketch your floor plan: To scale!
- Plan your work triangle: Optimize for efficiency.
- Place appliances and cabinets: Consider storage and workflow.
- Add details and annotations: Countertops, backsplashes, and lighting.
- Review and refine: Make sure it all works for YOU.
Now go forth and design the kitchen of your dreams!

- DIY Bathroom Mirror Frame Designs on a Budget - October 12, 2026
- Creative Bathroom Mirror Border Ideas for Every Style and Budget - October 11, 2026
- Bathroom Finishes That Handle Moisture and Look Great - October 10, 2026










