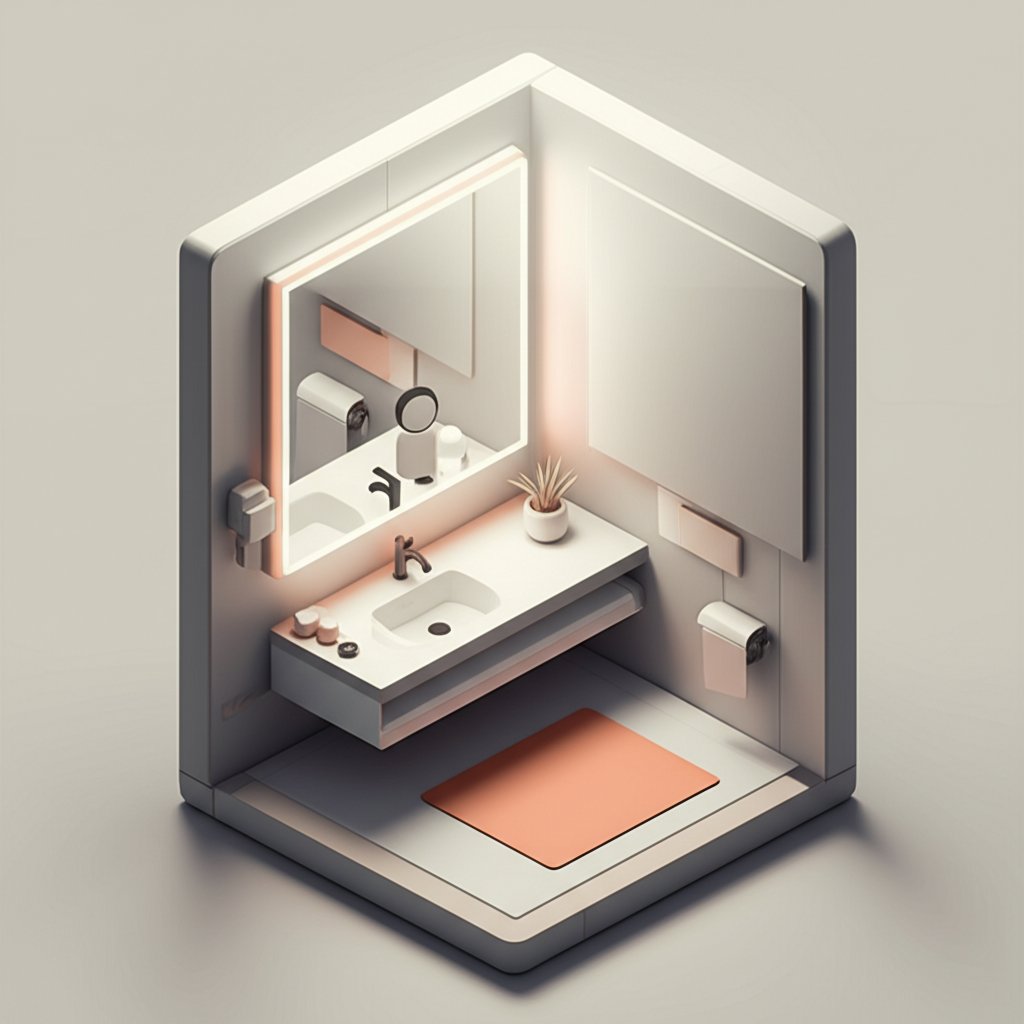
Ever stare into your bathroom mirror and wonder who that tired-looking person is? You’re not alone. Before you blame a restless night, look up. That single, harsh light fixture directly overhead is likely the real culprit, casting unflattering shadows that can make anyone look exhausted. Finding the best lighting for bathroom spaces isn’t just about style; it’s about creating a functional, flattering environment that helps you start and end your day feeling confident.
This isn’t about complicated electrical theory. It’s a straightforward guide to transforming your bathroom from a shadow-filled cave into a well-lit sanctuary. We’ll break down the simple, pro-level strategies for choosing and placing lights so you can see yourself in the best possible light—literally.
At a Glance: Your Bathroom Lighting Cheat Sheet
Pressed for time? Here are the most important takeaways for a perfectly lit bathroom:
- Layer Your Light: Don’t rely on one overhead fixture. Combine three types of lighting: general (ambient), focused (task), and decorative (accent).
- Flank, Don’t Haunt: The best vanity lighting comes from the sides of the mirror, not directly above. Place vertical fixtures or sconces at eye level to eliminate face-altering shadows.
- See True Colors: Choose light bulbs with a high Color Rendering Index (CRI) of 90 or more. This ensures your skin tone and makeup look the same in the bathroom as they do in natural daylight.
- Mind Your Lumens: For tasks like shaving or applying makeup, you need bright, focused light. Aim for fixtures around your vanity that provide 700 to 800 lumens each.
- Safety First: Any light inside a shower or near a tub must be “wet-rated.” All bathroom outlets should have GFCI protection. When in doubt, call a licensed electrician.
Why Most Bathroom Lighting Fails (And How to Fix It)
The most common mistake in bathroom design is treating lighting as an afterthought. Builders often install a single, central ceiling fixture or a cheap “Hollywood” light bar above the mirror. The result? A room that’s simultaneously glaring and poorly lit.
This “top-down” lighting is the enemy of a good reflection. It casts deep shadows under your eyes, nose, and chin, making it impossible to apply makeup evenly, get a clean shave, or even just feel good about how you look.
The solution is a design principle professionals live by: layered lighting. Instead of one light trying to do everything, you use multiple light sources, each with a specific job. This approach eliminates shadows, provides clarity where you need it, and adds a touch of spa-like ambiance.
The Three-Layer System Pros Swear By
A beautifully and functionally lit bathroom balances three distinct layers of light. Think of it like building an outfit: you have your main clothes, your shoes for a specific activity, and your accessories.
1. Ambient Lighting: The Foundation
This is the general, overall illumination that fills the room and allows you to navigate safely. It’s your primary light source, but it’s not meant for detailed tasks.
- What it is: The main light that turns on when you flip the switch.
- Common fixtures: Recessed lights (can lights), flush-mount or semi-flush-mount ceiling fixtures.
- Goal: Provide a comfortable, even base layer of light throughout the entire bathroom.
2. Task Lighting: The Workhorse
This is the most critical layer, and it’s where most bathrooms go wrong. Task lighting provides bright, focused, shadow-free light for grooming activities at the vanity.
- What it is: The light you use for shaving, tweezing, applying makeup, or inserting contact lenses.
- Common fixtures: Wall sconces on either side of the mirror, pendants, or a high-quality, long-bar light mounted above the mirror.
- Goal: Illuminate your face evenly without creating shadows.
3. Accent Lighting: The Finishing Touch
This is the “jewelry” of your lighting plan. Accent lighting is used to highlight architectural features or decorative elements, adding depth and visual interest.
- What it is: A subtle light source that draws attention to something specific.
- Common fixtures: A small recessed light aimed at artwork, tape lighting under a floating vanity, or a chic light inside a glass-fronted cabinet.
- Goal: Create mood and draw the eye to a beautiful detail.
In a small powder room, you might only need ambient and task lighting. But for a primary or standard bathroom, a thoughtful combination of all three is the gold standard.
Getting the Brightness Just Right (It’s All About Lumens)
Forget everything you know about watts. Watts measure energy consumption, not brightness. The number you really need to care about is lumens, which is the actual measure of a light bulb’s brightness.
As a rule of thumb, bathrooms need between 20 and 70 lumens per square foot, depending on the area.
- Ambient Lighting: Aim for around 20 lumens per square foot.
- Task Lighting (Vanity): This area needs much more. Target 40 to 50 lumens per square foot.
- Accent Lighting: This is more subjective, but around 30 lumens per square foot is a good starting point.
Quick Calculation:
To figure out your needs, multiply the square footage of your functional area by the recommended lumens.Example: Your vanity area is 4 feet wide by 2 feet deep (8 sq. ft.).
8 sq. ft. x 50 lumens/sq. ft. = 400 lumens needed.This is a minimum target. Most experts recommend a total of 1,500-1,600 lumens for the vanity area, often split between two fixtures of 700-800 lumens each. This ensures brilliant, shadow-free light for grooming.
Where You Put Lights Matters More Than You Think
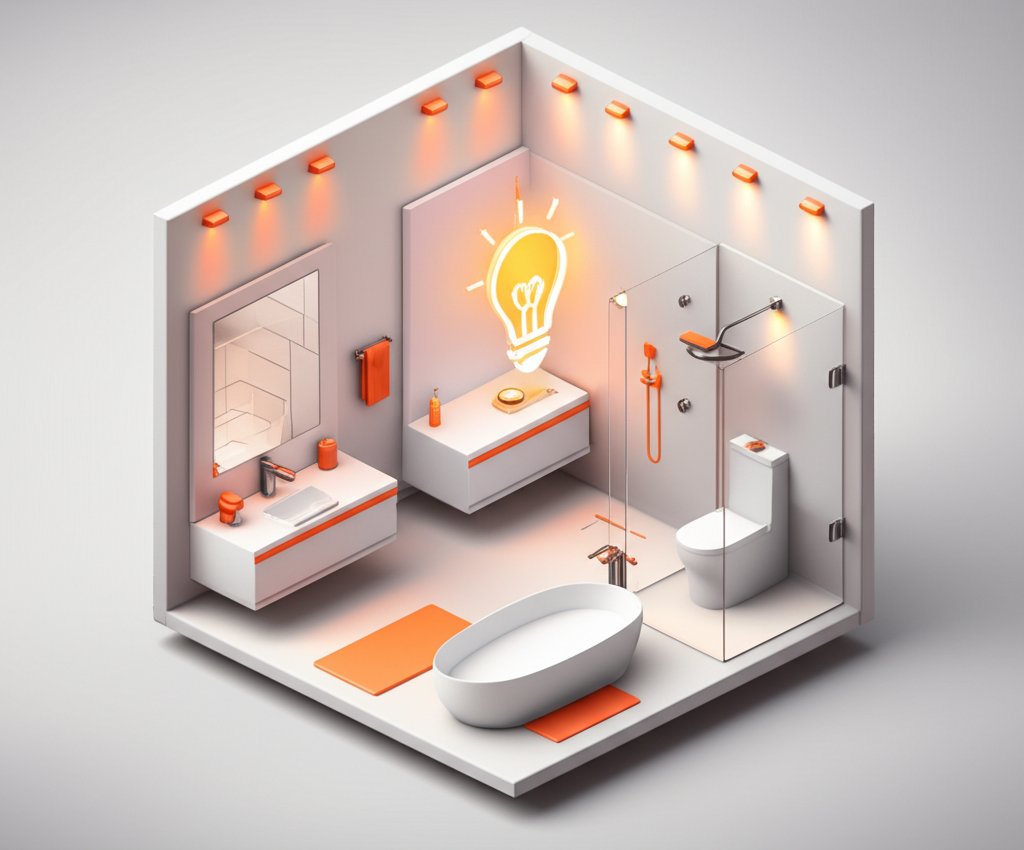
You can buy the most expensive fixtures in the world, but if you put them in the wrong place, you’ll still be fighting shadows. Placement is everything.
The Vanity: Your Face’s Best Friend
The golden rule for vanity lighting is cross-illumination. You want light to hit your face evenly from both sides, which cancels out shadows.
The Ideal Setup: Vertical Sconces
Mounting vertical fixtures or wall sconces on either side of your mirror is the hands-down best approach.
- Height: Mount them so the center of the light source is roughly at eye level, which is about 60 inches from the finished floor for most people.
- Spacing: Place them 36 to 40 inches apart, flanking the mirror. This ensures the light beams cross and illuminate your entire face.
The Good Alternative: The Over-Mirror Light
If your bathroom layout makes side-sconces impossible (e.g., a wall-to-wall mirror or tight space), a single fixture above the mirror can work—if you choose the right one. - Length: The fixture should be at least 24 inches long (and ideally almost as wide as the mirror) to spread light evenly.
- Height: Mount it 75 to 80 inches above the floor.
The Pitfall to Avoid: Never, ever install a single recessed light directly over the sink. This is the primary cause of the dreaded “haunted house” effect, casting deep, unflattering shadows on your face.
Lighting the Shower and Tub
The shower is often a dark corner of the bathroom. A single, dedicated light can make it feel safer and more spa-like.
- Requirement: Any light fixture installed inside a shower or directly over a bathtub must be wet-rated. This is a non-negotiable safety code requirement, as the fixture is built to withstand direct exposure to water.
- Placement: Place one recessed, wet-rated fixture in the center of the shower ceiling.
Decoding the Light Bulb Box: A Cheat Sheet
The bulb you choose is just as important as the fixture. The right bulb can make colors pop and set the perfect mood. Here’s what to look for.
Color Temperature (Kelvin): Warm Glow or Cool Daylight?
Color temperature is measured in Kelvin (K) and describes how “warm” (yellowish) or “cool” (bluish) the light appears.
- 2000K – 3000K (Warm White): This is the cozy, inviting glow of a traditional incandescent bulb. It’s perfect for ambient lighting or for creating a relaxing, spa-like atmosphere for a bath.
- 3000K – 4000K (Neutral White): A great all-purpose choice for general bathroom lighting. It’s bright and clean without feeling sterile.
- 5000K (Cool White/Daylight): This crisp, bright light is the closest to natural daylight. It’s the absolute best choice for task lighting at the vanity, as it provides the highest color accuracy for makeup application.
Color Rendering Index (CRI): See Colors as They Truly Are
Have you ever put on makeup in the bathroom, only to walk outside and realize your foundation is the wrong shade? That’s a low CRI problem.
CRI is a scale from 0 to 100 that measures how accurately a light source reveals the true colors of objects. For a bathroom, a CRI of 90 or higher is essential. This ensures that your skin tones, hair color, and makeup look accurate. Most high-quality LEDs today offer a CRI of 90+, so be sure to check the packaging.
LEDs: The Undisputed Champion of Bathroom Bulbs
Light-Emitting Diode (LED) bulbs are the best choice for every fixture in your bathroom.
- Energy-Efficient: They use up to 80% less energy than old incandescent bulbs.
- Long-Lasting: The average LED bulb lasts 15,000 to 25,000 hours, meaning you might not have to change it for over a decade.
- Versatile: They are available in every color temperature, CRI rating, and shape you could possibly need.
Most bathroom vanities use a G25 (globe) shape bulb, while ceiling fixtures often use a standard A19 shape. Both typically use an E26 base, which is the standard screw-in base in the US.
Upgrades That Make a Big Difference
Once you’ve mastered the basics, a few simple tech upgrades can elevate your bathroom lighting from great to perfect.
Install Dimmers. Period.
A dimmer switch is the single most valuable addition to any lighting plan. It allows you to adjust the brightness to suit the time of day and the task at hand. You can have bright, daylight-quality light for getting ready in the morning and a soft, warm glow for a relaxing bath at night—all from the same fixtures. Just ensure your dimmer switch is compatible with your LED bulbs.
Consider Smart Lighting
Smart bulbs take flexibility to the next level. They allow you to change not only the brightness but also the color temperature using a smartphone app or voice commands. You can program a “Morning” scene that’s bright and cool (5000K) and an “Evening” scene that’s dim and warm (2700K).
Safety Isn’t a Suggestion, It’s a Requirement
Water and electricity are a dangerous combination, so safety is paramount in the bathroom.
- Ratings Matter: Fixtures near water need specific ratings. A damp-rated fixture can handle humidity (like one over a sink), but a wet-rated fixture is required for any light inside a shower or tub enclosure that will be directly hit with water.
- GFCI Protection: All outlets in a bathroom must be protected by a Ground Fault Circuit Interrupter (GFCI). This device quickly shuts off power if it detects a fault, preventing a dangerous electric shock.
- Hire a Professional: Unless you are an experienced electrician, all electrical work should be performed by a licensed professional. They will ensure your installation is safe, functional, and up to local building codes.
Your Bathroom Lighting Blueprint
Ready to transform your space? Don’t get overwhelmed. Follow this simple plan, and you’ll be on your way to a better, brighter bathroom.
- Assess Your Layers: Identify what you have and what you need. Do you have task lighting? Is your ambient light sufficient?
- Plan Your Placement: Measure your vanity area. Determine the ideal height and spacing for side sconces or the correct length and height for an over-mirror fixture.
- Calculate Your Lumens: Figure out the total brightness you need for your vanity area (aim for at least 1,500 lumens total) and the rest of the room.
- Choose Your Bulbs Wisely: Commit to using only high-CRI (90+) LED bulbs. Select a cooler temperature (~5000K) for the vanity and a warmer one (2700K-3000K) for ambient light.
- Find Your Style: Once you have the technical plan, you can explore a gallery of Best Bathroom Lighting Ideas to find fixtures that match your aesthetic.
- Install Safely: Add dimmers to your shopping list and call a certified electrician to bring your vision to life.
By treating your bathroom lighting with the same care you give your tile or countertops, you can create a space that’s not only beautiful and functional but also helps you look and feel your best, every single day.

- DIY Bathroom Mirror Frame Designs on a Budget - October 12, 2026
- Creative Bathroom Mirror Border Ideas for Every Style and Budget - October 11, 2026
- Bathroom Finishes That Handle Moisture and Look Great - October 10, 2026










