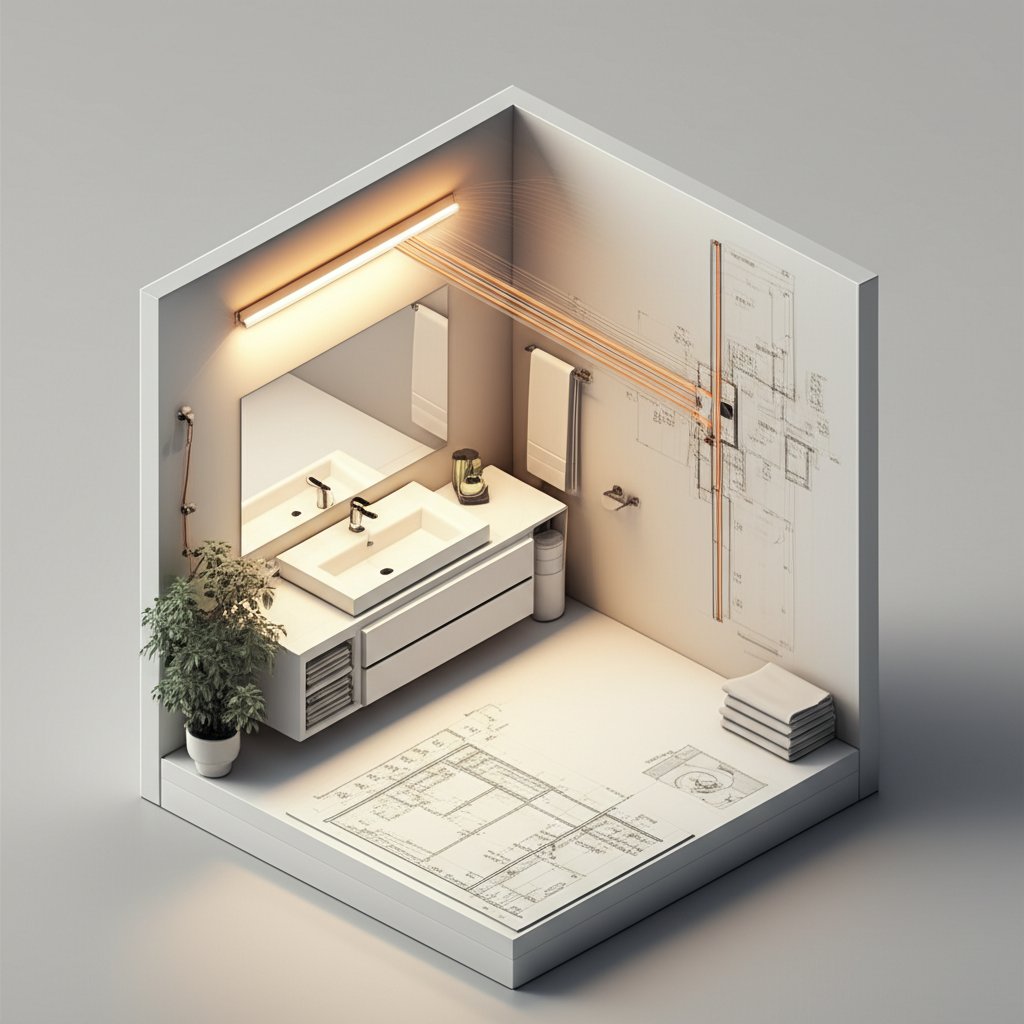
The wrong lighting at your bathroom mirror can be brutal. Harsh overhead lights cast unflattering shadows, making simple tasks like shaving or applying makeup a frustrating game of hide-and-seek. The solution lies in well-chosen and correctly placed wall mounted bathroom lights, which serve as the unsung heroes of a functional and beautiful bathroom, providing both critical task lighting and a powerful design statement right where you need it most.
This isn’t just about picking a fixture you like; it’s about engineering a pocket of perfect, shadow-free light that transforms your daily routine and elevates your entire space.
At a Glance: Your Vanity Lighting Game Plan
- Placement is Paramount: Discover the three primary mounting locations for vanity lights and learn why flanking the mirror is the professional’s choice for eliminating shadows.
- Decode the Glow: Understand the essential trio of lighting specs—lumens (brightness), Kelvin (color), and CRI (color accuracy)—to choose bulbs that make you look your best.
- Master Scale and Proportion: Get a simple, step-by-step framework for selecting fixtures that are perfectly sized for your mirror and vanity.
- Style with Purpose: Learn how to match fixture styles and finishes to your existing hardware for a cohesive and polished design.
- Avoid Common Pitfalls: Sidestep frequent installation mistakes that lead to glare, insufficient light, and an unbalanced look.
Where You Mount Your Lights Matters Most
Before you fall in love with a specific fixture, you must decide on its placement. This single decision has the biggest impact on the quality of light at your vanity. You are essentially choosing between bathing your face in light from the sides, the top, or directly through the mirror.
The Gold Standard: Cross-Illumination from the Sides
The best way to achieve even, shadowless illumination is by placing vertical wall mounted bathroom lights on either side of your mirror. This approach, known as cross-illumination, lights your face from both sides, filling in any potential shadows that a single overhead source would create.
- Placement: Mount the center of each fixture at roughly eye level, which is typically 60 to 66 inches from the finished floor.
- Spacing: Position them a few inches from the sides of the mirror, with a total separation of about 30 to 36 inches between the fixtures for an average-sized vanity. This ensures the light cones overlap and illuminate your entire face.
Case Snippet: In a recent client’s narrow powder room, a single overhead light made the space feel cramped and cast deep shadows. We replaced it with two slim, vertical sconces. The cross-illumination not only provided flawless task lighting but the vertical lines also created an illusion of height, making the entire room feel more spacious and elegant.
The Practical Alternative: The Top-Down Light Bar
Sometimes, space constraints make side sconces impossible. A very wide mirror or a vanity tucked into a narrow alcove might not leave enough wall space. In these cases, a horizontal light bar mounted above the mirror is the best solution.
- Placement: Mount the fixture centered over the mirror, approximately 78 inches from the floor. This height helps minimize the downward shadows cast on your face.
- Sizing: To ensure even light across the vanity, the fixture should be at least 75% of the mirror’s width, but never wider than the mirror itself.
While effective, this placement can still create subtle shadows under the chin and eyes. To mitigate this, choose a fixture that directs light both down and out, or one with a frosted glass shade to diffuse the light more softly. This is just one of several options when considering Sconces for Style and Light for your vanity area.
The Sleek Look: Lights Mounted on the Mirror
For a truly minimalist and integrated aesthetic, some modern designs involve mounting lights directly onto the surface of the mirror. This requires pre-planning and professional installation, as holes must be precisely cut in the mirror before it’s mounted. While visually striking, this option can be more costly and less flexible if you ever decide to change your fixtures.
Beyond the Fixture: Choosing the Right Glow

The physical light fixture is only half the equation. The light bulb you put inside it (or the integrated LED module) determines the quality of the light you’ll see in the mirror every day. Getting this right is crucial.
Lumens: The Measure of Brightness
Lumens measure the total amount of visible light from a source. For a bathroom vanity where you perform tasks like tweezing or makeup application, you need ample brightness.
- Target: Aim for a total of 700 to 800 lumens for the main task area. If you have two sconces, each should provide 350-400 lumens. For a single light bar, it should provide the full 700-800 lumens.
- Pro Tip: Always install your vanity lights on a dimmer switch. This gives you bright, focused light when you need it and allows you to soften it for a more relaxed, ambient mood.
Color Temperature (Kelvin): Setting the Mood
Color temperature, measured in Kelvin (K), describes the color appearance of the light, from warm yellow to cool blue.
| Kelvin (K) | Light Appearance | Best For |
|---|---|---|
| 2700K | Warm, Cozy Yellow | Creating a relaxing, spa-like ambiance. Less ideal for color-critical tasks. |
| 3000K | Soft, Neutral White | The sweet spot. Crisp enough for tasks but still warm and flattering. |
| 4000K | Cool, Bright White | Mimics daylight. Excellent for precise makeup application but can feel clinical. |
| 5000K+ | Bluish “Daylight” | Very stark and often too harsh and unflattering for a residential bathroom. |
| For most homes, a 3000K bulb or integrated LED offers the perfect balance of clarity and warmth. |
Color Rendering Index (CRI): Seeing True Colors
CRI is a scale from 0 to 100 that measures how accurately a light source reveals the true colors of objects. This is perhaps the most important—and most often overlooked—spec for vanity lighting. A low CRI light can make your skin look sallow and can distort the colors of your makeup or clothing.
For a bathroom vanity, a CRI of 90 or higher is non-negotiable. This ensures that what you see in the mirror is an accurate representation of how you will look out in the world under natural light. Most reputable lighting brands will list the CRI in the product specifications.
Getting the Proportions Right: A Simple Guide to Sizing
An ill-fitting light fixture can throw off the entire balance of your vanity. A light that’s too small will look lost, while one that’s too large will overwhelm the space.
Step-by-Step: Matching Light Size to Your Vanity
- Measure Your Canvas: Start by measuring the width of your vanity and the width and height of your mirror.
- For Side Sconces: Choose fixtures that are a pleasing vertical scale. A good rule of thumb is for the sconce height to be roughly 1/3 to 1/2 the height of the mirror. The width should be slim enough to not feel crowded next to the mirror.
- For an Above-Mirror Light: As mentioned, select a fixture that is approximately 75% of the mirror’s width. For example, for a 36-inch wide mirror, a 27-inch wide light bar would be ideal.
- Consider Visual Weight: A fixture with a heavy, dark metal frame has more “visual weight” than a delicate one made of glass and polished chrome. You can often go slightly larger with an airier design.
Common Questions About Wall Mounted Bathroom Lights
Getting expert answers to common questions can prevent costly mistakes and ensure you love your final result.
Q: Can I use any wall sconce in a bathroom?
No. Bathrooms are damp or wet environments. Your light fixtures must be officially rated for use in these conditions to be safe and code-compliant. Look for a “damp location” rating from UL or ETL for any light near a sink or vanity. Fixtures placed directly inside a shower enclosure require a “wet location” rating.
Q: Should my vanity lights point up or down?
This depends on the fixture and your goal.
- Down-lighting: Provides strong, direct task lighting onto the countertop. This is great for function but can create shadows if it’s your only light source.
- Up-lighting: Bounces light off the ceiling for softer, more ambient illumination. This is more flattering but less effective for detailed tasks.
- Best of Both: The ideal wall mounted bathroom lights often have shades made of frosted or opal glass that diffuse light in all directions—up, down, and out—providing a blend of task and ambient light.
Q: Are integrated LED fixtures a good idea?
Yes, for several reasons. Integrated LEDs are incredibly energy-efficient and have extremely long lifespans (often 25,000-50,000 hours), meaning you may never have to change a “bulb.” The main drawback is that if the LED module fails, the entire fixture usually needs to be replaced. However, given their longevity and the quality of light they produce, they are an excellent choice for modern bathrooms.
Q: Do I need other lights besides my vanity lights?
Absolutely. A great bathroom lighting plan uses layers. Your wall-mounted vanity lights provide task lighting. You also need a central ceiling fixture (like a flush mount) for general ambient lighting and likely a dedicated, wet-rated light in the shower. This layered approach ensures the entire room is well-lit, functional, and inviting.
Your Vanity Lighting Decision Framework
Choosing the right wall mounted bathroom lights is a straightforward process when you follow a clear path. Use this checklist to guide your decisions from start to finish.
- Start with Placement: Assess your vanity space. Is there room for side sconces (the ideal choice)? If not, plan for a correctly sized overhead light bar.
- Measure and Scale: Grab your tape measure. Note the dimensions of your vanity and mirror to determine the appropriate height and width for your fixtures.
- Prioritize Light Quality: This is critical. Commit to finding a fixture or bulb with a CRI of 90+ and a color temperature of 3000K for a perfect, flattering glow. Check the lumen output to ensure sufficient brightness.
- Align Style and Finish: Select a fixture that complements the finish of your faucet, towel bars, and other hardware. Match the style—be it modern, traditional, or transitional—to your bathroom’s overall aesthetic.
- Install with Care: Ensure your lights are mounted at the correct height and spacing. Always install a dimmer switch to give you full control over the mood and intensity of your new, beautiful vanity lighting.

- DIY Bathroom Mirror Frame Designs on a Budget - October 12, 2026
- Creative Bathroom Mirror Border Ideas for Every Style and Budget - October 11, 2026
- Bathroom Finishes That Handle Moisture and Look Great - October 10, 2026










