
That old, buzzing recessed light in your kitchen—the one casting a sickly yellow glow and surrounded by a dingy, beige trim—has had its day. For years, upgrading it meant fumbling with a bare bulb and a separate, clunky trim piece. But today, the fastest, most effective way to transform that fixture is with modern recessed can light inserts. This all-in-one solution is the closest thing to a “plug-and-play” lighting upgrade you can get, turning a weekend project into a 10-minute task.
You’re not just replacing a light bulb; you’re swapping out the entire visible part of the fixture for a sleek, integrated unit. The result is better light, lower energy bills, and a clean, contemporary look that instantly modernizes any room.
What You’ll Find Inside
This guide is your complete roadmap to understanding, choosing, and installing recessed light inserts. Here’s a quick look at what we’ll cover:
- What an Insert Really Is: We’ll break down the anatomy of an insert and how it differs from a traditional bulb and trim.
- The LED Advantage: A clear comparison of why LED inserts outperform old incandescent and CFL bulbs in every meaningful way.
- A Practical Shopping Guide: Learn how to measure your existing cans, pick the right style, and understand lighting specs like a pro.
- Step-by-Step Installation: A simple, jargon-free walkthrough that proves you don’t need to be an electrician to do this.
- Troubleshooting Common Issues: We’ll tackle frequent questions about dimmers, buzzing, and compatibility to ensure a smooth upgrade.
What Exactly Is a Recessed Can Light Insert?
Think of a recessed can light insert (often called an LED retrofit kit) as a self-contained lighting module. It combines the light source (the LEDs), the finishing piece (the trim), and the internal wiring into a single, cohesive unit. Instead of juggling a hot bulb and a flimsy metal ring, you get one streamlined component that pops directly into your existing recessed housing.
Most older homes have recessed fixtures that consist of two main parts: the hidden metal “can” or housing in the ceiling and the visible trim and bulb you see from below. The insert is designed to replace only the visible parts. It typically connects to the power source inside the can using a standard screw-in (E26) adapter, just like a regular lightbulb.
This integrated design is what makes them so revolutionary for homeowners. There’s no guesswork in matching a bulb to a trim, and the seamless look eliminates the light leaks and awkward gaps common with older setups. Essentially, it’s a complete cosmetic and functional overhaul in one simple package, as this guide on Recessed lighting inserts explained covers in more detail.
The Big Upgrade: Why LED Inserts Are a No-Brainer

If your current recessed lights still use incandescent bulbs, you’re missing out on significant benefits. The leap from a 65-watt incandescent floodlight to a 10-watt LED insert isn’t just an upgrade; it’s a fundamental change in performance, efficiency, and quality. While some still use older Incandescent recessed lighting, the case for switching is overwhelming.
Here’s a quick breakdown of the key advantages:
| Feature | Traditional Incandescent Bulb | Modern LED Insert |
|---|---|---|
| Energy Use | ~65 Watts | ~9-12 Watts |
| Lifespan | ~1,000 hours (1-2 years) | 25,000-50,000 hours (15-25+ years) |
| Annual Cost | ~$7.80 per bulb* | ~$1.20 per bulb* |
| Heat Output | Very high (90% energy lost as heat) | Very low (cool to the touch) |
| Light Quality | Fixed warm, yellowish light | Fully customizable (warm to daylight) |
| Dimmability | Works with old dimmers | Requires compatible LED dimmer for best results |
| Based on 3 hours/day at $0.12/kWh. | ||
| The energy savings alone are compelling. Replacing just eight old incandescent bulbs with LED inserts could save you over $50 per year on your electricity bill. But the benefits go further. LEDs produce almost no heat, which can lower your home’s cooling load in the summer. They also last for decades, meaning you can stop climbing a ladder to change dead bulbs every year. This is the core reason so many homeowners now choose to Upgrade recessed to LED. |
Choosing the Right Insert: A Step-by-Step Guide
Walking into the lighting aisle or browsing online can be daunting. With terms like “baffle,” “Kelvin,” and “CRI,” it’s easy to get lost. Follow these simple steps to find the perfect recessed can light inserts for your home.
Step 1: Measure Your Existing Can Housing
The single most important factor is size. Recessed lights come in standard diameters, and your new insert must match your existing housing.
- How to Measure: Carefully remove the existing trim and bulb (with the power off!). Use a tape measure to find the inside diameter of the can opening.
- Common Sizes: The most common residential sizes are 4-inch, 5-inch, and 6-inch. Don’t guess—an insert designed for a 6-inch can will not fit into a 5-inch one.
While you’re up there, take a quick look at the existing Recessed lighting casing guide for any labels. Look for information like “IC-Rated” (Insulation Contact), which means the fixture is safe to be buried in ceiling insulation. Most modern LED inserts run cool enough for any can, but it’s always good to know.
Step 2: Identify Your Connector Type
How will the insert get power? Look inside the can to see the socket.
- E26/E27 Base (Most Common): This is the standard medium screw-in base that every traditional lightbulb uses. The vast majority of retrofit inserts come with an E26 adapter that you simply screw into this socket.
- TP24 or GU24 Connector: Some newer (or California Title 24 compliant) housings use a two-pin, twist-and-lock connector. If you have this, make sure you buy an insert with a matching TP24 or GU24 whip.
Step 3: Select Your Trim Style and Finish
Now for the fun part: aesthetics. The trim is the visible ring around the light, and it has a huge impact on both the look of your ceiling and the quality of the light.
- Baffle Trim: This is the most popular style, featuring concentric ridges on the inside of the trim. These ridges are designed to absorb excess light and reduce glare, creating a soft, diffused illumination. It’s a classic choice for living rooms and bedrooms.
- Reflector Trim: With a smooth, mirror-like interior, a reflector trim maximizes light output. It creates a brighter, more focused beam of light. This style is excellent for kitchens, high ceilings, and commercial spaces where you need maximum brightness.
- Gimbal (or Eyeball) Trim: This adjustable trim allows you to pivot and direct the light toward a specific object or area. It’s perfect for highlighting artwork, a fireplace, or sloped ceilings.
- Smooth Trim: This offers a clean, minimalist look, blending seamlessly into the ceiling. It provides a wide, even spread of light without the texture of a baffle.
Once you’ve chosen a style, pick a finish that complements your decor. Classic white is the most common, but black, brushed nickel, and bronze can create a sophisticated, custom look. You can find many options when Exploring LED Recessed Trim styles.
Step 4: Choose the Right Light Quality
This is where you decide what “kind” of light you want. Two key metrics matter here:
- Color Temperature (Kelvin): Measured in Kelvin (K), this determines if the light appears warm (yellowish) or cool (bluish).
- 2700K (Warm White): The cozy, inviting glow of a traditional incandescent bulb. Perfect for living rooms, dens, and bedrooms.
- 3000K (Soft White): A slightly crisper, cleaner warm light. A great all-purpose choice for kitchens, bathrooms, and hallways.
- 4000K (Cool White): A bright, neutral white that enhances focus. Ideal for home offices, garages, and laundry rooms.
- 5000K (Daylight): An intense, blue-tinged light that mimics natural daylight. Best for task-heavy areas like workshops or for people who prefer a very bright, clinical light.
- Color Rendering Index (CRI): This is a scale from 0 to 100 that measures how accurately a light source reveals the true colors of objects. An old fluorescent bulb might have a CRI of 70, making colors look dull and washed out. For home use, look for an insert with a CRI of 90+. This ensures that skin tones, food, and decor will look vibrant and natural.
The Installation: A 10-Minute DIY Project
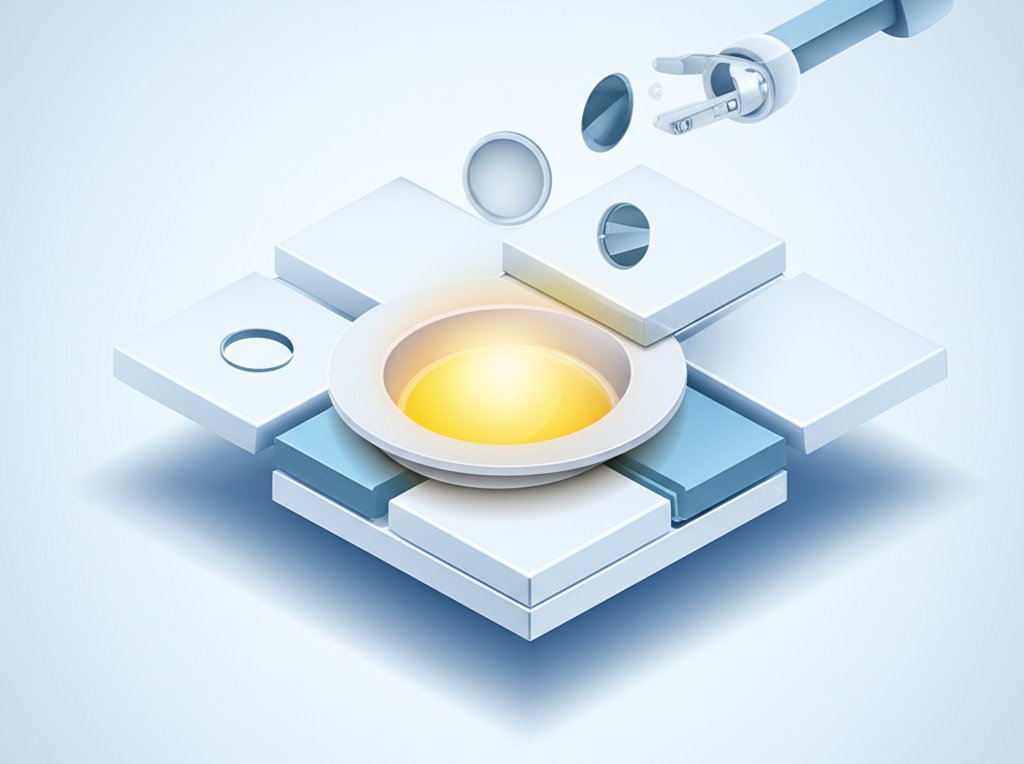
One of the biggest selling points of recessed can light inserts is how easy they are to install. You don’t need to be an electrician; you just need a ladder and a few minutes. This is one of the simplest ways to Retrofit your recessed lights.
Here’s the process:
- Safety First! Turn Off the Power: Go to your circuit breaker and flip the switch that controls the lights in that room. Double-check by flipping the wall switch to make sure the light is dead.
- Remove the Old Bulb and Trim: Unscrew the old lightbulb. The old trim is usually held in by tension springs. Gently pull down on the trim ring until you can squeeze the springs together and pull the entire piece out.
- Screw in the Adapter: Take the E26 adapter that came with your new insert and screw it into the socket inside the can, just like you would a normal lightbulb.
- Connect the Insert: Your new insert will have a small wire (a “whip”) with a connector on the end. Plug this connector into the wire coming from the E26 adapter you just installed. It should click securely into place.
- Install the New Insert: Squeeze the tension springs on the sides of the insert together. Carefully guide the springs into the corresponding clips inside the can housing.
- Push and Secure: Gently push the insert upward until the trim ring sits flush against the ceiling. The tension from the springs will hold it firmly in place.
- Power Up and Test: Turn the power back on at the breaker. Flip the switch and admire your new, bright, and beautiful light.
That’s it. You’ve just completed a professional-level lighting upgrade.
Frequently Asked Questions & Common Pitfalls
Even with a simple project, questions can pop up. Here are answers to some of the most common ones.
Why is my new LED insert buzzing or flickering?
This is almost always a dimmer switch issue. Old dimmer switches were designed for high-wattage incandescent bulbs and don’t play well with low-wattage LEDs. The mismatched electrical loads cause the buzzing or flickering.
The Fix: Replace your old rotary or slide dimmer with a modern one specifically rated for LEDs. Look for models labeled “CFL/LED” or “ELV” (Electronic Low Voltage).
Can I put a new insert into a very old can?
Generally, yes. As long as the can is structurally sound and the socket works, an insert should fit. The main concern is with non-IC rated housings covered in insulation. Because LED inserts produce so little heat, the fire risk is drastically lower than with hot incandescent bulbs, but it’s still best practice to clear insulation away from a non-IC fixture if possible.
What’s the difference between “recessed lighting inserts” and “retrofit kits”?
The terms are used interchangeably 99% of the time. Both refer to an all-in-one LED module designed to fit into an existing recessed housing. “Retrofit kit” is just another way to say you are upgrading an old fixture with new technology.
My trim is just old and yellowed, but the light works. Do I need a full insert?
If you only want a cosmetic fix, you could look into Replacement recessed light covers or standalone trims. However, for a little more money, an integrated insert gives you a brand new light source with all the energy-saving and performance benefits of modern LEDs. Considering the low cost of inserts today, it’s almost always the better value. Getting a new, complete unit ensures a perfect fit and seal, which is why Understanding recessed lighting trim options is so important.
A Brighter Home is Just an Insert Away
Upgrading your home’s lighting no longer requires a complex rewiring project or a call to an electrician. Recessed can light inserts offer a powerful, affordable, and incredibly simple way to improve the look, feel, and efficiency of any room.
By taking a few simple measurements and understanding your options for style and light color, you can select the perfect product with confidence. In less time than it takes to watch an episode of your favorite show, you can transform a dim, dated space into one that feels bright, modern, and welcoming. It’s a small change that makes a huge difference.

- DIY Bathroom Mirror Frame Designs on a Budget - October 12, 2026
- Creative Bathroom Mirror Border Ideas for Every Style and Budget - October 11, 2026
- Bathroom Finishes That Handle Moisture and Look Great - October 10, 2026










