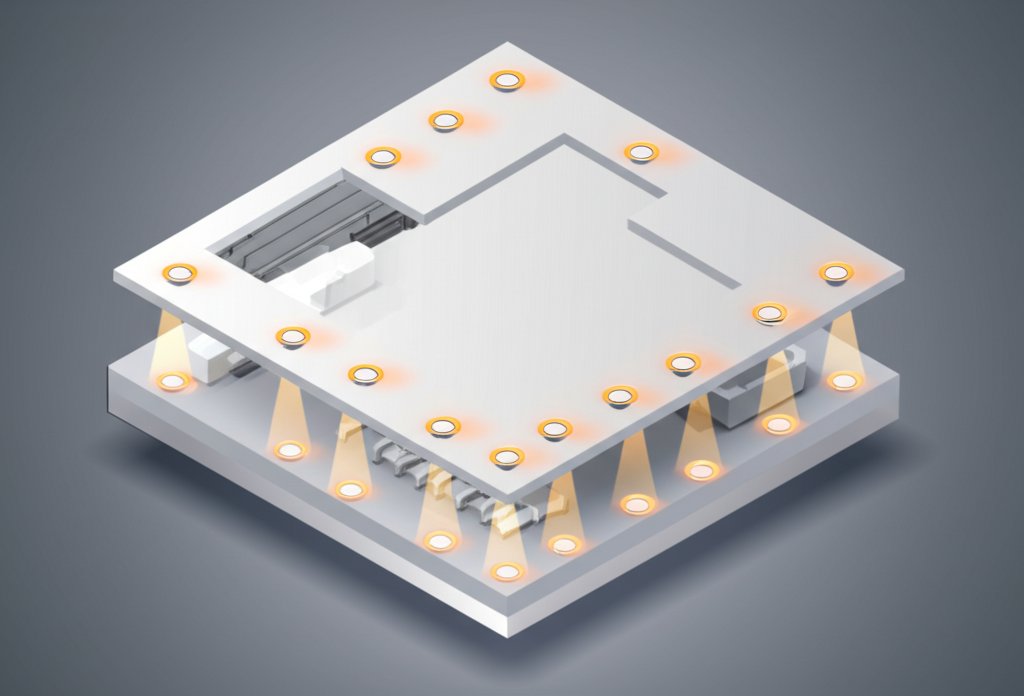
The best lighting doesn’t just illuminate a room; it defines it. And when it comes to creating a clean, modern, and versatile atmosphere, few fixtures can compete with the understated power of well-executed pot light designs. These chameleons of the lighting world can fade into the ceiling, letting your architecture and decor take center stage, or they can be directed to create dramatic focal points.
But getting them right is part art, part science. Choosing the wrong size, spacing, or style can leave a room feeling like a hospital waiting room or an under-lit cave. This guide is your blueprint. We’ll walk through everything from the hardware in your ceiling to the quality of light on your walls, so you can plan your layout with the confidence of a seasoned designer.
At a Glance: Your Pot Light Cheat Sheet
Here’s the essential rundown to get you started:
- What Are They? Pot lights (or recessed lights) are fixtures installed directly into the ceiling, creating a smooth, flush surface.
- The Two Core Parts: Every pot light has a housing (the fixture inside the ceiling) and a trim (the visible ring and interior you see from below).
- Placement Is Everything: The distance between lights and their positioning dictates whether you get even, ambient light or focused task lighting.
- LEDs Are the Gold Standard: They are non-negotiable for modern installations due to their incredible energy efficiency, long lifespan, and vast color options.
- Dimmers Are Your Best Friend: Installing a dimmer switch is the single most effective way to control the mood of a room, taking it from bright and functional to warm and intimate in seconds.
Why Pot Lights Are the Unseen Hero of Interior Design
Before we get into the nuts and bolts, let’s talk about why these lights are so popular. Unlike a chandelier or a pendant, which makes a bold statement, pot lights work their magic quietly.
Their primary benefit is creating a clean, uncluttered ceiling line. This is a game-changer in rooms with lower ceilings, as it makes the space feel taller and more open. There’s no bulky fixture hanging down to interrupt the visual plane.
They also offer unparalleled versatility. You can wash an entire wall with soft light, spotlight a piece of art, provide bright task lighting over a kitchen island, or create a gentle, ambient glow throughout a living room—all with the same type of fixture, just used in different ways.
Deconstructing the Pot Light: Know Your Hardware
Understanding the basic anatomy of a pot light will save you headaches and help you communicate effectively with an electrician. It all comes down to two main components: the housing and the trim.
The Housing: The “Can” in the Ceiling
The housing is the workhorse of the fixture—the metal can that gets installed into your ceiling joists. It contains all the electrical components. The type you need depends on when and where you’re installing it.
- New Construction Housing: As the name implies, these are designed to be installed before the drywall goes up. They have mounting bars that attach directly to the ceiling joists, making for a secure and straightforward installation during a build or major renovation.
- Remodel Housing: This is your go-to for retrofitting lights into an existing ceiling. You cut a hole in the drywall, and the housing is secured by clips that clamp onto the back of the ceiling. It’s a clever design that makes adding pot lights possible without tearing down the whole room.
Safety First: Understanding IC and Airtight Ratings
Beyond the installation type, two safety ratings are critical:
- IC-Rated (Insulation Contact): If your fixture will be in a ceiling with insulation (like a top floor with an attic above), you must use an IC-rated housing. This means it’s designed to be safely buried in insulation without creating a fire hazard. Non-IC housings require a clearance of at least three inches from any insulation.
- Airtight (AT) Rated: An airtight housing is sealed to prevent conditioned air (your precious heat or AC) from leaking into the unconditioned space of your attic or ceiling cavity. This improves your home’s energy efficiency and prevents drafts and moisture issues. Most modern IC-rated cans are also airtight.
Choosing Your Style: The Trim Is Everything
Now for the fun part. The trim is the visible portion of the pot light. It shapes the light and defines the fixture’s look, and choosing the right one is crucial for achieving your desired effect.
Baffle Trim: For Soft, Glare-Free Light
This is one of the most popular choices for general ambient lighting. Baffle trims have a ribbed interior (usually black or white) designed to absorb stray light and reduce glare. If you want comfortable, even illumination in a living room or bedroom, a white baffle trim that blends into the ceiling is a classic, can’t-go-wrong option.
Reflector Trim: To Maximize Brightness
A reflector trim features a smooth, mirror-like interior. Instead of absorbing light, it reflects it, pushing the maximum amount of light out into the room. This makes it ideal for spaces where you need bright, powerful light, like kitchens, home offices, or rooms with very high ceilings. They can produce more glare than baffles, so consider placement carefully.
Eyeball & Gimbal Trims: For Directional, Accent Lighting
Need to highlight a feature wall, a fireplace, or a piece of art? This is where adjustable trims shine.
- Gimbal Trims: These have an inner ring that pivots, allowing you to direct the light beam. They offer a good range of motion while maintaining a relatively flush profile.
- Eyeball Trims: These trims protrude a bit more from the ceiling but offer the greatest range of motion, allowing you to aim the light at very sharp angles.
Think of them as mini-spotlights embedded in your ceiling, perfect for adding drama and drawing attention to your favorite features.
Shower Trim: For Wet and Damp Locations
Building codes require specially designed trims for bathrooms, showers, and outdoor soffits. A shower trim includes a gasket and a protective lens that seals the fixture, making it watertight and safe for damp environments. Always look for a trim that is explicitly rated for “wet locations.”
Open & Flush Trims: The Minimalist’s Choice
For the cleanest look possible, an open or flush trim is the way to go. These trims have almost no depth and sit perfectly flush with the ceiling drywall. They offer a very minimalist, “trimless” appearance that is popular in contemporary and modern design.
The Art of Placement: A Blueprint for Perfect Lighting
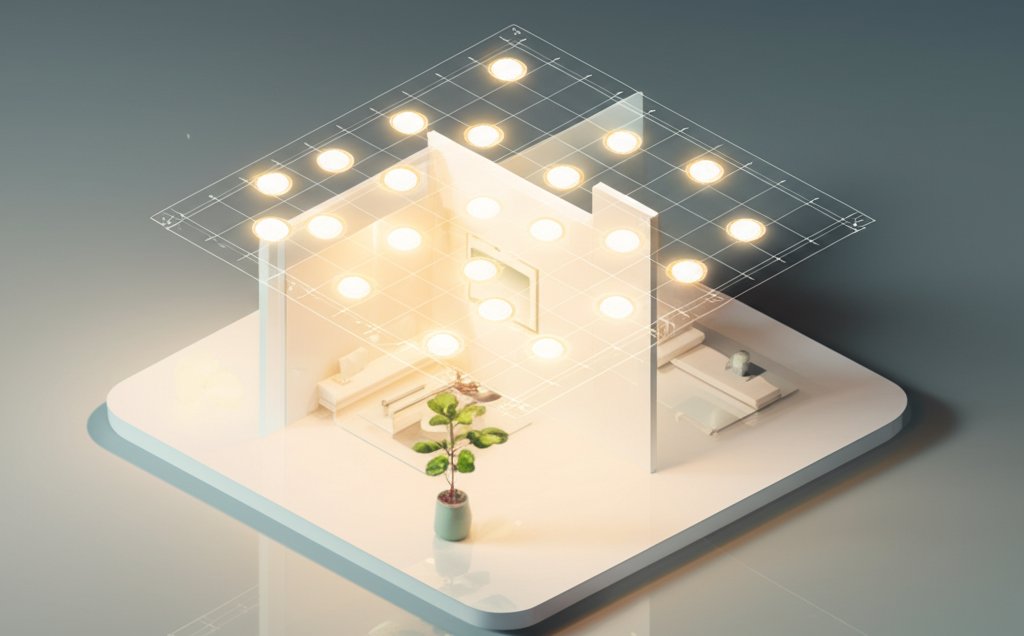
Where you put your lights is just as important as which lights you choose. A good lighting plan creates layers and avoids the dreaded “runway” look of a single, straight line of lights down the middle of a room.
A Simple Spacing Formula
A good rule of thumb is to take your ceiling height in feet, divide it by two, and use that as the spacing (in feet) between your lights.
- Example: For a standard 8-foot ceiling, you would place your lights approximately 4 feet apart. For a 10-foot ceiling, you’d space them 5 feet apart.
This is just a starting point. You should also consider the beam angle of your bulbs and the purpose of the light. For general ambient light, this formula works well. For focused task lighting over a counter, you’ll want them closer together. Always place the lights about 2-3 feet away from the walls to avoid creating harsh shadows or “scallops” on the wall surface.
Picking the Right Size
Pot lights typically come in 3-inch, 4-inch, and 6-inch diameters. Size impacts the look and the light output.
- 3-Inch: Best for targeted task lighting or accenting small objects. Great for placement over a specific workspace or highlighting a small art piece.
- 4-Inch: The modern workhorse. Four-inch lights provide a clean, contemporary look and are perfect for most residential applications, from kitchen task lighting to general living room illumination.
- 6-Inch: Once the standard, 6-inch lights are now often seen as a bit bulky for modern designs. However, they are still a great choice for very large rooms, basements, or commercial spaces where you need to blast a lot of light over a wide area.
Setting the Mood: Color Temperature and Brightness
The final piece of the design puzzle is the light bulb itself. With modern LEDs, you have incredible control over the warmth and intensity of your light.
Kelvin (K): The Color of Your Light
Color temperature is measured in Kelvin (K). Lower numbers are warmer and more yellow, while higher numbers are cooler and bluer.
- Warm White (2700K – 3000K): This is the color of a classic incandescent bulb. It creates a cozy, inviting, and relaxing atmosphere. Perfect for living rooms, dens, and bedrooms.
- Cool White / Neutral White (3500K – 4500K): A crisp, white light that’s excellent for task-oriented spaces. It promotes focus and makes colors appear more vibrant. Ideal for kitchens, bathrooms, home offices, and garages.
- Daylight (5000K+): This is a very cool, blue-toned light that mimics natural daylight. It’s great for high-detail tasks like applying makeup or working in a craft room, but it can feel harsh and sterile in living areas.
Lumens: The Brightness of Your Light
Forget watts; lumens measure actual brightness. A standard 60-watt incandescent bulb produces about 800 lumens. When planning your lighting, you’ll want to aim for a certain number of lumens per square foot, depending on the room’s function. For general living spaces, 20 lumens per square foot is a good target. For kitchens and bathrooms, aim for 70-80.
Pot Lights in Action: Room-by-Room Inspiration
Let’s apply these principles to different spaces in your home.
In the Kitchen
The kitchen demands layered lighting. Use 4-inch pot lights with a neutral white temperature (around 4000K) for your main ambient lighting. Then, place additional lights directly over the countertops—about 18 inches from the wall—to provide bright, shadow-free task lighting exactly where you chop and prep.
In the Living Room
Here, flexibility is key. A grid of 4-inch baffle trims on a dimmer switch provides perfect ambient light. Set them to a warm 2700K or 3000K for a cozy feel. Add a few adjustable gimbal trims near the walls to highlight a gallery wall, a textured fireplace, or built-in bookshelves. Once you have the fundamentals down, you can explore more Creative recessed lighting ideas to add unique character to your living spaces.
In the Bathroom
Use wet-rated shower trims over the tub and in the shower. For the main vanity area, recessed lighting alone is a bad idea—it casts unflattering shadows on your face. Instead, pair your overhead pot lights with sconces or a lighted mirror to provide bright, even light from the front.
The Future is Bright: Smart and Minimalist Trends
Pot light technology is constantly evolving. The biggest trend is the rise of smart lights. These LED fixtures can be controlled from your phone or with voice commands. You can change their brightness, color temperature, and even their color (RGB) on the fly, allowing you to create custom lighting scenes for any activity, from movie night to a dinner party.
On the design front, the push is toward minimalism. New “trimless” and ultra-thin wafer lights offer an even more seamless look, practically disappearing into the ceiling for the ultimate unobtrusive design.
Your Questions, Answered
Here are a few common questions that pop up when planning a recessed lighting project.
Can I install pot lights myself?
While it may seem straightforward, installing pot lights involves electrical wiring, cutting into your ceiling, and navigating building codes. For safety and peace of mind, it is highly recommended to hire a licensed electrician. They will ensure everything is wired correctly and up to code, especially regarding IC ratings and placement.
Are LED pot lights really worth the extra cost?
Absolutely, one hundred percent. The upfront cost of an integrated LED fixture or LED bulb is higher, but the long-term savings are massive. A typical LED bulb can last 25,000 to 50,000 hours—that’s over a decade of regular use. They also use up to 80% less energy than old incandescent bulbs, which will be immediately reflected in your electricity bill.
How do I clean my recessed lights?
It’s simple. First, make sure the light is turned off and cool to the touch. For most trims, a quick wipe with a dry microfiber cloth is all you need. If there’s more stubborn grime, you can use a cloth lightly dampened with water and a drop of mild soap. Just be sure the cloth is not dripping wet.
From Plan to Perfect Light
Great lighting is transformative, and pot lights are one of the most powerful tools in a designer’s toolkit. By understanding the core components—housing, trim, size, and spacing—you can move beyond a simple grid and start thinking like a lighting pro.
Start by mapping out your room. Think about how you use the space. Where do you need bright, focused light? Where do you want soft, ambient glow? Where are the features you want to show off?
Sketch a rough plan on paper, marking out furniture and potential light locations. This simple exercise will help you visualize the final result and give you a clear, actionable blueprint to discuss with your electrician. With a thoughtful plan in hand, you’re well on your way to creating a space that is not just well-lit, but truly well-designed.

- DIY Bathroom Mirror Frame Designs on a Budget - October 12, 2026
- Creative Bathroom Mirror Border Ideas for Every Style and Budget - October 11, 2026
- Bathroom Finishes That Handle Moisture and Look Great - October 10, 2026










