That large, frameless builder-grade mirror can feel more like a functional void than a design feature. While browsing for inspiration, you’ll see stunning bathroom mirror frame designs that can single-handedly define a space, but they often come with a steep price tag. The secret? You don’t need a huge budget or a professional workshop to create a custom frame that elevates your entire bathroom.
With the right materials and a solid plan, you can transform that plain glass into a polished focal point. This guide breaks down simple, affordable, and stylish DIY framing projects you can tackle in a weekend.
At a Glance: Your DIY Frame Playbook
- Discover the Best Budget Materials: Learn which materials—from classic wood to unconventional rope—deliver the most style for the least cost.
- Master a Simple 5-Step Process: Follow our straightforward guide from measurement to installation for a professional-looking finish.
- Avoid Common DIY Mistakes: We’ll show you how to sidestep frequent pitfalls like moisture damage, bad adhesives, and messy corners.
- Get Quick Answers: Find solutions to common questions, like how to frame a mirror that’s already glued to the wall.
Why DIY Your Mirror Frame? Control, Cost, and Character
Going the DIY route is about more than just saving money; it’s about achieving a custom look that pre-made options can’t offer. You get to choose the exact width, finish, and style to perfectly complement your vanity, fixtures, and overall aesthetic. It’s a high-impact project with a surprisingly low barrier to entry.
While this guide focuses on the hands-on, budget-friendly approach, exploring a wide range of Creative mirror border ideas can help you pinpoint the exact style you want to replicate. Once you have your inspiration, you can choose the right DIY path to bring it to life.
Material Match-Up: Finding the Right Fit for Your Style and Skill
The material you choose is the biggest decision you’ll make. It dictates the look, the cost, and the complexity of the project. Here’s a breakdown of the most popular and accessible options.
The Timeless Choice: Wood & Wood-Look Molding
Wood offers unmatched versatility, fitting everything from rustic farmhouse to sleek modern designs.
| Material Type | Best For | Approx. Cost | Skill Level | Pro-Tip |
|---|---|---|---|---|
| Basic Lumber (Pine, Poplar) | Modern, Minimalist, Scandinavian | $ | Beginner | Use 1×4 boards. Pine is cheap and stains well; poplar is smooth and perfect for painting. |
| Reclaimed Barn Wood | Rustic, Farmhouse, Industrial | $$ | Beginner | Choose boards 3-4 inches wide. The existing texture, nail holes, and patina are the main appeal, so a simple butt joint (straight cuts) works great. |
| Decorative Molding | Traditional, Ornate, Glam | $$ | Intermediate | Use a miter box or miter saw for clean 45-degree corner cuts. Crown or chair rail molding adds instant architectural elegance. |
| Polystyrene/Vinyl Molding | Mimicking Wood or Metal | $ | Beginner | Incredibly lightweight and moisture-proof. It cuts easily and attaches with strong double-sided tape or construction adhesive, making it ideal for renters. |
Case Snippet: A homeowner wanted a modern farmhouse look. They used 1×4 cedar boards, lightly sanded to keep some texture, and finished them with a dark walnut stain. They assembled the frame with wood glue and pocket holes on the back, then mounted it directly to the mirror with construction adhesive. The project cost under $40 and completely changed the room’s feel.
The Textural Approach: Tile and Mosaics
Using tile creates a frame that seamlessly integrates with your backsplash, shower, or floor.
| Material Type | Best For | Approx. Cost | Skill Level | Pro-Tip |
|---|---|---|---|---|
| Peel-and-Stick Tile | Quick Upgrades, Geometric Patterns | $ | Beginner | The easiest option. Ensure the mirror surface is perfectly clean. Great for renters as some types are removable. |
| Mosaic Tile Sheets | Coastal, Eclectic, Custom Designs | $$ | Intermediate | Mesh-backed sheets are easier to handle than individual tiles. You’ll need tile adhesive and grout, so be prepared for a multi-day project. |
| Rhinestone Strips | Glam, Art Deco | $ | Beginner | Self-adhesive rhinestone or “bling” strips add a touch of sparkle with zero mess. Use them as a thin, elegant border. |
The Creative & Unconventional: Rope and Upcycled Finds
For a truly unique look, think outside the hardware store’s lumber aisle.
| Material Type | Best For | Approx. Cost | Skill Level | Pro-Tip |
|---|---|---|---|---|
| Thick Rope (Jute, Sisal) | Nautical, Coastal, Boho | $ | Beginner | Use a thick rope (at least 1/2-inch diameter). Attach it directly to the mirror’s edge with a strong adhesive like Liquid Nails. To prevent fraying, wrap the ends tightly with clear tape or apply a dab of clear nail polish. |
| Upcycled Window Frame | Farmhouse, Vintage, Shabby Chic | $ | Intermediate | An old multi-pane window frame creates a stunning architectural element. Remove the glass, paint or distress the frame, and mount the mirror behind it. |
The DIY Playbook: A 5-Step Guide to a Flawless Frame
Let’s use a simple mitered wood frame as our example. This process is easily adaptable for other materials.
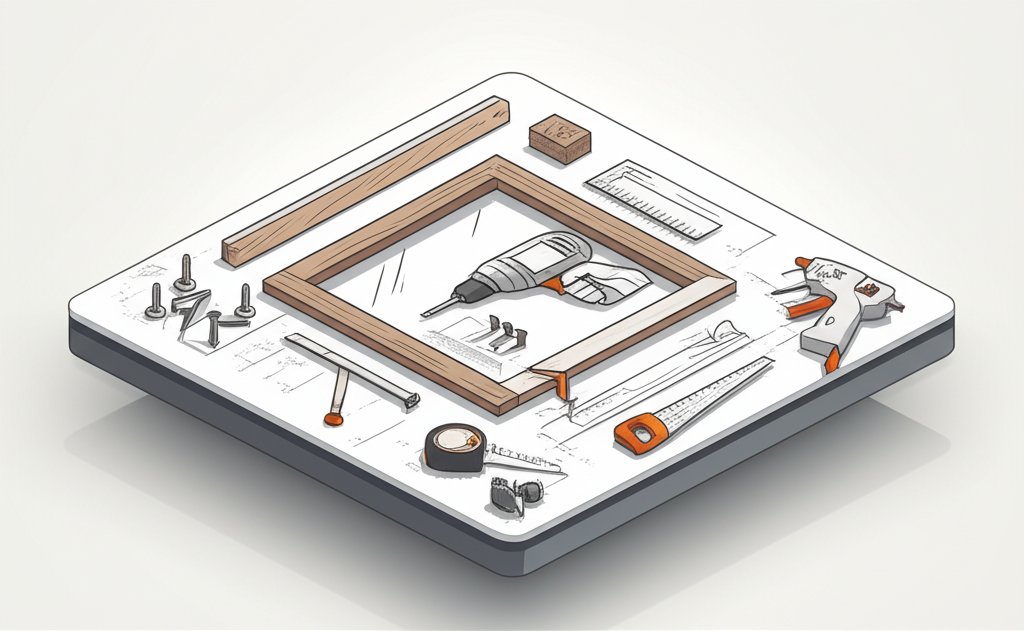
Your Basic Tool Kit
- Tape Measure
- Pencil
- Miter Box & Saw (or a Miter Saw)
- Wood Glue
- Construction Adhesive (e.g., Loctite Power Grab, Liquid Nails)
- Sandpaper (medium and fine grit)
- Paint, Stain, and a Polyurethane Sealer
- Painter’s Tape
- Caulking Gun
Step 1: Measure with Precision
Measure the height and width of your mirror. To create an overlap, you’ll want the inside edge of your frame to be slightly smaller than the mirror dimensions. A standard overlap is 1/4 to 1/2 inch on all sides.
- Example: For a 36″ x 24″ mirror with a 1/4″ overlap:
- Your frame’s inside height needs to be 35.5″ (36″ – 0.5″).
- Your frame’s inside width needs to be 23.5″ (24″ – 0.5″).
Step 2: Cut Your Pieces
Using a miter saw or miter box, cut your four frame pieces. Remember the golden rule: measure from the short side of the 45-degree angle. This short side measurement should match your inside frame dimensions calculated in Step 1.
Cut two pieces at 35.5″ (the vertical sides) and two at 23.5″ (the horizontal sides). Dry-fit them on the floor to ensure they form a perfect rectangle.
Step 3: Assemble the Frame
Lay your four pieces face down on a flat surface. Apply a thin bead of wood glue to each mitered edge. Press the corners together firmly. For a stronger hold, you can use corner clamps, or simply use painter’s tape to pull the joints tight while the glue dries. For advanced builders, pocket holes on the back provide an exceptionally strong, invisible joint.
Step 4: Finish and Seal for Humidity
Once the glue is fully cured (check the bottle, but usually 24 hours), sand the frame smooth, starting with medium-grit and finishing with fine-grit sandpaper.
Wipe away the dust, then apply your chosen paint or stain. This next step is critical: Apply at least two coats of a water-based polyurethane or a marine-grade varnish. Bathrooms are high-moisture environments, and this will prevent your wood frame from warping, swelling, or growing mildew.
Step 5: Mount Your Masterpiece
For a mirror already on the wall, the easiest method is to attach the frame directly to the glass. Apply a generous amount of construction adhesive to the back of the frame in a zigzag pattern.
Carefully press the frame onto the mirror, ensuring it’s centered. Use painter’s tape to hold the frame securely to the mirror and wall while the adhesive cures (typically 24 hours).
Quick Answers to Common DIY Questions
Q: What’s the cheapest way to frame a bathroom mirror?
The most affordable options are using polystyrene molding that mimics wood or applying a decorative peel-and-stick trim. Both are lightweight, moisture-resistant, and can be installed in under an hour for as little as $20.
Q: Can I frame a mirror that’s glued to the wall with plastic clips?
Yes. You can often build the frame right over the clips. Measure the depth of the clips and create a small notch (a rabbet) on the back of your frame pieces so they sit flush against the mirror. A router or a Dremel tool can make this easy. Alternatively, if the clips are thin, a lightweight foam or polystyrene frame might flex enough to fit right over them.
Q: How do I protect a wood frame from moisture damage?
Sealing is non-negotiable. After painting or staining, apply a minimum of two coats of a high-quality waterproof sealer like a water-based polyurethane or spar urethane. Pay extra attention to sealing the end grains and the back of the frame, as these are the most vulnerable spots for moisture absorption.
Q: Is peel-and-stick trim a good option?
For a quick, low-cost, and non-permanent solution, it’s excellent. It’s particularly great for renters. However, be aware that its longevity can vary depending on the bathroom’s humidity levels. For a permanent, high-end look, building a solid frame is the better long-term investment.
Your First Project: A Quick-Start Guide
Feeling ready to start? Here’s a simple way to decide on your first project.
- If you want the fastest, easiest upgrade…
- Go with: Peel-and-stick tile strips or decorative vinyl molding.
- Time Commitment: Under 1 hour.
- If you want a classic, custom look and are comfortable with basic cuts…
- Go with: 1×4 pine or poplar boards, painted or stained.
- Time Commitment: One afternoon (plus drying time).
- If you want a bold, rustic statement piece…
- Go with: Reclaimed wood planks.
- Time Commitment: 2-3 hours.
The best bathroom mirror frame designs are the ones that reflect your personal style and ingenuity. Don’t be afraid to experiment. Start with a simple plan, measure carefully, and choose the right materials for your space—you’ll be amazed at how a simple frame can completely redefine your bathroom.

- DIY Bathroom Mirror Frame Designs on a Budget - October 12, 2026
- Creative Bathroom Mirror Border Ideas for Every Style and Budget - October 11, 2026
- Bathroom Finishes That Handle Moisture and Look Great - October 10, 2026










