Stuck with a kitchen that feels more like a cramped closet than a culinary haven? Mastering ‘kitchen layout drawing easy’ is the crucial first step to unlocking a functional and beautiful space – even before you pick out that dream refrigerator. It’s about visualizing the possibilities and avoiding costly mistakes down the line.
At a glance:
- Discover how to quickly sketch initial layouts using readily available (and sometimes free!) tools.
- Learn how to optimize workflow with the “kitchen work triangle” and other proven design principles.
- Find out how to avoid common layout pitfalls that can sabotage your kitchen’s functionality.
- Understand the importance of accurate measurements and how they translate into realistic drawings.
- Explore options for software that fits your skill level, from simple online tools to advanced CAD programs.
The Power of a Simple Sketch: From Idea to Initial Plan
Forget intricate blueprints for now. The key to making kitchen layout drawing easy is starting with a simple sketch. This isn’t about artistic ability; it’s about getting your ideas down on paper (or a screen) quickly.
- Measure Your Space: Accurate measurements are non-negotiable. Don’t eyeball it! Get a tape measure and record the dimensions of your existing kitchen, including windows, doors, and any obstructions like pipes or radiators.
- Rough Out the Perimeter: Create a basic outline of your kitchen’s shape on graph paper or using a simple online tool.
- Place the Essentials: Mark the locations of your existing plumbing and electrical outlets. These will heavily influence where you can place your sink, stove, and refrigerator without incurring significant (and expensive) relocation costs.
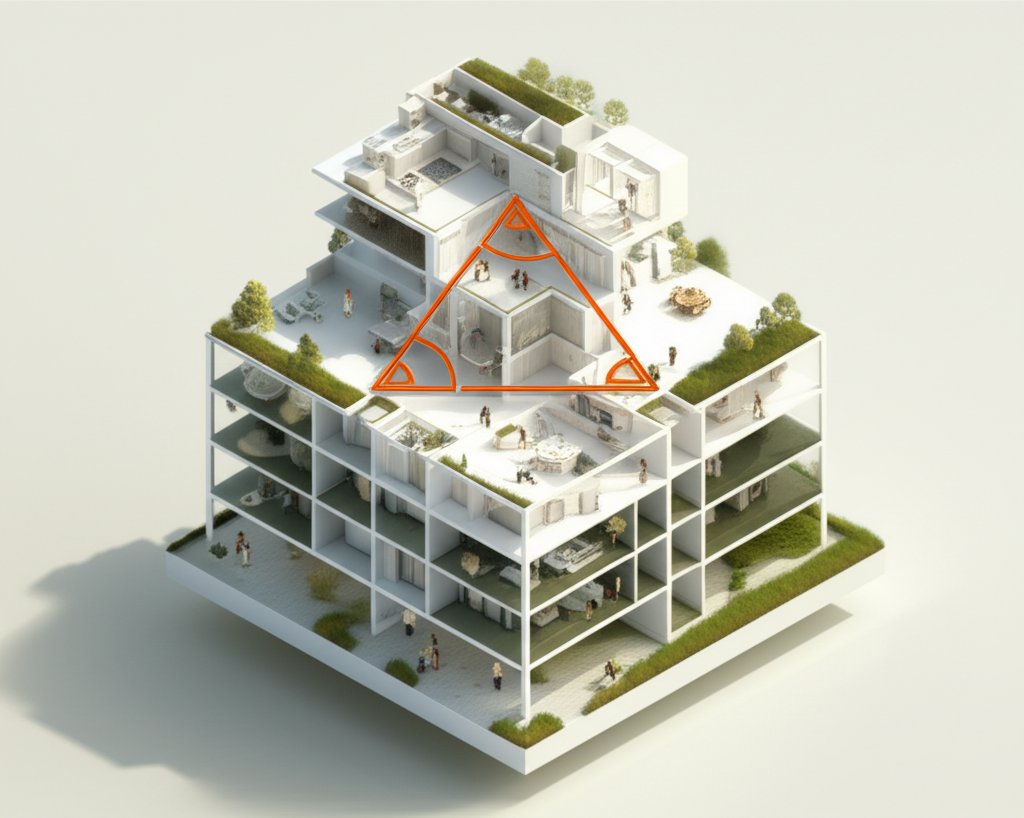
- Experiment with Layouts: Now comes the fun part! Try different layouts, such as L-shaped, U-shaped, galley, or island kitchens. Consider the “kitchen work triangle” – the imaginary line connecting the sink, stove, and refrigerator. Aim for a triangle with sides between 4 and 9 feet long for optimal efficiency.
Example: Imagine a small galley kitchen. A simple sketch might show the sink and stove on one side, with the refrigerator and some countertop space on the other. Experiment by swapping the stove and refrigerator or adding a small breakfast bar at the end.
Work Triangle and Beyond: Designing an Efficient Space

While the work triangle is a classic principle, modern kitchen design often incorporates other factors:
- Landing Zones: Ensure adequate countertop space next to your refrigerator, stove, and sink for placing groceries, hot pots, and dirty dishes.
- Traffic Flow: Consider how people will move through the kitchen. Avoid layouts that force people to walk through the work triangle.
- Storage: Plan for adequate storage based on your needs. Consider pull-out shelves, pantry organizers, and vertical storage options.
- Appliance Placement: Think about the ergonomics of appliance use. Place the microwave at a comfortable height and ensure the dishwasher doesn’t block access to other areas when open.
Software Showdown: Choosing the Right Tool for the Job
The world of kitchen design software can seem overwhelming. Here’s a breakdown of options based on skill level and needs:
- Beginner (Free Online Tools): IKEA Kitchen Planner, Kitchen Planner (kitchenplanner.net), and Planner 5D are excellent choices for simple layouts and visualizing IKEA products. They’re generally free and require no download. These offer easy drag-and-drop functionality.
- Intermediate (User-Friendly Software): Live Home 3D offers a balance of ease of use and powerful features, including 2D/3D design and a vast library of objects and materials. Home Designer Suite for Mac is another viable intermediate option. These may require a purchase, but often have free trials.
- Advanced (Professional-Grade CAD Software): SketchUp and Fusion 360 (free for hobbyists) provide complete creative control but require more training. These are best suited for experienced designers or those willing to invest the time to learn. Virtual Architect Home Design for Mac Professional also fits into this category, offering powerful features without needing prior design experience.
Decision Tree:
- Do you need 3D visualization?
- Yes: Continue to question 2.
- No: Use a free 2D online planner (e.g., IKEA Kitchen Planner).
- Do you have prior CAD experience?
- Yes: Consider advanced CAD software (e.g., SketchUp, Fusion 360).
- No: Use user-friendly software with 2D/3D capabilities (e.g., Live Home 3D).
Common Layout Mistakes (and How to Avoid Them)
Even the best kitchen layout drawing tools can’t prevent design flaws if you’re not aware of common pitfalls:
- Insufficient Counter Space: This is a frequent complaint. Plan for at least 36 inches of continuous countertop space on either side of the sink and stove.
- Poorly Placed Island: An island can be a great addition, but only if it’s properly sized and positioned. Ensure there’s at least 42 inches of clearance around the island for comfortable movement.
- Ignoring Workflow: Don’t place the refrigerator on the opposite side of the kitchen from the sink and stove. This creates unnecessary steps and disrupts the workflow.
- Lack of Lighting: Insufficient lighting can make a kitchen feel cramped and unwelcoming. Plan for a combination of ambient, task, and accent lighting.
From Drawing to Reality: Taking the Next Steps
Once you’re happy with your kitchen layout drawing, it’s time to move from virtual to tangible. Here are the next steps:
- Refine Your Design: Based on your initial drawing, create a more detailed plan with precise measurements and specifications for cabinets, appliances, and materials.
- Get Quotes: Obtain quotes from contractors, cabinet makers, and appliance retailers.
- Secure Permits: Check with your local building department to determine if any permits are required for your renovation.
- Prepare for Demolition: Clear out the existing kitchen and protect adjacent areas from dust and debris.
- Execution: Stay in close communication with your contractor throughout the remodeling process to ensure the project stays on track and within budget.
Remember, designing a kitchen that meets your specific needs and preferences requires careful planning and attention to detail. For a more expansive overview of the tools available to make this process a success, check out Design your dream kitchen.
Quick Answers: Common Questions About Kitchen Layout Design
Q: Do I really need software? Can’t I just use graph paper?
A: While graph paper works for basic sketching, software offers significant advantages. It allows for 3D visualization, easy modification, and accurate measurements. It also makes it easier to experiment with different layouts and materials.
Q: Is it possible to design a kitchen layout online?
A: Absolutely! Several free and paid online tools, like IKEA Kitchen Planner and Planner 5D, allow you to create 2D and 3D kitchen layouts without downloading any software.
Q: How important is it to stick to the “work triangle”?
A: The work triangle is a helpful guideline, but it’s not a rigid rule. Consider your specific cooking style and needs. For example, if you frequently have multiple people working in the kitchen, a more open layout might be preferable.
Q: What if I have a very small kitchen?
A: Small kitchens require creative solutions. Consider space-saving appliances, vertical storage, and light colors to make the space feel larger. A galley layout is often the most efficient option for small kitchens.
Q: Can I use kitchen design software on my Mac?
A: Yes! Many kitchen design software options are available for Mac, including Live Home 3D, Home Designer Suite, and Virtual Architect Home Design. Fusion 360 also works natively on Apple Silicon Macs.
Your Kitchen Design Playbook: A Quick Start
Ready to start making kitchen layout drawing easy? Follow these steps:
- Measure: Get precise measurements of your existing kitchen.
- Sketch: Create a rough sketch of your kitchen’s perimeter, marking the locations of plumbing and electrical outlets.
- Experiment: Try different layouts (L-shaped, U-shaped, galley, island) and place the essential elements (sink, stove, refrigerator).
- Choose Software: Select a kitchen design software that fits your skill level and needs.
- Refine: Develop a detailed plan with precise measurements and specifications.
- Get Quotes: Obtain quotes from contractors, cabinet makers, and appliance retailers.
By following these steps, you’ll be well on your way to designing a kitchen that’s both functional and beautiful. Don’t be afraid to experiment and have fun with the process!

- DIY Bathroom Mirror Frame Designs on a Budget - October 12, 2026
- Creative Bathroom Mirror Border Ideas for Every Style and Budget - October 11, 2026
- Bathroom Finishes That Handle Moisture and Look Great - October 10, 2026










