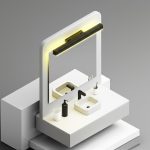
The tile is set, the vanity is in place, and the paint is perfect. Yet, the room feels incomplete. This is the moment where the right brass bathroom light fixtures can transform a functional space into a personal sanctuary, acting as the finishing jewelry that ties everything together. Get it right, and you create a warm, inviting glow; get it wrong, and even the most expensive materials can fall flat.
This isn’t just about picking a pretty light. It’s about understanding how the metal’s finish, the fixture’s style, and the quality of light work together to create an atmosphere that is both flattering and functional, day after day.
At a Glance: Your Guide to Choosing Brass Lighting
- Decode the Finish: Learn the critical differences between unlacquered, lacquered, satin, and antique brass to match your maintenance style and aesthetic goals.
- Layer Like a Pro: Understand how to combine vanity lights, sconces, and ceiling fixtures for a layered lighting scheme that eliminates shadows.
- Master the Math: Get simple rules for sizing fixtures to your vanity and placing them at the correct height for the most flattering light.
- Pair with Your Style: See concrete examples of which brass fixtures work best for modern, traditional, and farmhouse bathrooms.
- Avoid Common Pitfalls: Learn why damp ratings are non-negotiable and how to mix brass with other metal finishes successfully.
It’s Not Just Gold—Understanding Different Brass Finishes
The term “brass” covers a wide spectrum of colors and textures. The finish you choose is the single most important factor in determining the fixture’s overall character and how it will interact with your bathroom’s design.
Unlacquered Brass: The Living Finish
Think of unlacquered brass as a living material. It’s solid, raw brass with no protective coating, meaning it will react with the oxygen and moisture in the air. Over time, it develops a unique patina—a rich, deep, and often uneven darkening that gives it an authentic, antique character.
- Best for: Homeowners who love a vintage, evolving aesthetic and appreciate materials that tell a story. It’s perfect for traditional, historic, or eclectic “wabi-sabi” designs.
- Keep in Mind: This finish is high-maintenance if you want to keep it shiny. It requires regular polishing with a dedicated brass cleaner. If you embrace the patina, however, it’s virtually zero-maintenance.
Lacquered Brass: Polished and Protected
This is the classic, shiny brass many people remember, but refined for modern tastes. A clear lacquer coating is applied over polished brass, sealing it from the elements. This prevents tarnishing and keeps the fixture looking bright and new with minimal effort.
- Best for: Anyone seeking a consistently polished, high-shine look without the upkeep. It fits well in glamorous, traditional, or Hollywood Regency-style bathrooms.
- Keep in Mind: The lacquer can be scratched by abrasive cleaners or tools, so gentle cleaning with a soft cloth is key.
Satin & Brushed Brass: The Modern Matte
Satin brass, often called brushed brass, is the current darling of the design world. It has a soft, matte finish created by treating the metal with a wire brush, which leaves subtle linear textures. This mutes the reflectivity, resulting in a sophisticated, warm glow rather than a bright shine.
- Best for: A wide range of styles, from mid-century modern and contemporary to transitional and even modern farmhouse. Its understated elegance is incredibly versatile.
- Keep in Mind: This finish is excellent at hiding fingerprints and water spots, making it a practical choice for a high-traffic bathroom. Choosing the right finish is the first step, especially when selecting your primary light source. Our comprehensive Brass Vanity Lights Guide covers how to match these finishes to specific vanity styles.
Antique & Aged Brass: Character Straight from the Box
If you love the look of aged brass but don’t want to wait for it to patina naturally, antique brass is the answer. These fixtures are chemically treated at the factory to create a darkened, time-worn appearance. The finish is then sealed, so the look remains stable over time.
- Best for: Creating instant character in rustic, industrial, or farmhouse bathrooms. It provides an authentically old-world feel without the unpredictability of unlacquered brass.
- Keep in Mind: The darkness and tone can vary significantly between manufacturers. It’s wise to order a sample or purchase all your fixtures from the same collection to ensure a consistent look.
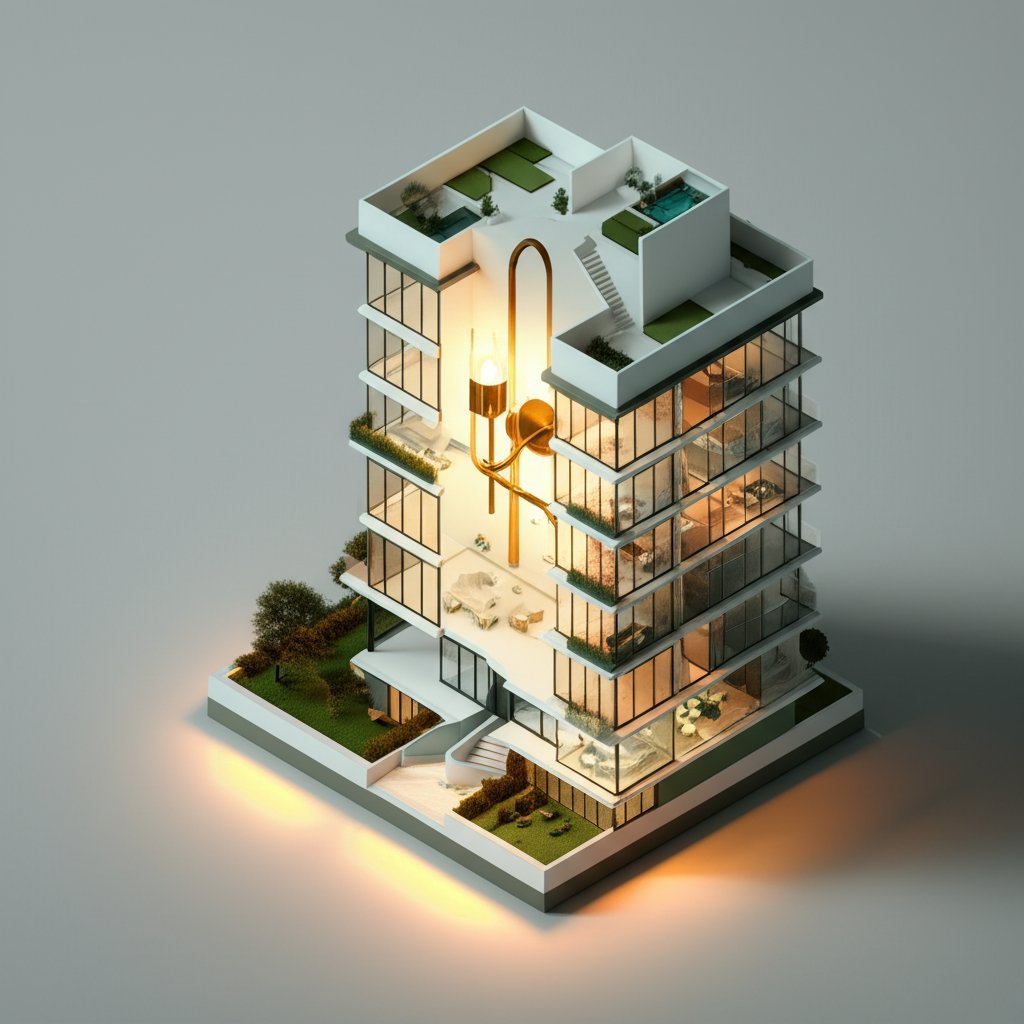
Layering Light for a Functional and Flattering Bathroom

A great bathroom lighting plan relies on layers. Relying on a single overhead light is a classic mistake—it casts harsh shadows on the face, making everyday tasks like shaving or applying makeup difficult. A layered approach using different types of brass bathroom light fixtures ensures even, adaptable illumination.
Task Lighting: Your Vanity’s Best Friend
This is the most critical layer. Task lighting illuminates the vanity area for grooming. The goal is to cast even light on your face, minimizing shadows.
- Vertical Sconces: The best option is to place a sconce on each side of the mirror, roughly at eye level (around 60-66 inches from the floor). This provides cross-illumination, which is universally flattering.
- Horizontal Fixture: If you don’t have space for side sconces, a horizontal light mounted above the mirror is the next best choice. It should be at least 24 inches wide for a single sink to spread light effectively.
Case Snippet: For a client’s 48-inch vanity, we flanked a simple round mirror with two 18-inch tall satin brass sconces with frosted glass cylinders. This provided perfect, shadow-free light and added a touch of modern elegance that complemented the room’s marble tile.
Ambient Lighting: The Overall Glow
Ambient light is the general, foundational light that fills the whole room. It makes the space feel safe and navigable.
- Flush or Semi-Flush Mounts: For bathrooms with standard 8-foot ceilings, a brass flush-mount fixture in the center of the room is an excellent source of ambient light. For ceilings 9 feet or taller, a semi-flush mount that hangs down a few inches can create more visual interest.
- Recessed Lighting: While often more functional than decorative, recessed lights with a “warm dim” feature can supplement a central brass fixture, especially in larger bathrooms.
Accent Lighting: Adding Drama and Focus
This is the “fun” layer. Accent lighting highlights architectural features or creates a mood.
- Pendant Lights: A single, beautiful brass pendant hanging over a freestanding tub or in a high-ceilinged powder room corner can serve as a stunning focal point.
- Picture Lights: If you have artwork in your bathroom, a small brass picture light adds a touch of library-like sophistication.
- Chandelier: In a large primary bathroom with high ceilings, a small-scale brass chandelier can add an incredible sense of luxury and drama.
Getting It Right: Sizing, Placement, and Installation Essentials
The technical details can make or break your design. Follow these guidelines to ensure your fixtures look and perform their best.
The Rules of Scale and Proportion
A fixture that’s too small will look lost, while one that’s too large can overwhelm the space.
For a Light Above the Mirror: The fixture should be about 75% of the mirror’s width, but never wider than the vanity itself.
| Vanity Width | Recommended Fixture Width (Above Mirror) |
|---|---|
| 24″ – 30″ | 18″ – 24″ |
| 36″ – 48″ | 28″ – 36″ |
| 60″+ (Double) | One 48″+ fixture or two smaller fixtures |
| For Sconces Flanking the Mirror: Mount them a few inches to the side of the mirror and about 36-40 inches apart from each other, centered on the sink. The vertical midpoint of the sconce should be at eye level (60-66 inches from the floor). |
Don’t Forget the Bulb: Color Temperature Matters
The bulb you choose is just as important as the fixture.
- Color Temperature (Kelvin): For bathrooms, designers almost universally recommend a color temperature between 2700K and 3000K. This range produces a warm, soft white light that is flattering to skin tones, mimicking the warmth of incandescent bulbs without the harshness of cooler “daylight” bulbs (4000K+).
- Color Rendering Index (CRI): Look for bulbs with a CRI of 90 or higher. This means the light will render colors accurately—a crucial detail for applying makeup.
- Dimmers: Always install your primary bathroom lights on a dimmer switch. This gives you the flexibility to have bright, energizing light in the morning and soft, relaxing light for an evening bath.
Wet vs. Damp Ratings: A Non-Negotiable Safety Check
Water and electricity don’t mix. The UL (Underwriters Laboratories) rating on a light fixture tells you where it can be safely installed in a bathroom.
- Damp-Rated: These fixtures can withstand moisture and condensation but not direct contact with water. They are suitable for almost every area of the bathroom, including above the vanity and as the main ceiling light.
- Wet-Rated: These fixtures are built to handle direct exposure to water from a shower or hose. They are the only type of fixture that is code-compliant for installation inside a shower enclosure.
For safety and longevity, ensure any brass bathroom light fixtures you purchase are at least damp-rated.
Quick Answers to Common Brass Lighting Questions
Is brass lighting a trend that will go out of style?
Brass is a classic material, not a fleeting trend. While its popularity ebbs and flows, it has been used in homes for centuries. Today’s popular finishes—like satin, brushed, and unlacquered brass—are far more subtle and sophisticated than the shiny, lacquered brass of the 1980s. They offer a timeless warmth that stainless steel and chrome can’t replicate.
Can I mix brass light fixtures with other metal finishes in my bathroom?
Absolutely! Mixing metals is a sign of a thoughtful, curated design. The key is to be intentional. A popular and successful strategy is to pair warm metals (like brass) with cool or neutral ones. For a high-contrast, modern look, pair satin brass fixtures with matte black faucets and hardware. For a softer, more traditional feel, mix antique brass with polished nickel. A good rule of thumb is to stick to two or three metal finishes per room to avoid a chaotic look.
How do I clean and maintain my brass fixtures?
It depends entirely on the finish. For lacquered, satin, or antique brass, a simple wipe-down with a soft, damp cloth is all that’s needed. Avoid harsh chemicals or abrasive sponges, which can damage the protective coating. For unlacquered brass, you have a choice: let it age and patina naturally, or use a dedicated brass polish to restore its original shine whenever it starts to darken.
Will brass tarnish or rust in a humid bathroom?
Solid brass does not rust. However, unlacquered solid brass will tarnish (patina) when exposed to air and moisture—a chemical reaction that many people desire for its aesthetic. Lacquered brass is protected from this process. The key term here is “solid brass.” Be wary of cheaper fixtures labeled “brass finish,” as they may be made of steel or another metal that can rust if the thin brass plating gets scratched or wears away.
Your Next Step: From Inspiration to Installation
Choosing the right brass bathroom light fixtures is about balancing beauty with function. By focusing on finish, layers, and proper scale, you can select pieces that not only illuminate your space but elevate its entire design.
To put it all into action, follow this simple decision path:
- Define Your Style: Are you aiming for minimalist modern, classic traditional, or cozy farmhouse? Your answer will point you toward the right fixture shapes and details.
- Choose Your Finish: Do you want a living patina that evolves over time (unlacquered), a consistent and brilliant shine (lacquered), a soft modern matte (satin), or instant vintage character (antique)?
- Plan Your Layers: Identify where you need focused task lighting (at the vanity), general ambient light (from the ceiling), and any dramatic accent lighting (over a tub or art).
- Measure and Size: Use your vanity width as a guide for horizontal lights and the 60-66 inch height rule for sconces to ensure flattering, functional placement.
- Check the Rating & Bulbs: Confirm your chosen fixtures are at least damp-rated and pair them with dimmable, 2700K-3000K bulbs with a high CRI.
With these guidelines, you’re equipped to make a confident choice that will bring warmth, character, and a touch of timeless elegance to your bathroom for years to come.

- Brass Bathroom Light Fixtures Bring Warmth and Elegance to Baths - June 8, 2026
- Brass Vanity Lights Elevate Your Bathroom with Elegant Warmth - June 7, 2026
- Bathroom Light Fixtures Black Elevate Modern Design in Any Home - June 6, 2026