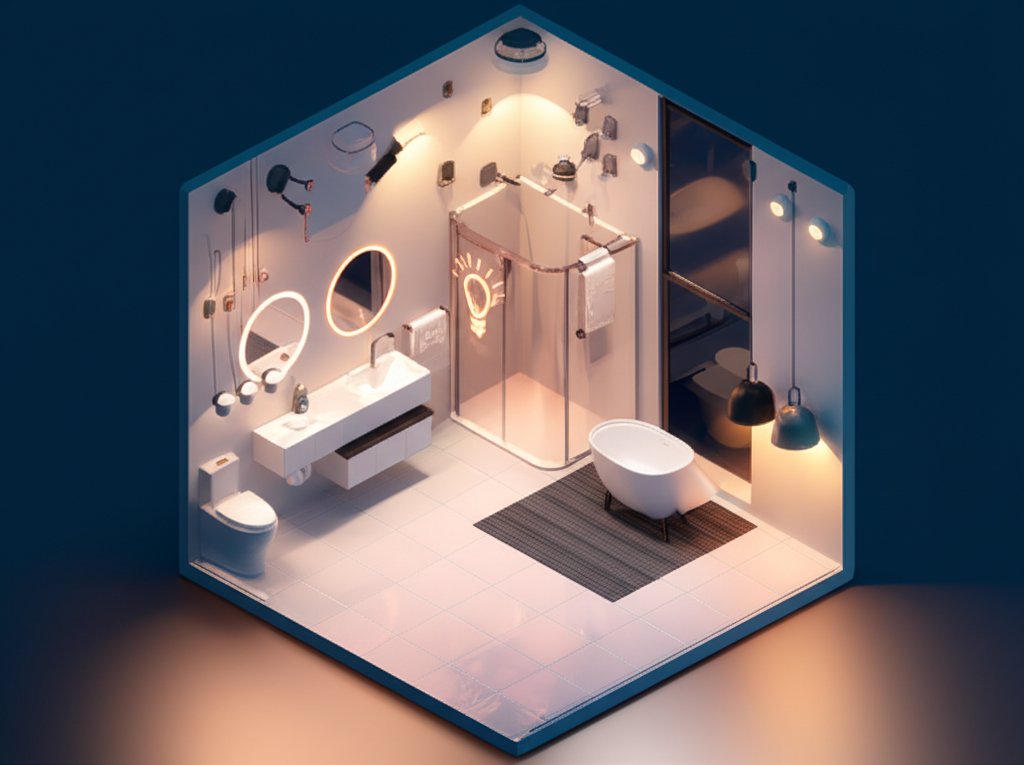
That overhead vanity light—the one with the dated, tulip-shaped shades—has been bothering you for months. A full bathroom remodel isn’t on the calendar, but the fixture feels like a relic from another decade. Here’s the good news: you don’t need a contractor to create a major style shift. Replacing your old bathroom light shades is one of the fastest, most affordable, and highest-impact DIY upgrades you can make, instantly changing the mood and modernity of your space.
This isn’t just about covering a bare bulb. The right shade shapes the light, directs its flow, and acts as a key decorative element that ties the room together. Whether you’re swapping out a broken glass cover or chasing a whole new aesthetic, this guide will walk you through everything you need to know to choose, measure, and install the perfect new shades.
Your Quick Upgrade Cheat Sheet
Pressed for time? Here are the key takeaways for a successful light shade swap:
- Measure First, Shop Second: The single most important step is measuring your fixture’s “fitter” diameter. This ensures your new shade will actually fit.
- Material Matters: Glass is the go-to for bathrooms due to its durability and moisture resistance. The type of glass—clear, frosted, or seeded—determines the quality of light.
- Shape Defines Style: From sleek modern cylinders to classic schoolhouse globes, the shape of your shade is a primary driver of your bathroom’s design theme.
- Light Direction is Key: Shades that point up (“uplights”) cast soft, ambient light. Shades that point down (“downlights”) provide direct, focused task lighting ideal for a vanity.
- Installation is DIY-Friendly: In most cases, changing a light shade requires no wiring or special tools. If you can change a lightbulb, you can do this.
Why a Simple Shade Swap Delivers Such a Big Payoff
It’s easy to underestimate the power of a small glass or metal dome. But light fixture shades are the unsung heroes of interior design, especially in a functional space like a bathroom. They perform two critical jobs at once: controlling the light and defining the style.
Think of it like a camera lens. A bare bulb is a flood of harsh, unfiltered light that can create glare and sharp shadows—the last thing you want when you’re getting ready in the mirror. A shade filters and directs that light.
- Frosted or Etched Glass diffuses light, softening it to create a flattering, even glow with fewer shadows.
- Clear Glass provides maximum brightness but works best with a stylish Edison or vintage-style bulb to prevent harsh glare.
- Opaque Metal Shades act like spotlights, funneling all light in one direction for focused, dramatic task lighting.
Beyond function, the shade is what gives a fixture its personality. A row of clear, globe-shaped shades can instantly give a generic vanity a mid-century modern vibe. Swapping dated, swirled glass for crisp, white linen drum shades can make the space feel more like a spa. It’s a five-minute fix that redefines the entire fixture.
Before You Shop: The Two Measurements You Can’t Skip
Jumping online and picking the prettiest shade you see is a recipe for frustration. To avoid the hassle of returns, you need to understand how your new shade will connect to your existing fixture.
1. Nail the Fitter Size
The “fitter” is the part of the light fixture that the shade attaches to. The opening at the base of your light shade must match the fitter’s diameter. It’s a precise measurement, so grab a ruler or tape measure.
Most bathroom vanity lights use a threaded socket with a socket ring. To find the fitter size, first make sure the light is off and the bulb is cool. Unscrew the bulb, then unscrew the plastic or metal ring at the base of the socket. You can now remove the old shade.
Measure the outside diameter of the threaded socket. The most common size for bathroom fixtures is 2 ¼ inches, but 1 ⅝ inches and 3 ¼ inches are also prevalent. Your new shade needs to have a hole that is just slightly larger than this measurement so it can slide over the socket and be secured by the socket ring.
A few fixtures, especially older or custom ones, might use fitter screws instead of a socket ring. In this case, the shade rests on the outside of a metal cup and is held in place by two or three small screws. For these, you’ll measure the outside diameter of the cup itself.
2. Decide on Light Direction: Up or Down?
Where your shade directs light dramatically alters the room’s atmosphere and functionality.
- Down-Facing Shades: These direct light downward, making them ideal for task lighting over a vanity mirror. They illuminate your face clearly for makeup application, shaving, or skincare. The downside is they can create more shadows elsewhere in the room.
- Up-Facing Shades: These point light toward the ceiling, which then reflects it to create soft, ambient, and general illumination. This method reduces glare and makes a room feel larger and more open. However, it’s less effective for direct tasks and can allow dust and debris to collect inside the open shade.
Many modern fixtures offer the flexibility to be mounted in either direction, so consider which type of lighting best suits your needs before choosing a shade style.
A Guide to Bathroom-Friendly Shade Materials
While you can find light shades made from almost anything, the humidity and cleaning requirements of a bathroom narrow the field. Glass, metal, and certain hard-backed fabrics are the most practical and popular choices.
Classic Glass: The Undisputed Champion
Glass is the most common material for bathroom light shades, and for good reason. It’s impervious to moisture, a breeze to clean, and offers limitless variety.
- Clear Glass: Perfect for a bright, airy look and showcasing a decorative bulb (like an Edison bulb). It provides the most illumination but can sometimes feel harsh if the bulb is too bright.
- Frosted, Etched, or Satin Glass: These are the workhorses of bathroom lighting. The surface treatment diffuses the light, creating a soft, even glow that minimizes shadows and is flattering for vanities.
- Seeded or Bubbled Glass: This type has tiny air bubbles trapped within, adding a layer of texture and visual interest. It gently obscures the bulb and offers a handcrafted, vintage, or coastal feel.
- Alabaster or Marbled Glass: Featuring soft, milky swirls, these shades provide a warm, traditional look. The patterns help diffuse light beautifully and add a touch of elegance.
- Crackle Glass: This glass is designed to look like it has a web of tiny cracks, which refracts light in interesting ways for a unique, antique effect.
The main drawback to glass, as noted by retailers like Destination Lighting, is its fragility. One accidental knock can lead to a crack or shatter, which is why the market for individual replacement shades is so robust.
Metal Shades: For an Industrial or Farmhouse Vibe
Metal shades bring a completely different aesthetic. They are durable, opaque, and create highly directed light.
- Common Styles: Look for domes, cones, or wire cages. These shapes are staples of industrial, modern farmhouse, and rustic design.
- Finishes: Finishes are key. Matte black provides a bold, graphic punch. Polished chrome or nickel ties in with modern faucets. Aged brass or bronze adds warmth and a vintage feel.
- Light Quality: Because metal is opaque, all light is directed out of the opening. This is excellent for focused task lighting but won’t provide much general room illumination. They are often best paired with another light source, like a ceiling fixture.
Fabric Shades: A Touch of Softness (With a Caveat)
Fabric shades can look stunning in a bathroom, lending the space a soft, luxurious feel more akin to a living room or bedroom.
- Best Use Cases: They are best suited for powder rooms or large, well-ventilated master bathrooms where humidity is less of a concern.
- What to Look For: Opt for hard-backed drum or square shades made from linen or a simple cotton fabric. Avoid delicate materials like silk.
- The Downside: Fabric can absorb moisture, attract dust, and is more difficult to clean than glass or metal. In a steamy, poorly ventilated bathroom, they can become discolored or even develop mildew over time.
Finding Your Style: Matching Shades to Your Decor
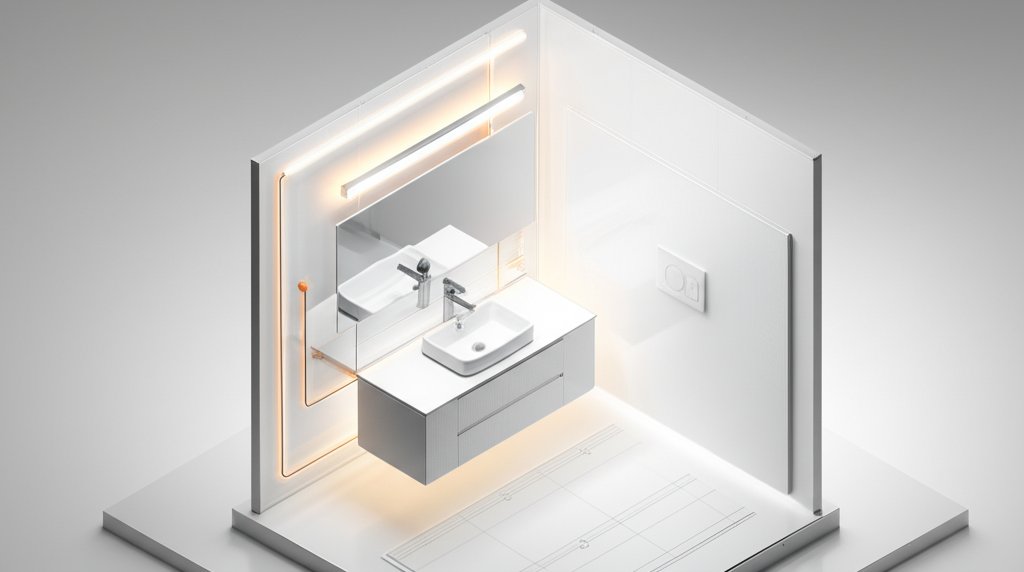
With measurements and material in mind, you can focus on the fun part: aesthetics. The shape and style of your shades should complement your bathroom’s overall design.
The Shape of Light: From Globes to Bells
- Globes and Orbs: Simple spherical shades are incredibly versatile, fitting perfectly in mid-century modern, minimalist, and contemporary bathrooms.
- Cylinders and Drums: With their straight, clean lines, these shades are a go-to for modern and transitional spaces.
- Bells and Tulips: The classic flared shape lends itself to traditional, Victorian, and transitional styles. A more streamlined bell can also work in a modern farmhouse design.
- Squares and Rectangles: Boxy shades offer a tailored, geometric look that complements Art Deco, modern, and Arts and Crafts-inspired bathrooms.
- Schoolhouse Shades: This iconic, slightly flared shape with a defined collar evokes a vintage, retro, or classic academic feel that’s incredibly popular in farmhouse and traditional decor.
The process of Choosing vanity light shades requires thinking about how multiple shades will look together in a row. A set of three or four identical shades creates a sense of rhythm and cohesion over a double vanity.
Coordinating with Fixtures and Finishes
Don’t forget the fixture itself. While you can create an eclectic look by mixing, the safest bet is to coordinate. If your vanity light base is matte black, shades with black accents or cages can tie the look together. If your faucets are polished chrome, clear glass or crisp white shades will feel right at home. The goal is to create a deliberate, cohesive look, even if you’re just changing one small component.
Frequently Asked Questions, Answered
Can I use any light shade in a bathroom?
Technically, yes, but it’s not always wise. Your best bet is to stick with materials that can handle moisture and are easy to clean, like glass and metal. Avoid untreated paper, delicate fabrics, or raw wood unless your bathroom is exceptionally large and well-ventilated.
How do I clean my glass light shades?
For a quick dusting, a microfiber cloth works wonders. For a deeper clean to remove hairspray residue or water spots, turn the power off, let the bulb cool, and remove the shade. Wash it carefully in the sink with warm water and a little dish soap, then rinse and dry thoroughly with a lint-free cloth before reinstalling.
Do I need an electrician to change a light shade?
Absolutely not. Replacing a screw-on shade is a simple, tool-free DIY task. You are not touching any wiring. You are simply unscrewing a retaining ring, swapping the glass, and screwing the ring back on.
What if my broken shade is part of a matching set?
This is a common dilemma. First, check the manufacturer’s website; many sell replacement glass for their fixtures. If it’s a discontinued model, your best bet is to buy a full set of new, identical shades for all the lights on the fixture. This ensures a perfect match and gives you a chance to update the style.
The Finishing Touch: A 5-Minute Installation Guide
Ready to make the swap? Here’s a simple, step-by-step process.
- Turn Off the Power. For safety, don’t just rely on the wall switch. Flip the corresponding breaker in your home’s electrical panel to cut all power to the fixture.
- Let the Bulb Cool. If the light has been on, give the bulb at least 10-15 minutes to cool down completely to avoid burns.
- Remove the Bulb. Gently unscrew the lightbulb and set it aside.
- Unsecure the Old Shade. Locate the socket ring or fitter screws holding the old shade in place. Carefully unscrew the ring (counter-clockwise) or loosen the screws until you can lift the shade off. Be sure to support the shade with your other hand so it doesn’t fall.
- Install the New Shade. Position the new shade over the socket, making sure the fitter hole aligns correctly.
- Secure the New Shade. Screw the socket ring back on until it is snug. Don’t overtighten, as this can crack the glass. If you have fitter screws, tighten them evenly until the shade is secure but not under pressure.
- Finish Up. Re-install the lightbulb, turn the power back on at the breaker, and flip the switch to admire your work.
Your Weekend Project, A Brighter Bathroom
You don’t have to live with lighting you don’t love. Swapping out your bathroom light shades is more than just a minor repair; it’s an opportunity to inject new personality into your space without the cost and chaos of a renovation. It’s an easy win—a project you can complete in less than an hour that will make you smile every time you walk into the room.
Armed with the right measurements and a clear style in mind, you’re ready to transform your bathroom’s atmosphere. Go ahead and give that dated fixture the modern, stylish update it deserves.

- DIY Bathroom Mirror Frame Designs on a Budget - October 12, 2026
- Creative Bathroom Mirror Border Ideas for Every Style and Budget - October 11, 2026
- Bathroom Finishes That Handle Moisture and Look Great - October 10, 2026










