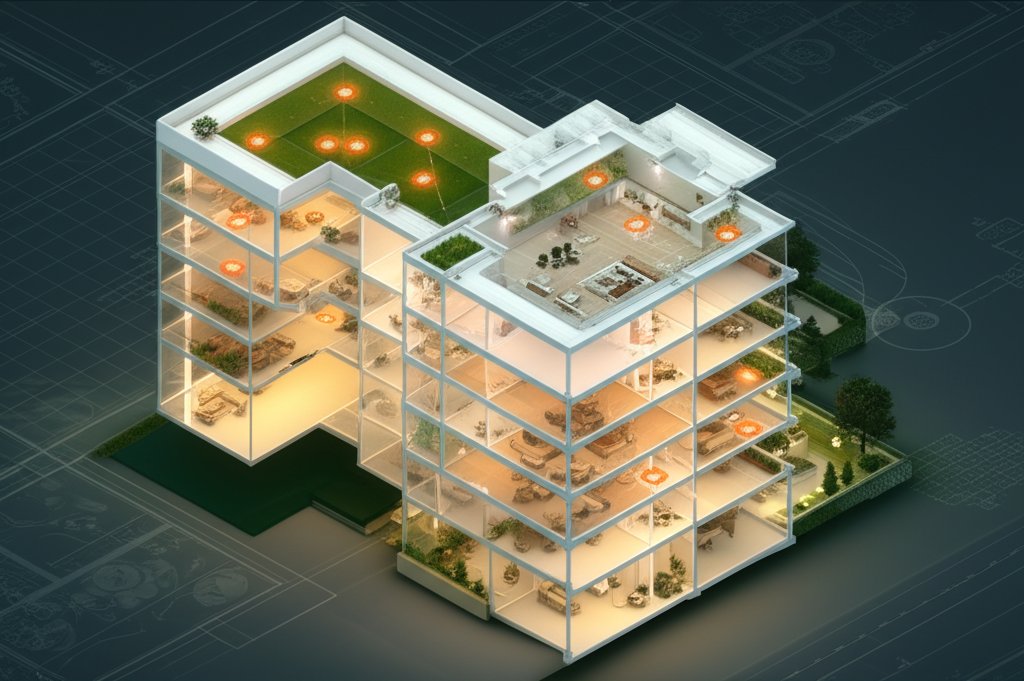
That dream of a clean, uncluttered ceiling can hit a snag—a very solid one. You start your lighting project, only to discover a plumbing pipe, an HVAC duct, or a shallow roof rafter exactly where you planned to install a light. This is where low profile recessed lighting becomes more than just a design choice; it’s a problem-solver. These ultra-thin fixtures slide into spaces traditional “can” lights could never fit, delivering a flush, modern look without demanding deep ceiling clearance.
At a Glance: Your Low Profile Lighting Playbook
- Identify the Right Fit: Learn precisely when to choose wafer-thin lights over standard recessed cans.
- Master the Measurement: Understand how to accurately check your ceiling clearance and what “IC-rated” really means for your safety.
- Compare Key Types: Differentiate between remodel and new construction models to buy the right fixture the first time.
- Perfect Your Placement: Get actionable tips for spacing and zoning lights to avoid common design mistakes.
- Solve Common Issues: Find clear answers on dimming, longevity, and installing in tricky spots like sloped ceilings.
When Ceiling Cavity Depth Is Your Biggest Constraint
The primary driver for choosing low profile fixtures is a lack of vertical space in the ceiling joist bay. Older homes, basements with low head-height, or ceilings directly under a roofline often present this challenge. A conventional recessed light, with its bulky metal housing or “can,” typically requires at least six inches of unobstructed depth.
That’s a lot of real estate.
Low profile recessed lighting—often called wafer lights, slim lights, or canless lights—solves this by design. Instead of a large, integrated can, these fixtures use a separate, small junction box that can be tucked away in the ceiling cavity. The light itself is an incredibly thin LED disc, often requiring as little as half an inch of clearance.
This simple change in architecture opens up a world of possibilities. That ceiling with the massive ductwork running through it? You can now light it evenly. That historic home with its original plaster-and-lath ceiling? It can be updated with minimal intrusion.
Traditional Cans vs. Low Profile: A Quick Comparison
| Feature | Traditional Recessed “Can” Light | Low Profile “Canless” Light |
|---|---|---|
| Required Clearance | 5 to 8 inches | 0.5 to 3 inches |
| Housing | Large, one-piece metal can | Slim LED disc with a remote junction box |
| Best For | New construction with ample ceiling space | Renovations, low ceilings, obstructed cavities |
| Installation | Mounts to joists; can be complex in remodels | Clips directly to drywall; simpler for remodels |
| Light Source | Typically requires a separate bulb | Integrated, long-life LED module |
Your Three-Step Checklist for Selecting the Perfect Light
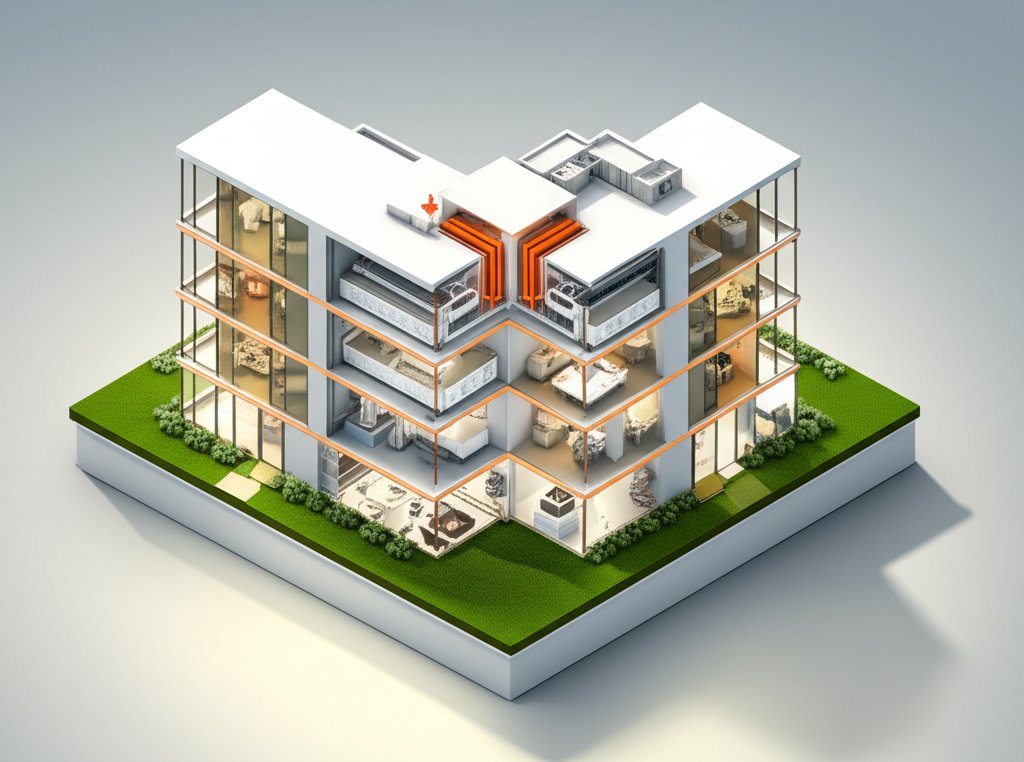
Choosing the right fixture goes beyond just finding one that fits. To get professional-grade results, you need to match the hardware to your specific project needs. Follow this simple framework to make an informed decision.
Step 1: Measure Twice, Cut Once – Getting Clearance Right
Before you even browse for lights, you must know your constraints. The most reliable way to check your ceiling depth is to drill a small, inconspicuous test hole where you plan to place a light. Use a bent piece of a coat hanger or a stiff wire, mark where it hits the ceiling, and then insert it to feel for the first obstruction (like the floor above or a pipe).
Once you have your measurement, look for two key ratings:
- Fixture Height: The product specifications will list the minimum clearance needed. A typical wafer light might need 2 inches for the fixture and its remote junction box.
- IC Rating (Insulation Contact): This is non-negotiable for most residential applications. An IC-rated fixture is certified to be in direct contact with ceiling insulation without creating a fire hazard. Almost all modern LED low profile lights are IC-rated, but it’s crucial to verify. A non-IC fixture would require you to build an airtight box around it or keep insulation several inches away, defeating the purpose of a space-saving light.
Step 2: New Construction vs. Remodel – A Critical Distinction
How your light attaches to the ceiling is determined by whether the ceiling drywall is already up.
- New Construction Fixtures: These are designed to be installed before the drywall. They typically come with mounting plates or hanger bars that attach directly to the ceiling joists, providing a super-secure foundation. This is the ideal choice if you have open access to the ceiling frame.
- Remodel Fixtures: These are the go-to for existing rooms. They feature a simpler design with spring-loaded clips. After you cut the hole in the drywall, you connect the wiring, and the clips grab onto the back of the drywall, holding the light firmly in place.
Practical Scenario: You’re updating your kitchen lighting without tearing down the ceiling. You absolutely need a “remodel” style fixture. If you accidentally bought a “new construction” model, you’d have no way to properly secure it to the joists through a 4-inch hole.
Step 3: Dialing in the Details – Light Quality and Features
With the physical fit confirmed, it’s time to focus on the quality of light.
- Lumens & Kelvin: Think of lumens as brightness and Kelvin (K) as the color of the light. For ambient lighting in a living room, 600-800 lumens per fixture at a warm 2700K-3000K is cozy. For a kitchen or home office, you’ll want brighter task lighting—closer to 1000 lumens at a cooler, more neutral 4000K.
- CRI (Color Rendering Index): This measures how accurately a light source reveals the true colors of objects. A low CRI light can make food look unappetizing or clothing colors appear dull. Look for a CRI of 90+ for any space where color accuracy matters, like kitchens, bathrooms, and closets. According to lighting expert and professor Dr. Mariana Figueiro of the Lighting Research Center, high-CRI lighting is crucial for spaces where visual tasks are performed.
- Dimming Compatibility: Most low profile LEDs are dimmable, but they can be finicky. To avoid the dreaded flicker or buzz, you must pair them with a compatible dimmer switch. Many manufacturers, like WAC Lighting and Progress Lighting, publish lists of tested and approved dimmers. An ELV (Electronic Low Voltage) dimmer is often the most reliable choice for LED fixtures.
Once you’ve narrowed down the technical specs, you can apply these choices within a larger layout strategy. Our comprehensive Small Recessed Lighting Guide covers general placement rules and design principles that work for all types of recessed fixtures.
The Installation Playbook: From Box to Ceiling
One of the biggest advantages of low profile recessed lighting is its DIY-friendly installation process, especially for remodel versions. Here’s a simplified breakdown of the steps.
Safety First: Always turn off the power to the circuit at the breaker box before starting any electrical work.
- Plan Your Layout: Use masking tape on the ceiling to visualize your layout. A common rule of thumb for general lighting is to space 4-inch lights about 4-5 feet apart. The distance from a wall should typically be half the distance between the lights (e.g., 2 feet from the wall if the lights are 4 feet apart). This prevents harsh shadows, known as “scalloping,” on the walls.
- Mark and Cut: Most fixtures come with a paper template. Trace the circle onto your ceiling. Use a drywall hole saw attached to a drill for a perfectly clean and fast cut. A manual jab saw also works but requires more care.
- Run and Wire: Run your electrical cable (typically 14/2 Romex for a 15-amp circuit) from the power source to the first light location, and then daisy-chain from one hole to the next. Connect the wires inside the remote junction box that comes with the light—black to black, white to white, and ground to ground. The push-in connectors included with most modern kits make this much simpler than traditional wire nuts.
- Connect and Secure: Plug the low-voltage cable from the junction box into the light fixture itself. Push the junction box up through the hole and into the ceiling cavity. Finally, squeeze the spring-loaded clips on the side of the light, push the fixture into the hole, and release. The clips will snap into place, pulling the light flush against the ceiling.
Case Snippet: The Basement Renovation
A client was finishing their basement, but the main HVAC trunk line created a large soffit that left only 3 inches of clearance in the main living area. Standard cans were impossible. We installed a grid of 4-inch, 3000K low profile recessed lighting spaced four feet apart. The result was bright, even illumination that made the 7.5-foot ceiling feel taller and more open—a transformation that would have been impossible without canless technology.
Sidestep These Common Low Profile Lighting Mistakes
These slim fixtures are forgiving, but a few common missteps can undermine your project’s success.
- The “Airport Runway” Effect: Placing too many lights in a single, straight line creates a sterile, commercial feel. Instead, think in zones. Group lights over the kitchen island, create a square or rectangular pattern in the living room, and use single lights to highlight specific features.
- Ignoring Trim and Gimbal Options: While most wafer lights have a simple, flat white trim, they also come in black, brushed nickel, and other finishes. More importantly, consider a gimbal (adjustable) trim. For a sloped ceiling or to highlight a piece of art, an adjustable trim lets you direct the light beam exactly where you need it.
- Forgetting Wet/Damp Ratings: Standard fixtures are “dry-rated.” For a bathroom shower or a covered porch, you must use a fixture that is “wet-rated.” For a general bathroom area outside the shower, a “damp-rated” fixture is sufficient. Using the wrong type is a code violation and a safety hazard.
Quick Answers to Your Pressing Questions
Q: Are canless and low profile recessed lights the same thing?
Yes, for the most part. “Low profile,” “canless,” “wafer,” and “slim” are all terms used to describe the same type of ultra-thin, direct-mount LED recessed fixture. They all function by separating the light module from a remote junction box, eliminating the need for a traditional can housing.
Q: Do low profile lights get hot?
Like all lights, they produce some heat, but high-quality LED fixtures are designed with integrated heat sinks to dissipate it effectively. This is why the IC rating is so critical—it certifies that the fixture manages its heat safely, even when buried in insulation. They run significantly cooler than old-school incandescent or halogen bulbs.
Q: How long do integrated LED low profile lights last?
A major benefit of these fixtures is longevity. They don’t have a bulb to replace. The integrated LED module is typically rated for 25,000 to 50,000 hours of use. If you use the light for 4 hours a day, that translates to a lifespan of 17 to 34 years.
Q: Can I install low profile lights in a sloped ceiling?
Absolutely. This is a great application for them. However, a standard flat fixture will shine light straight down at an angle. To get the light pointing where you want it (like the floor or a countertop), you need to choose a model with an adjustable gimbal trim that allows you to pivot the light source inside the housing.
Your Quick-Start Decision Guide
Feeling ready to move forward? Use this final checklist to ensure you’re on the right track.
- If your ceiling clearance is under 5 inches…
Low profile recessed lighting is your default solution. Measure your exact clearance to choose a fixture that fits comfortably. - If you are lighting a task-heavy area (kitchen, office)…
Choose a higher Kelvin temperature (3500K–4000K) and a CRI of 90+ for bright, clear, color-accurate light. - If you are installing into an existing drywall ceiling…
Double-check that you are buying a “Remodel” style fixture with spring clips, not a “New Construction” model. - Before you commit to a full-room installation…
Buy one light and your chosen dimmer switch first. Test them together to guarantee a smooth, flicker-free dimming performance.
With their problem-solving design and minimalist aesthetic, low profile fixtures prove that a challenging ceiling is no longer a barrier. It’s an opportunity to create a clean, modern, and beautifully illuminated space.

- DIY Bathroom Mirror Frame Designs on a Budget - October 12, 2026
- Creative Bathroom Mirror Border Ideas for Every Style and Budget - October 11, 2026
- Bathroom Finishes That Handle Moisture and Look Great - October 10, 2026










