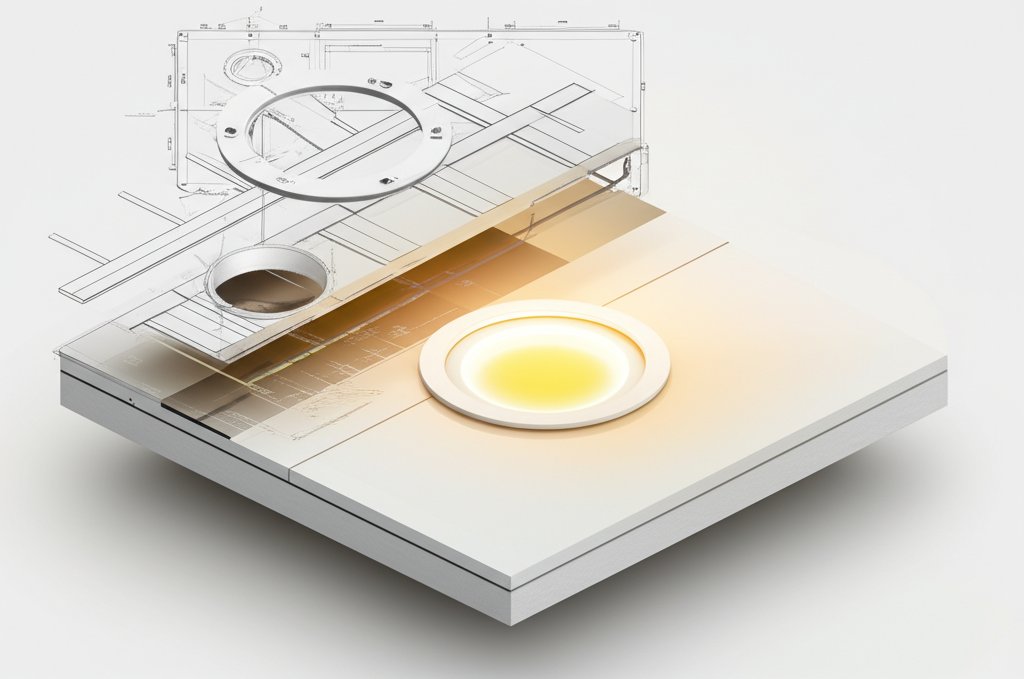
That dim, dated living room or shadowy kitchen workspace isn’t a lost cause. You see the potential for bright, focused light, but the thought of tearing open your entire ceiling to run new wiring feels overwhelming. This is exactly where remodel can lights come in, offering a clever and accessible way to add sophisticated recessed lighting to any existing room without major demolition. They are specifically engineered to work with your current ceiling, not against it.
This guide is your complete playbook for using remodel housings to upgrade your home’s lighting. We’ll move past the basics and get straight to the practical decisions and steps that lead to a professional-looking result.
At a Glance: Your Remodel Lighting Takeaways
- What They Are: Remodel can lights (or “old work” cans) are recessed lighting housings designed to be installed from below into an existing drywall or plaster ceiling.
- The Key Difference: Unlike new construction housings that are nailed to joists before drywall goes up, remodel cans use spring-loaded clips or brackets to secure themselves directly to the ceiling material.
- When to Use Them: Any time you’re adding recessed lights to a finished room where you don’t have open access to the ceiling joists from above (like an attic).
- Critical Decisions: You’ll need to choose the right size, determine if you need an IC (Insulation Contact) rating, and select the appropriate trim and bulb for your specific goal.
- Installation is DIY-able: For those comfortable with basic electrical work and careful cutting, installing remodel cans is a very achievable project.
The Smart Design That Makes It All Possible: Remodel vs. New Construction
To truly appreciate the value of a remodel can, you need to understand its counterpart. New construction housings are bulky frames designed to be nailed or screwed directly onto ceiling joists during a build or a major gut renovation. The drywall is then installed around them. They are rock-solid but impossible to install in a finished room without significant destruction.
Remodel can lights are the elegant solution. Their design is genius in its simplicity:
- A hole is cut in the ceiling to the exact size of the can.
- The electrical wiring is connected.
- The can is pushed up through the hole.
- Once inside the ceiling cavity, special retention clips are pushed, and they spring outward to clamp down on the top side of the drywall, pulling the housing snug against the ceiling.
Think of it like a drywall anchor for a light fixture. This clip mechanism is what allows the entire installation to happen from below, with only a cleanly cut hole in your ceiling.
| Feature | New Construction Housing | Remodel Housing |
| :— | :— | :— |
| Installation Time | Before drywall is installed | After drywall is finished |
| Mounting Method | Nailed/screwed to joists | Clips clamp onto the ceiling material |
| Accessibility | Requires open ceiling framing | Installed from the room below |
| Best For | New homes, additions, gut remodels | Existing rooms, basements, room updates |
Choosing the Right Remodel Can: Your Project Blueprint
Selecting the right housing is more than just picking a size. It involves a few key technical decisions that directly impact safety, energy efficiency, and the final look of your project.
Size: Why Smaller is Often Better
While 6-inch recessed lights were the standard for decades, modern design overwhelmingly favors smaller apertures. 4-inch cans offer a more refined, less obtrusive look, providing excellent light without dominating the ceiling plane. For accent or task lighting, even 3-inch models can be incredibly effective.
- Case Snippet: The Kitchen Island Update
A client wanted to brighten their dark granite island. Instead of two large 6-inch cans that would have created a “runway” look, we installed three 4-inch remodel cans. This provided more even light distribution for food prep and created a more contemporary, high-end feel.
The pillar article, Explore Small Recessed Lights, provides a fantastic framework for thinking about how smaller fixtures can create more sophisticated lighting layers. Remodel cans are simply the tool that allows you to implement that strategy in your existing space.
IC-Rated vs. Non-IC-Rated: The Critical Safety Check
This is the most important decision you’ll make. The rating tells you whether the fixture can be in direct contact with insulation.
- IC-Rated (Insulation Contact): These housings are built with a “can within a can” design or other features to prevent the fixture from overheating. You must use IC-rated cans if the fixture will touch any thermal insulation in your ceiling. This is the case for most top-floor ceilings with an attic above.
- Non-IC-Rated: These cans are less expensive but require a minimum of 3 inches of clearance from all insulation. They are only suitable for ceilings where you can guarantee no insulation will ever come near them, such as between a first and second floor or in a soffit.
Pro Tip: When in doubt, always choose an IC-rated housing. The small additional cost is negligible compared to the fire safety it provides.
Airtight (AT) Housings: The Efficiency Upgrade
Many modern IC-rated cans are also Airtight (AT). These housings are sealed to prevent conditioned air (your heated or cooled air) from leaking into the unconditioned ceiling cavity. This might seem like a small detail, but over an entire home, these leaks can add up to significant energy waste. In some regions, building codes like California’s Title 24 mandate airtight fixtures to meet energy efficiency standards.
Shallow Housings for Tight Ceilings
Standard remodel cans need about 6 to 7 inches of vertical clearance in the ceiling. But what if you have a low-profile roof, ductwork, or a large pipe in the way? Shallow-profile remodel cans are designed for this exact scenario, often requiring as little as 4 inches of clearance. Always measure your ceiling cavity depth before you buy.
The Installation Playbook: From Planning to Power-On
With the right can light selected, a successful installation comes down to a methodical process.
Step 1: Create a Lighting Layout That Works
Don’t just start cutting holes. A thoughtful layout is the difference between a random pattern and a professionally lit room.
- General Illumination: Create a grid. A common rule of thumb is to divide the ceiling height by two to get your suggested spacing. For an 8-foot ceiling, space your lights about 4 feet apart.
- Task Lighting: Position lights directly over work surfaces. In a kitchen, this means over the edge of the counter, not in the center of the walkway. This prevents you from casting a shadow on your workspace.
- Wall Washing: Place lights about 18-24 inches from a wall to illuminate it evenly, making a room or hallway feel larger and brighter.
- Accent Lighting: Use adjustable (gimbal) trims to spotlight artwork, a fireplace, or architectural features.
Step 2: Locate Joists and Obstructions Before You Cut
This is the most common DIY mistake. Cutting a hole only to find a joist directly behind it is incredibly frustrating.
- Use a high-quality electronic stud finder to map out the joists in the area you plan to work.
- Once you’ve marked your desired light location, use a small drill bit (1/8″) to drill a pilot hole.
- Cut a small piece of a wire coat hanger, bend it into an “L” shape, and insert it into the hole. Spin it 360 degrees. If it spins freely, you’re clear. If it hits something, you know you need to adjust your location.
Step 3: Cut a Clean Hole
Your remodel can light will come with a paper template. Tape this to the ceiling in your confirmed location and trace it. For a perfect cut in drywall, a drywall circle cutter or a hole saw attachment for your drill is ideal. They are faster and cleaner than using a manual jab saw.
Step 4: Run the Electrical (Safety First)
Disclaimer: Working with electricity is dangerous. If you are not 100% confident in your knowledge of safe wiring practices, hire a licensed electrician.
The general process involves:
- Turning off the power at the circuit breaker.
- Running a new cable (typically 14/2 Romex for a 15-amp circuit) from the power source (like a switch) to the first can light location.
- Chaining subsequent lights by running cable from the first can to the second, and so on.
- The remodel can itself has a built-in junction box. You’ll feed the wire into this box and make your connections (black to black, white to white, ground to ground) using wire nuts.
Step 5: Install the Housing
This is the satisfying final step.
- Push the connected can up through the hole until its flange is flush with the ceiling.
- Locate the retention clips inside the can. Using a flathead screwdriver or your fingers, push them outward.
- You will feel and hear them snap into place, clamping onto the top of the drywall. The can should now be held firmly in place.
Finish the Job: Trims and Bulbs
The can is just the housing. The trim is the visible part you see from the room, and it shapes the light.
- Baffle Trims: Have ribbed interiors to reduce glare. The most common choice for general lighting.
- Reflector Trims: Have a smooth, mirror-like interior to maximize light output. Great for high ceilings or areas needing bright light.
- Gimbal Trims: Allow you to pivot and aim the bulb, perfect for accent lighting.
For the light source itself, modern LEDs are the only way to go. Look for integrated LED trims where the light source is built-in, or use a separate LED bulb (like a PAR20 or BR30, depending on your can size). Pay attention to color temperature (measured in Kelvin), with 2700K-3000K providing a warm, inviting light suitable for most living spaces.
Quick Answers to Common Questions
Q: Can I really install remodel can lights myself?
A: Yes, the physical installation of the can is very straightforward. The electrical wiring is the part that requires expertise. If you have experience running cable and making safe connections, it’s a manageable DIY project. If not, consider hiring an electrician to run the wiring, and you can handle the layout, cutting, and final installation of the cans and trims yourself to save money.
Q: Are remodel cans as secure as new construction cans?
A: When installed correctly in standard 1/2-inch or 5/8-inch drywall, the clips provide a surprisingly strong and stable hold. They will not sag or fall out. The only limitation is that they are relying on the integrity of the drywall itself, so they cannot support heavy, decorative trim pieces.
Q: What is the biggest mistake people make installing remodel can lights?
A: Poor planning. The two most common errors are failing to create a thoughtful lighting layout, resulting in poorly placed light, and not checking for joists before cutting, leading to patched holes and project delays.
Q: Do I need to buy a separate junction box for each remodel can?
A: No. A huge benefit of modern remodel can lights is that the junction box is integrated directly into the fixture, simplifying the wiring process.
Your Remodel Lighting Checklist
Adding recessed lighting is one of the highest-impact upgrades you can make to a room. By using remodel can lights, you can achieve a clean, modern look without a full-scale renovation. Before you start, run through this final checklist:
- Confirm Your Goal: Are you aiming for general ambiance, focused task lighting, or dramatic accenting?
- Map Your Joists: Use a stud finder and pilot hole to ensure every planned location is clear.
- Choose the Right Can: Select the size (4-inch is a great modern choice), and confirm if you need an IC-rated, Airtight, or shallow-depth housing.
- Select Your Trim & Bulb: Match the trim style to your lighting goal and choose an LED with the right color temperature for the room’s atmosphere.
- Prioritize Safety: If you have any doubt about the electrical work, call a professional.
With careful planning, the right remodel can lights will empower you to completely transform the feel and function of any room, flooding it with perfect, purposeful light.

- DIY Bathroom Mirror Frame Designs on a Budget - October 12, 2026
- Creative Bathroom Mirror Border Ideas for Every Style and Budget - October 11, 2026
- Bathroom Finishes That Handle Moisture and Look Great - October 10, 2026










