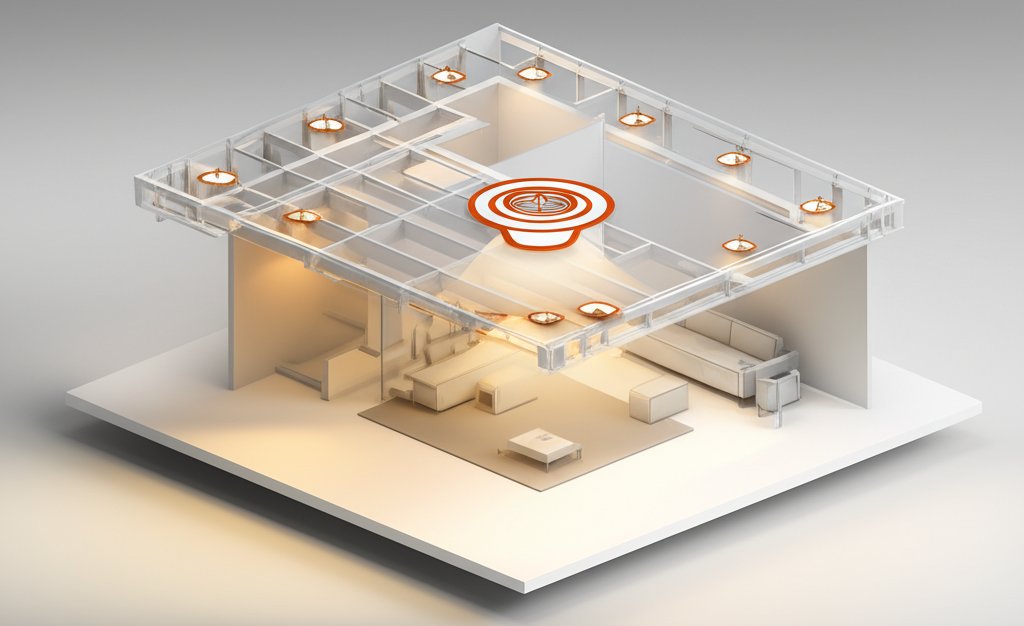
That cavernous, dim space downstairs doesn’t have to be the forgotten part of your home. With the right strategy, you can convert it from a storage zone into a vibrant living area, and the single most effective tool for this transformation is a well-planned layout of basement pot lights. Unlike bulky fixtures that lower an already-low ceiling, they recess into the joists, washing the entire room in clean, even light that makes it feel taller, wider, and infinitely more welcoming.
This isn’t just about sticking some lights in the ceiling; it’s about strategic design. Get it right, and your basement becomes the go-to spot for movie nights, a functional home gym, or a bright playroom.
At a Glance: Your Basement Lighting Roadmap
- Choose the Right Hardware: Learn why slim, IC-rated, and damp-rated pot lights are non-negotiable for most basement applications.
- Master the Layout: We’ll cover simple formulas for spacing your lights to avoid dark spots and the dreaded “airport runway” look.
- Dial in the Ambiance: Understand the difference between lumens (brightness) and Kelvin (color temperature) to create the perfect mood for a home theater or a workshop.
- Plan Your Budget: Get a clear idea of professional installation costs and why it’s a job best left to a licensed electrician.
- Avoid Common Pitfalls: Sidestep the mistakes that lead to glare, shadows, and an underwhelming result.
Why Pot Lights Are the Unbeatable Choice for Basements
Basements present a unique set of lighting challenges: low ceilings, a lack of natural light, and often-exposed ductwork or beams. Traditional pendant lights or floor lamps can eat up precious headroom and create a cluttered feel. This is where pot lights, also known as recessed lights, truly excel.
Their core advantage is their discreet nature. By sitting flush with the ceiling, they create an unbroken visual plane, making the room feel more spacious and modern. But the benefits go much deeper:
- Total Light Control: A grid of pot lights provides layered, even illumination across the entire space, eliminating the gloomy corners that a single central fixture can’t reach. When paired with dimmer switches, you gain full control to go from bright and functional to soft and atmospheric.
- Energy and Cost Efficiency: Modern LED pot lights are an incredible investment. They consume up to 75% less energy than their incandescent predecessors. A quality LED can last for 25,000 hours or more, compared to the roughly 1,000 hours of a traditional bulb. This means fewer bulb changes and a noticeably lower electricity bill.
- Design Flexibility: Because they provide a clean canvas of light, pot lights support any design style. They don’t compete with your decor; they enhance it. This foundational lighting is the first step in creating a functional, beautiful space.
While the fundamentals of recessed lighting apply everywhere, basements have specific requirements. For a complete overview of different fixture types and general planning, our Small recessed lighting guide is an excellent starting point.
Your Lighting Blueprint: Spacing, Brightness, and Color
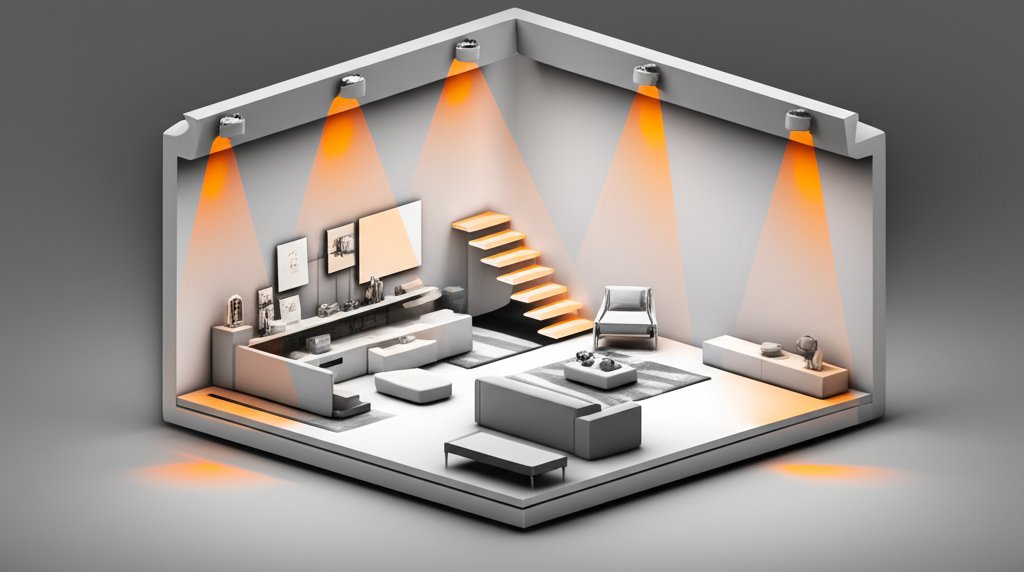
A successful basement lighting plan is a game of numbers. Getting three key variables right—spacing, brightness, and color—is the difference between a clinical, sterile room and a warm, inviting haven.
H3: The Spacing Formula: How Far Apart Should Pot Lights Be?
The most common mistake is poor spacing. Too far apart, and you get dark, scalloped patches on the walls. Too close together, and you create a “runway” effect with harsh hot spots.
A reliable rule of thumb for general ambient lighting is:
Spacing (in feet) = Ceiling Height (in feet) / 2
- Example: For a standard 8-foot basement ceiling, you should space your pot lights approximately 4 feet apart.
Also, keep the lights about 2-3 feet away from the walls. This placement prevents casting harsh shadows down the wall and creates a more pleasant, open feel.
Case Snippet: The Johnsons wanted to finish their 400 sq. ft. rectangular basement with 8-foot ceilings. Using the formula, they planned for lights 4 feet apart. This translated into three rows of four lights each, for a total of 12 lights, providing perfect, even coverage for their new family room.
H3: Decoding Lumens and Watts for Perfect Brightness
Don’t think in watts; think in lumens. Lumens measure the actual brightness of a light. For a basement, which lacks natural light, you need robust illumination.
- General Living/Entertainment Areas: Aim for 800 to 1200 lumens per fixture.
- Task-Oriented Areas (Gym, Workshop, Craft Table): You may want to go slightly brighter or add dedicated task lighting directly over these zones.
As for power, a good estimate is to plan for about 75 to 100 watts of equivalent LED power for every 100 square feet. A 10-watt LED pot light can produce 800 lumens, equivalent to a 60-watt incandescent bulb.
H3: Choosing a Color Temperature (Kelvin) to Set the Mood
Color temperature, measured in Kelvin (K), dictates the color of the light itself—from a warm, candle-like glow to a cool, bluish daylight. This is purely about ambiance.
| Kelvin (K) | Light Color | Best For… |
|---|---|---|
| 2700K | Warm White | Creating a super cozy, intimate feel for a home theater. |
| 3000K | Soft White | The most popular choice for a comfortable, welcoming den. |
| 4000K | Cool White | A clean, energizing light ideal for home gyms or workshops. |
| 5000K+ | Daylight | Very crisp and blue-toned; can feel clinical in a basement. |
| For a multi-purpose basement, consider zoning. You could use 3000K lights in the main seating area and 4000K lights over a workout corner, all controlled by separate dimmer switches for ultimate flexibility. |
The Hardware That Matters: Choosing the Right Pot Lights
Not all pot lights are created equal, and basements have specific needs related to ceiling structure and potential moisture.
Slim (Gimbal-Free) Fixtures for Low Ceilings
Most modern basement pot lights are “slim” or “wafer” style. These ultra-thin LED units don’t require a bulky can housing. Their driver is in a separate junction box that sits on top of the drywall, making them perfect for tight spaces with low clearance above the ceiling.
IC-Rating is a Must-Have
An IC (Insulation Contact) rating is a critical safety feature. It means the fixture is certified to be in direct contact with insulation without posing a fire hazard. Since basement ceilings are almost always insulated, you should only use IC-rated pot lights. Products like the QPlus Slim Recessed LED are IC-rated, ensuring a safe and code-compliant installation.
Damp or Wet Ratings for Peace of Mind
Basements can be prone to humidity. To ensure longevity and safety, choose fixtures with a “damp” rating. For areas that might see direct moisture, like a basement bathroom shower, you’ll need a “wet” rated fixture.
Bringing Your Lighting Plan to Life: The Installation Process
While the planning is fun, the installation of basement pot lights is a job for a professional. It involves running new wiring, cutting precise holes in the ceiling, and ensuring everything is up to code.
Here’s what you can expect:
- Consultation & Estimate: A licensed electrician will review your layout, confirm the number of lights needed, and check your electrical panel’s capacity. Reputable services often provide a free, upfront estimate, with costs starting around $59 per installed pot light, though this varies by location and complexity.
- The Work Day: For a standard basement, installation is surprisingly fast—often completed in just a few hours. The technicians will lay down protective coverings, mark the ceiling based on your plan, cut the holes, run the wiring, and connect the fixtures.
- Safety & Assurance: A professional job is done by a licensed and insured electrician. This protects you and ensures the work is safe, reliable, and compliant with local electrical codes. Many providers also offer same-day service for urgent repairs and warranties on their work.
After installation, maintenance is minimal. A routine dusting with a soft cloth is all that’s needed. Since quality LEDs last for years, you won’t be worrying about replacements anytime soon.
Quick Answers to Common Basement Lighting Questions
Here are some rapid-fire answers to the questions we hear most often.
How many pot lights do I need for my basement?
Use the spacing formula: divide your ceiling height by two to get the distance between lights. Then, map that grid onto your floor plan. For a 20’x20′ room with an 8′ ceiling, you’d likely want a 4×4 grid (16 lights) spaced 4 feet apart.
Can I install basement pot lights myself?
Unless you are a qualified electrician, this is not a recommended DIY project. It involves 120V wiring, which can be dangerous. A mistake can create a serious fire hazard. Hiring a licensed professional is the safest and most reliable path.
What’s the biggest mistake people make with basement pot lights?
The number one mistake is creating an “airport runway”—two long, straight lines of lights down the middle of a room. This creates glare and leaves the perimeter feeling dark. A proper grid pattern provides much better, more uniform illumination. The second biggest mistake is choosing the wrong color temperature (like 5000K), making a living space feel like a hospital.
Are LED pot lights really worth the extra cost?
Absolutely, and the payback is fast. The energy savings alone (up to 75%) will pay for the difference in cost over time. When you factor in a lifespan that’s 25 times longer than an incandescent bulb, the value proposition is undeniable.
Your Basement’s Bright Future Starts Now
Transforming a dark basement begins with a brilliant lighting plan. By focusing on the right hardware and a thoughtful layout, you can create a space that feels just as inviting as any other room in your house.
To recap your action plan:
- Measure and Map: Sketch your basement layout and apply the spacing formula (Ceiling Height / 2) to create a grid.
- Define Your Zones: Decide on the mood for each area and select a color temperature (Kelvin) that matches—3000K is a safe bet for most living spaces.
- Specify Your Gear: Insist on IC-rated, damp-rated, slim LED pot lights for a safe and effective installation.
- Call a Professional: Get a quote from a licensed electrician to ensure the job is done right.
With these steps, you’re no longer just finishing a basement; you’re reclaiming a whole new level of your home.

- DIY Bathroom Mirror Frame Designs on a Budget - October 12, 2026
- Creative Bathroom Mirror Border Ideas for Every Style and Budget - October 11, 2026
- Bathroom Finishes That Handle Moisture and Look Great - October 10, 2026










