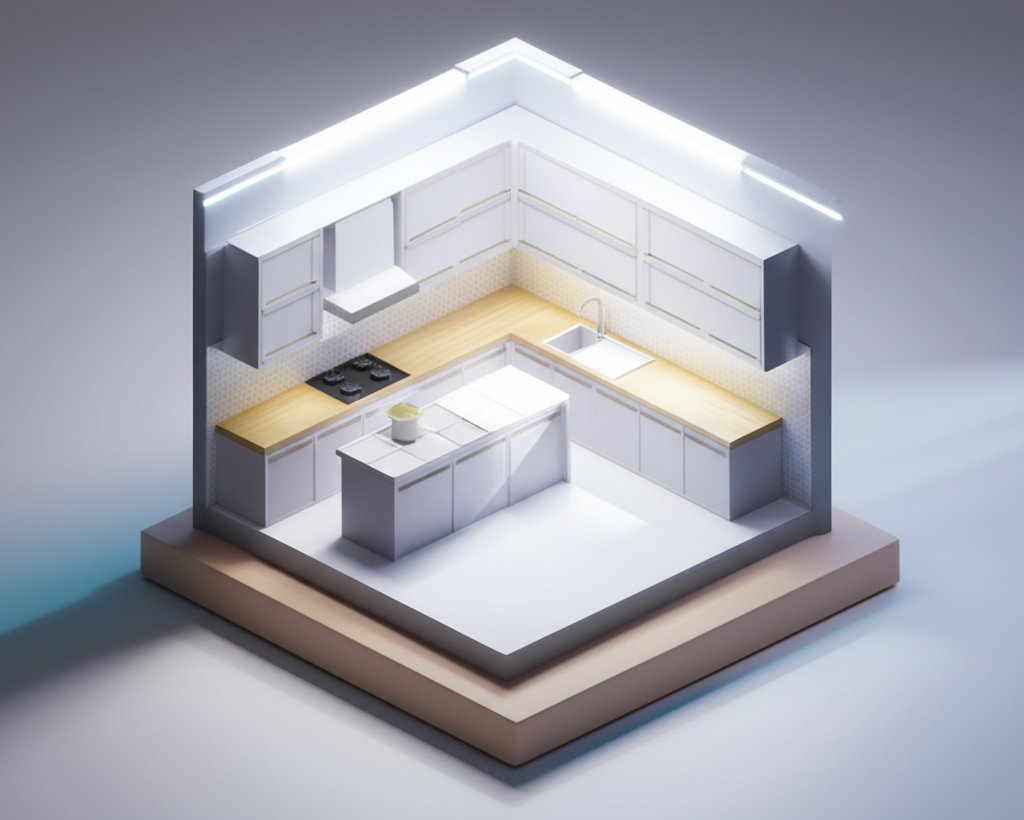
That dim, yellowish glow from your old kitchen light isn’t just uninspiring; it’s making your kitchen work against you. When you can’t tell if your vegetables are perfectly sautéed or you’re squinting to read a recipe, the problem is poor lighting. A strategic kitchen led upgrade is the single most effective way to solve this, transforming your workspace into a bright, efficient, and welcoming hub while cutting down your energy bill.
At a Glance: Your Takeaways
- Go Beyond Energy Savings: Discover how LED lights offer superior color accuracy, longevity, and safety compared to older technologies.
- Master the “Language of Light”: Learn how to select the right color temperature (Kelvin) and brightness (lumens) for every corner of your kitchen.
- Build a Layered Lighting Plan: Understand the three essential types of lighting—ambient, task, and accent—and how to combine them for a perfectly lit space.
- Get an Actionable Roadmap: Follow a step-by-step guide to plan and execute your kitchen LED upgrade, from assessment to installation.
- Solve Common Problems: Find clear answers to questions about dimmers, retrofitting old fixtures, and choosing the right type of under-cabinet lights.
Beyond the Bulb: The Real Wins of Switching to Kitchen LED
Most people know that LED lights save energy. According to the U.S. Department of Energy, LED bulbs use at least 75% less energy and last up to 25 times longer than incandescent lighting. That’s a massive win for your wallet and the environment. But for the heart of your home, the real benefits go much deeper.
The true power of a kitchen led system lies in its quality and versatility. Unlike the flickering hum of old fluorescents, LEDs provide instant, stable light. They also produce very little heat, making them safer for use in enclosed fixtures or under cabinets close to your hands. Most importantly, they excel at rendering colors accurately—a crucial detail when you’re judging the freshness of ingredients.
A successful lighting overhaul isn’t just about swapping bulbs; it’s about creating a cohesive system. The best way to approach this is with a layered plan that addresses the different ways you use your kitchen. A well-designed plan is the first step to truly Transform your kitchen lighting and make the space work for you.
Getting the Light Right: Your Guide to Color and Brightness
To design an effective lighting plan, you need to understand three key concepts: color temperature (Kelvins), brightness (lumens), and color rendering (CRI). Getting these right is the difference between a kitchen that feels like a surgical suite and one that feels like a warm, functional workspace.
Choosing Your Color Temperature (Kelvins)
Color temperature is measured in Kelvins (K) and describes how “warm” (yellowish) or “cool” (bluish) the light appears. There’s no single “best” Kelvin for a kitchen; the right choice depends on the zone and desired mood.
- Warm White (2700K – 3000K): This light is cozy and inviting, similar to an incandescent bulb. It’s perfect for the dining area of an eat-in kitchen or for accent lighting to create a relaxed evening atmosphere.
- Neutral or Cool White (3500K – 4100K): This is the sweet spot for most kitchen workspaces. This light is crisp, bright, and white, making it easier to see clearly for chopping, cooking, and cleaning without feeling harsh. 4000K is a very popular choice for task areas.
- Daylight (5000K – 6500K): This intense, blue-toned light mimics natural daylight. While excellent for pure task visibility, it can feel sterile or clinical for general use. It’s best reserved for dedicated, high-detail work areas if used at all.
Case Snippet: The Chen family wanted their large kitchen island to be a functional prep space for cooking but also a comfortable spot for homework. They chose 4000K recessed LED downlights directly over the island for clear, bright task lighting and a separate, dimmable 3000K pendant light over the breakfast nook to create a warm, inviting dining space.
Measuring Brightness (Lumens, Not Watts)
Forget everything you know about watts. Watts measure energy consumption, while lumens (lm) measure actual brightness. An old 60-watt incandescent bulb produces about 800 lumens. A kitchen led bulb can produce that same 800 lumens using only about 9 watts.
When planning, think in total lumens for each area:
- Ambient Lighting: Aim for 20-30 lumens per square foot. (e.g., A 150 sq. ft. kitchen needs 3,000–4,500 lumens).
- Task Lighting: You need more focused light here. Aim for 70-80 lumens per square foot over countertops and islands.
Seeing True Colors with High CRI
The Color Rendering Index (CRI) is a scale from 0 to 100 that measures how accurately a light source reveals the true colors of objects. For a kitchen, this is non-negotiable. A low CRI light can make your fresh red steak look brownish or your vibrant green herbs appear dull.
Look for LED lights with a CRI of 90 or higher. This ensures that your food looks as fresh and appealing as it actually is, helping you cook with more confidence.
Building Your Perfect Lighting Scheme, Layer by Layer
A world-class kitchen lighting design is built on three distinct layers. Integrating all three ensures your kitchen is functional, flexible, and beautiful.
Layer 1: Ambient Lighting (The Foundation)
This is the general, overall illumination that fills the room and allows you to navigate safely. It sets the base level of light.
- Purpose: To provide comfortable, uniform brightness.
- Common Fixtures: LED recessed cans (pot lights) are the modern standard, providing clean, widespread light. Flush-mount or semi-flush-mount ceiling fixtures are also excellent choices, especially in kitchens with lower ceilings.
- Pro Tip: Always install your ambient layer on a dimmer switch. This allows you to dial down the intensity from bright cleanup mode to a soft evening glow.
Layer 2: Task Lighting (The Workhorse)
This is the most critical layer for a functional kitchen. It provides focused, shadow-free light exactly where you perform tasks like chopping, mixing, and reading recipes.
- Purpose: To illuminate work surfaces and eliminate shadows cast by your body or upper cabinets.
- Common Fixtures: Under-cabinet kitchen led lighting is the hero here. Options include linear tape/strip lights for even, continuous illumination, or puck lights for distinct pools of light. Pendants over an island or sink also serve as excellent task lights.
Practical Scenario: Maria was constantly frustrated by the shadows on her countertops. By installing a simple, plug-in LED strip light under her cabinets, she instantly created a bright, uninterrupted workspace. The project took less than an hour but completely changed how she used her kitchen.
Layer 3: Accent Lighting (The Personality)
This layer adds depth, dimension, and visual interest. It’s what takes your kitchen from purely functional to truly stunning.
- Purpose: To highlight architectural features, display items, or create a mood.
- Common Fixtures: LED tape lighting installed on top of cabinets (up-lighting) can make the ceiling feel higher. In-cabinet lights behind glass doors turn your dishware into a beautiful display. Small, adjustable spotlights can highlight artwork or a textured backsplash.
Your Kitchen LED Upgrade: A Step-by-Step Playbook
Ready to make a change? Follow this simple framework to plan your project.
- Assess Your Current Space: Grab a pen and paper and sketch your kitchen layout. Note the location of windows, doors, and all existing light fixtures. Identify the “dark zones”—the corners and countertops that never seem to get enough light.
- Map Out Your Layers: On your sketch, decide where each layer of lighting should go. Mark locations for ambient recessed lights, draw a line for task lighting under all your upper cabinets, and circle spots where accent lighting could add a “wow” factor.
- Select Your Fixtures: Now, choose the specific kitchen led products for each location. Will you use 4-inch or 6-inch recessed cans? Do you prefer the seamless look of tape lights or the classic style of puck lights?
- Do the Math: Calculate the lumens and select the Kelvin temperature for each zone. Use the guidelines above to ensure your prep areas are bright and cool (e.g., 4000K), while your dining spot is warm and inviting (e.g., 3000K).
- Plan Your Controls: Decide how you will control each layer. Put task and ambient lights on separate dimmer switches for maximum flexibility. Consider smart controls that allow you to adjust lighting from your phone or voice assistant.
- Decide on Installation (DIY vs. Pro): Be realistic about your electrical skills. Installing low-voltage under-cabinet LED tape is often a straightforward DIY job. However, wiring new recessed fixtures or moving junction boxes is a task best left to a licensed electrician.
Quick Answers to Common Kitchen LED Questions
Q: Can I just put an LED bulb in my old kitchen fixture?
A: In many cases, yes, as long as the base type (e.g., standard E26 screw-in) matches. However, check two things. First, if the fixture is fully enclosed, use an LED bulb rated for enclosed spaces to ensure proper heat dissipation. Second, if you want to dim the light, you must use a “dimmable” LED bulb and an LED-compatible dimmer switch.
Q: Why are my new dimmable LED lights flickering or buzzing?
A: This is almost always caused by an incompatible dimmer switch. Older dimmer switches were designed for the high electrical load of incandescent bulbs. Dimmable LEDs require a modern CL (CFL/LED) or ELV (Electronic Low Voltage) dimmer. Swapping out the old switch will typically solve the problem instantly.
Q: Under-cabinet lighting: Should I use LED tape or puck lights?
A: It depends on the look you want. LED tape/strips provide a continuous, even line of light with no dark spots, creating a clean, modern look. LED pucks create individual pools of light, which can feel more traditional and are great for highlighting specific objects on your counter.
Q: Are brighter, “daylight” (5000K+) LEDs better for a kitchen?
A: Not always. While a high-Kelvin light is excellent for pure task visibility, it can make a space feel cold and clinical. For most homes, a neutral white light around 4000K for task areas provides the ideal balance of bright clarity and visual comfort. Reserve 5000K+ for specialty applications or workshops.
From Plan to Perfect Light: Your Next Step
Upgrading to a kitchen led system is about more than just brighter light; it’s about giving yourself a space that functions better, feels more welcoming, and saves you money every month. The key isn’t a massive budget, but a thoughtful, layered plan.
Don’t feel like you have to do it all at once. Start with the layer that will make the biggest impact. Install under-cabinet task lighting this weekend. The immediate improvement in your daily prep work will show you the power of good lighting and inspire you to complete your vision for a kitchen that is truly the bright heart of your home.

- DIY Bathroom Mirror Frame Designs on a Budget - October 12, 2026
- Creative Bathroom Mirror Border Ideas for Every Style and Budget - October 11, 2026
- Bathroom Finishes That Handle Moisture and Look Great - October 10, 2026










