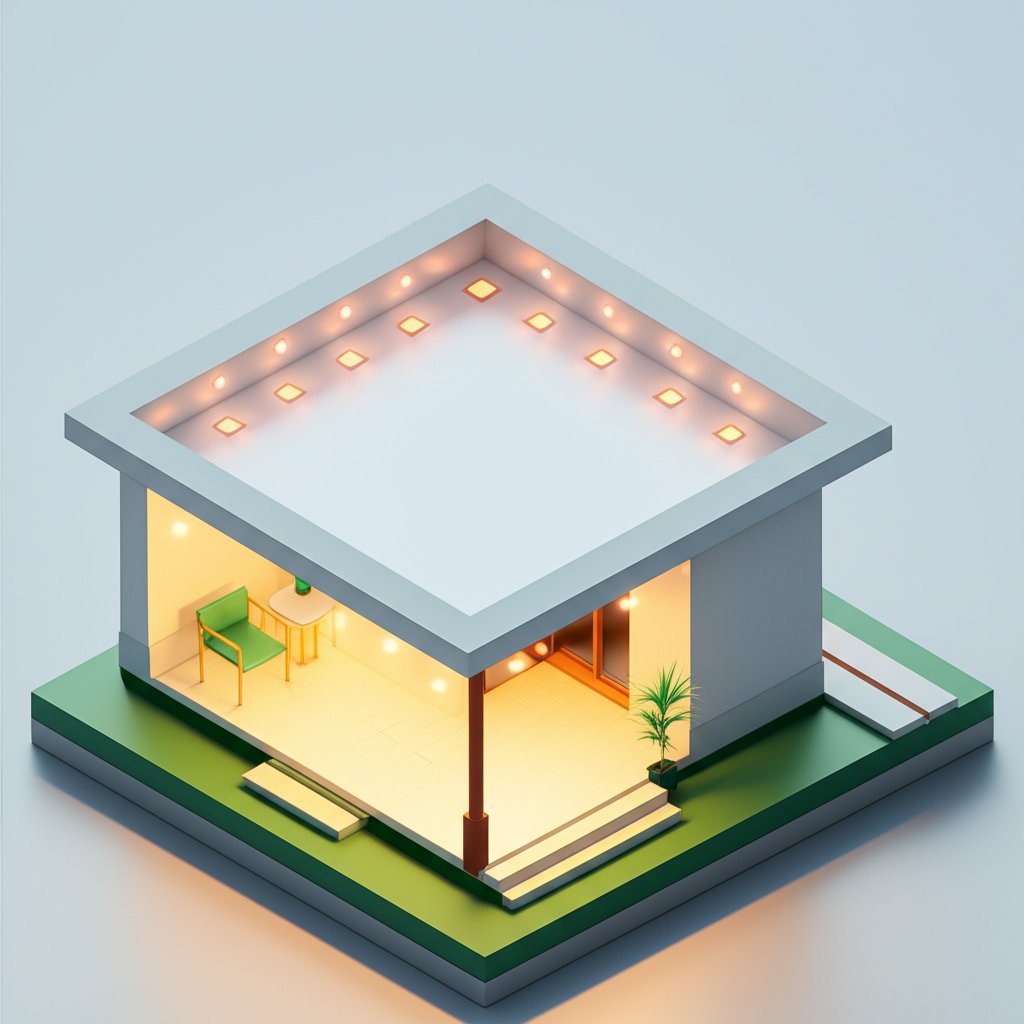
That single, glaring porch light does more harm than good, doesn’t it? It casts harsh shadows, attracts every moth in the county, and creates a stark, uninviting welcome. Proper recessed porch lighting, however, transforms that same space into a seamless extension of your home—a place that feels both secure and beautifully illuminated. It’s the difference between a functional entryway and a true outdoor living area.
Getting it right involves more than just drilling holes in the ceiling. It’s a thoughtful process of layering light to create mood, ensure safety, and enhance your home’s architecture.
At a Glance: Your Porch Lighting Game Plan
- Match the Rating to the Location: Understand the non-negotiable difference between damp-rated (for covered porches) and wet-rated (for exposed soffits) fixtures.
- Plan Your Layout First: Spacing is everything. We’ll cover simple formulas to avoid dark spots or a “runway” look.
- Choose Your Light’s “Temperature”: The color of the light (measured in Kelvin) sets the entire mood, from warm and cozy to cool and modern.
- Layer for Function and Feel: Combine general ambient lighting with focused task or accent lights for a polished, professional result.
- Embrace Modern Tech: LEDs are the standard for efficiency, and adding a dimmer is the single best upgrade for creating instant ambiance.
First, Define Your Porch’s Purpose
Before you even look at a single fixture, decide what you need your lighting to do. Most porch lighting plans serve a blend of three main goals. Identifying your priority will guide every other decision.
- General Ambiance & Illumination: This is the base layer. The goal is to cast a warm, even glow across the entire porch, making it feel welcoming and usable after dark. This is for relaxing, entertaining, and setting a mood.
- Safety & Navigation: This is about function. Lighting needs to clearly illuminate steps, doorways, and any potential tripping hazards. The focus here is on creating safe passage from your car to your front door without any dark, uncertain corners.
- Task & Accent Lighting: Do you have an outdoor grilling station, a cozy reading nook, or a beautifully crafted front door? Task lighting provides focused, brighter light for specific activities, while accent lighting draws the eye to architectural features.
A great design uses all three. For example, four evenly spaced ambient lights might illuminate the main seating area, a single brighter light could be centered over the doormat, and an adjustable “eyeball” trim might be aimed to highlight the texture of a stone wall.
The Most Important Technical Choice: Damp vs. Wet Rating
Outdoor environments are tough on electronics. Moisture is the enemy, and choosing the right fixture rating is a matter of safety and longevity, not just preference. This is the first filter you should apply when shopping.
- Damp-Rated Fixtures: These are designed for covered areas where the fixture won’t be directly hit by rain, snow, or irrigation spray. Think of a standard covered front porch, a screened-in patio, or a portico. They are built to withstand moisture and condensation in the air but not direct water contact.
- Wet-Rated Fixtures: These are built for direct exposure to the elements. The internal wiring and components are completely sealed against water intrusion. You need wet-rated fixtures for any light installed in an open-air pergola, an exposed eave or soffit, or a shower ceiling.
Rule of Thumb: If rain can touch it, it must be wet-rated. If it’s under a solid roof but still outdoors, damp-rated is sufficient. Using an indoor-only (dry-rated) fixture on a porch is a code violation and a serious safety hazard.
While we’re focused specifically on porches, understanding the full spectrum of exterior lighting options can provide valuable context. Our complete Recessed lighting buying guide details everything from wall-mounted fixtures to in-ground path lights.
Designing Your Layout: Spacing and Placement Secrets
This is where planning pays off. A poor layout can leave you with dark zones or an uncomfortably bright space. The goal is an even, overlapping wash of light.
A Simple Spacing Formula
A reliable starting point for general ambient lighting is to space your recessed lights based on your ceiling height.
Spacing Guideline: Ceiling Height ÷ 2 = Recommended Space Between Lights
- Example: For a porch with an 8-foot ceiling, you would aim for approximately 4 feet of space between each light fixture.
This is a guideline, not a rigid rule. You also need to consider the distance from the walls. Place the first and last lights in a row about half the recommended spacing from the wall (in our example, 2 feet) to prevent ugly “scalloping” shadows on the wall surface.
Adapting the Plan for Your Porch Type
Let’s apply this to a few common scenarios:
Scenario 1: The Small, Square Entryway (e.g., 6′ x 6′)
For a small landing, one centrally located light might feel like an interrogation lamp. Two smaller 4-inch lights, spaced about 3-4 feet apart, will provide a much more balanced and welcoming feel, illuminating both the door and the person standing in front of it.
Scenario 2: The Long, Narrow Porch (e.g., 20′ x 6′)
A single row of lights down the center is the classic approach. For a 20-foot porch with an 8-foot ceiling, you’d use the 4-foot spacing rule. Starting 2 feet from the end wall, you would place lights at 2′, 6′, 10′, 14′, and 18′. This gives you five lights for even coverage.
Scenario 3: The Deep, “Outdoor Room” Porch (e.g., 15′ x 12′)
Here, you should think in terms of a grid. Using the same 8-foot ceiling and 4-foot spacing, you might plan two rows of lights.
- Row 1: 3 feet from the house wall, with lights spaced 4 feet apart.
- Row 2: 3 feet from the outer edge of the porch (or 6 feet from the first row), with lights also spaced 4 feet apart.
This creates a balanced grid that illuminates the entire “room” without dark spots in the middle.
Choosing the Right “Flavor” of Light
Not all light is created equal. Three key metrics determine how the light from your recessed fixtures will look and feel: Lumens, Kelvin, and Beam Angle.
Lumens: How Bright Is It?
Lumens (lm) measure the total amount of visible light from a source. For porch lighting, you don’t need overwhelming brightness.
- General Ambient Lighting: Aim for fixtures that produce 300-500 lumens each. This provides enough light to see clearly without being harsh.
- Task Lighting (over a door or grill): You might want a slightly brighter fixture in the 500-700 lumen range for better visibility.
Remember, total brightness is cumulative. Five 400-lumen lights will produce a total of 2,000 lumens, which is plenty for most porches. This is why installing a dimmer switch is highly recommended; it allows you to go from full brightness for safety to a soft 10% glow for late-night relaxing.
Kelvin: What Color Is the Light?
Kelvin (K) measures the color temperature of the light. This is arguably the most important factor in setting the mood.
| Kelvin (K) | Color Name | Feeling & Best Use |
|---|---|---|
| 2700K | Warm White | Cozy, inviting, similar to traditional incandescent bulbs. Perfect for relaxation. |
| 3000K | Soft White | A crisp, clean white with a hint of warmth. A great, versatile all-around choice. |
| 4000K | Cool White | Neutral, bright, almost bluish. More common for security or task areas. Can feel stark. |
| 5000K+ | Daylight | Intense, blue-white light. Generally too harsh and clinical for residential porches. |
| For most homes, especially those with traditional or rustic architecture, 2700K to 3000K is the sweet spot. It complements warm materials like wood and brick and creates that sought-after welcoming glow. |
Beam Angle: How Wide Is the Cone of Light?
The beam angle determines how focused or spread out the light is. A narrow beam creates a dramatic spotlight, while a wide beam creates a soft wash.
- Narrow (15°-30°): Best for accent lighting. Use a fixture with a narrow beam (or an adjustable “gimbal” trim) to highlight a column, a house number, or a piece of art.
- Wide (60°+): This is what you want for general ambient illumination. A wide “flood” angle allows the light from each fixture to overlap, creating a smooth, even layer of light with soft shadows.
Finishing Touches: Trims and Smart Controls
The trim is the visible part of the recessed light. While the light itself does the work, the trim ensures it looks good doing it.
- Baffle Trims: These have interior ribbing designed to absorb excess light and reduce glare. They are the most common and a great choice for general lighting.
- Reflector Trims: These have a smooth, mirror-like interior to maximize light output. They can be a bit more glary but are effective if you need high brightness.
- Gimbal (Eyeball) Trims: These allow you to pivot and aim the bulb inside the housing. They are essential for accent lighting.
- Styles: Trims come in various finishes (white, black, bronze, nickel) and shapes (round, square). Choose a style that disappears into your porch ceiling or complements your other exterior hardware.
Smart controls are no longer a luxury. Connecting your recessed porch lighting to a smart dimmer or timer offers huge benefits: - Scheduling: Set your lights to turn on automatically at sunset and off at sunrise.
- Dimming: Adjust brightness instantly with your voice or an app to match the occasion.
- Security: Use “vacation mode” to randomize your lights, creating the impression that someone is home.
Quick Answers to Common Questions
What size recessed lights are best for a porch?
For most residential porches with 8-10 foot ceilings, 4-inch recessed lights offer the best balance of performance and aesthetics. They are discreet but powerful enough for the job. 6-inch lights can also work but can sometimes feel oversized on smaller porches.
How many recessed lights do I need for my porch?
It depends on the size and your brightness goals. Use the “ceiling height divided by two” formula as a starting point. An average 12′ x 8′ porch is well-served by four to six 4-inch lights. It’s often better to have more lower-lumen lights on a dimmer than a few very bright, glaring ones.
Can I install recessed porch lighting myself?
If you have extensive electrical experience and are familiar with your local building codes, it’s a possible DIY project. However, for most homeowners, hiring a licensed electrician is the safest and best route. They can ensure proper wiring, correct fixture installation (especially for wet/damp locations), and code compliance.
Do LED recessed lights attract fewer bugs?
Yes, generally. Insects are attracted to ultraviolet (UV) and blue-spectrum light. Modern LED lights emit very little UV and, especially if you choose a warm Kelvin temperature (like 2700K), they are significantly less attractive to bugs than old incandescent or CFL bulbs.
Your First Three Steps to a Better-Lit Porch
Feeling ready to move forward? Don’t get overwhelmed by the options. Start here.
- Sketch Your Porch: Grab a piece of paper and draw a simple overhead view of your porch. Mark the dimensions, the location of the door, any stairs, and primary seating areas. This visual map is your planning canvas.
- Define Your Zones: On your sketch, circle the areas for general illumination, mark an ‘X’ over steps or the doormat for safety lighting, and draw an arrow toward any architectural feature you want to accent.
- Calculate Your Spacing: Apply the
Ceiling Height ÷ 2formula to your general illumination zones. Pencil in dots where you think the lights should go. See how it looks. Does it feel balanced? Adjust until you have a layout that makes sense for your space.
With this simple plan in hand, you’re no longer just buying lights. You’re designing an experience—one that enhances your home’s beauty, improves its safety, and extends your living space long after the sun goes down.

- Selecting Recessed Porch Lighting for Optimal Outdoor Ambiance and Safety - June 27, 2026
- Outdoor Recessed Lighting Ideas to Brighten Your Exterior Spaces - June 26, 2026
- Exterior Recessed Lighting Buyers Guide for Your Outdoor Space - June 25, 2026