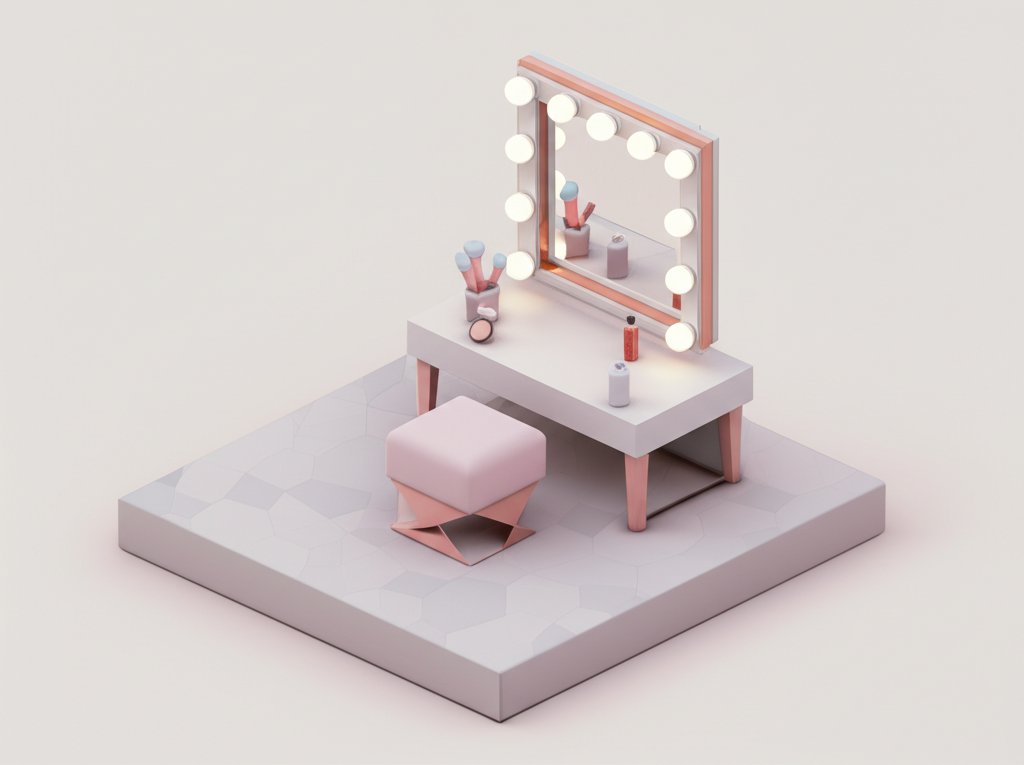
Ever perfectly apply your foundation only to step outside and see streaks and an obvious jawline mismatch? The culprit isn’t your makeup or your mirror; it’s the quality of your vanity mirror lamp. The wrong light creates shadows and distorts colors, sabotaging your efforts before you even leave the house. Getting this one piece of your vanity setup right is the secret to a flawless, confident look that translates from your bathroom to the real world.
At a Glance: Your Path to Perfect Vanity Lighting
- Understand the science: Learn why Color Rendering Index (CRI) and color temperature (Kelvin) are more important than just brightness.
- Compare the core types: Decide between a sleek, integrated mirror with built-in lamps and a flexible, budget-friendly add-on light kit.
- Master placement: Discover why side lighting is superior to overhead lighting for eliminating unflattering shadows.
- Choose the right bulb: See why LED is the undisputed champion for task lighting at a vanity.
- Get actionable answers: Find clear solutions to common questions about lumens, “Hollywood” bulbs, and installation mistakes.
It’s Not Just Brightness—It’s About Color and Clarity
The single biggest mistake most people make is buying a vanity mirror lamp based on looks or simple brightness. True, functional vanity lighting is a science, but it boils down to two critical factors: the color of the light itself and its ability to show you true colors.
Decoding Color Temperature (Kelvin): From Warm Glow to Cool Daylight
Color temperature, measured in Kelvin (K), describes how “warm” (yellowish) or “cool” (bluish) a white light appears. Think of it like the light from a candle versus the light on an overcast day.
- 2700K – 3000K (Warm White): This is the cozy, yellowish light of a traditional incandescent bulb. It’s wonderful for a relaxing bedroom atmosphere but terrible for makeup. It makes it nearly impossible to accurately match foundation or see the true shade of a blush.
- 3500K – 5000K (Neutral to Cool White): This is the sweet spot. This range mimics natural daylight, providing a clean, balanced light that doesn’t distort colors. For makeup application, 4000K is often considered the perfect neutral starting point.
- 5500K+ (Daylight/Cool Blue): This light is very stark and can feel clinical or harsh. While it’s great for high-detail tasks in a workshop, it can be unflattering on the skin and may cause you to over-apply makeup to compensate.
For your vanity, stick to the 3500K-5000K range. Many modern LED vanity mirror lamps offer adjustable color temperatures, allowing you to switch between a neutral white for makeup and a warmer tone for relaxing.
Why a High CRI (Color Rendering Index) Is Your Best Friend
If Kelvin is the color of the light, the Color Rendering Index (CRI) is its quality. CRI measures a light source’s ability to reveal the true colors of objects compared to natural sunlight, which has a perfect score of 100.
Imagine two red lipsticks. Under a low-CRI light (say, 70), they might look nearly identical. But under a high-CRI light (90+), you can suddenly see that one has subtle orange undertones and the other has blue ones. This is the difference-maker.
For a vanity mirror lamp, a CRI of 90 or higher is non-negotiable. It ensures that the foundation shade you choose, the concealer you blend, and the eyeshadow you apply will look exactly the same indoors as they do outdoors. Cheaper lights often cut corners here, resulting in dull, washed-out colors.
While we’re focused on the specific lamp, understanding these core principles of light is foundational. For a complete overview of all lighting types and placements, our comprehensive Vanity mirror lighting guide covers everything from sconces to pendants.
Choosing Your Style: Integrated Mirrors vs. Add-On Light Kits
Your next big decision is whether to get a mirror with lights already built-in or to add lights to a mirror you already own or plan to buy. Each approach has distinct advantages.
The All-in-One Solution: Mirrors with Built-In Lamps
An integrated vanity mirror lamp offers a seamless, modern aesthetic. The lights, typically LED strips, are embedded directly into the mirror, often as a border, sidebars, or a “backlit” halo.
- Pros:
- Sleek Design: Creates a minimalist, high-end look with no visible wires or bulky fixtures.
- Bonus Features: Many models include touch controls, dimmers, adjustable color temperature, and even anti-fog heating elements.
- Simple Installation: While it needs to be hardwired, it’s a single unit to mount on the wall.
- Cons:
- Higher Upfront Cost: These units are generally more expensive than buying a mirror and lights separately.
- Repair Challenges: If the integrated LED fails after the warranty period, you often have to replace the entire mirror unit.
Case Snippet: A homeowner renovating her master bathroom wanted a spa-like feel. She chose a large, backlit integrated mirror. The soft, even glow provided perfect task lighting, while the clean lines made the small space feel more open and luxurious without adding visual clutter.
The DIY Favorite: Stick-On and Clip-On Vanity Lights
These kits, often called “Hollywood style,” consist of a string of individual bulbs or an LED strip that you attach directly to your existing mirror. They offer incredible flexibility and are a favorite for renters or those on a tight budget.
- Pros:
- Affordable: A fraction of the cost of an integrated mirror.
- Easy to Install: Most use adhesive backing or suction cups, plugging into a standard wall outlet. No electrician needed.
- Portable: You can easily remove them and take them with you when you move.
- Cons:
- Aesthetics: Exposed wires between bulbs can look messy if not managed carefully.
- Inconsistent Quality: The market is flooded with cheap options that have poor CRI and a harsh, blue-tinted light. You must be diligent about checking specs.
Case Snippet: A college student living in a dorm needed better lighting for her desk vanity. She used a USB-powered, stick-on LED strip around her small mirror. It gave her the bright, color-accurate light she needed for her morning routine without violating her dorm’s “no-drilling” policy.
Your Vanity Mirror Lamp Installation Playbook

Where you put your lights is just as important as which lights you buy. The goal is to create even, shadow-free illumination on your face.
Step 1: Measure Your Space and Mirror
Before you shop, measure the width and height of your mirror and the available wall space around it. A common rule of thumb is that vertical light fixtures should be at least three-quarters of the mirror’s height. For a light bar above the mirror, it should be slightly less than the mirror’s width.
Step 2: Select the Right Placement for Shadow-Free Lighting
The best lighting mimics how you’re seen in the real world: with light coming toward your face, not down onto it.
| Placement | Description | Outcome |
|---|---|---|
| Front/Side (Best) | Two vertical lamps or LED bars on either side of the mirror, at face level. | Creates even, cross-illumination that eliminates shadows under the eyes, nose, and chin. This is the professional standard. |
| Full Border (Excellent) | A ring of light around the entire mirror perimeter (either integrated or Hollywood-style). | Provides the most comprehensive and shadowless light, illuminating the face from all angles. |
| Top-Only (Avoid if Possible) | A single fixture mounted directly above the mirror. | Casts harsh downward shadows, accentuating fine lines and making it difficult to blend makeup along the jawline. |
| If a top-only fixture is your only option due to existing wiring, choose one that is wide and has multiple bulbs to spread the light. Also, ensure your bathroom has good ambient overhead lighting to help soften the shadows. |
Step 3: Choose Your Bulb Type: LED is King
For a modern vanity mirror lamp, there is only one real choice: LED (Light Emitting Diode).
- LED: They are the clear winner. They are highly energy-efficient, have an incredibly long lifespan (up to 50,000 hours), and produce very little heat, so you won’t feel like you’re under a heat lamp while getting ready. Most importantly, they offer the best and most consistent high-CRI and adjustable Kelvin options.
- Incandescent/Halogen: These are old technology. They get extremely hot, burn out quickly, and cast a warm, yellow-hued light with a low CRI that is terrible for makeup. Avoid them for your vanity.
- Fluorescent: While some can offer good Kelvin ratings, they often have a lower CRI, which can make skin tones look flat or sallow. They can also produce a subtle flicker that causes eye strain for some people.
Quick Answers to Common Vanity Lamp Questions
Are “Hollywood style” bulb vanity lamps still a good choice?
Absolutely, provided you choose a modern, high-quality kit. The classic aesthetic is timeless, but the technology inside matters. Look for kits with dimmable LED globes, a CRI of 90+, and a neutral color temperature around 4000K. The best ones have adjustable spacing and ways to hide the excess wire for a clean look.
How many lumens do I need for a vanity mirror lamp?
Lumens measure brightness. For task lighting at a vanity, you need focused, not overwhelming, light. Aim for a total of 1600-2000 lumens surrounding the mirror. More important than peak lumens is having a dimmer. This allows you to use full brightness for detailed work like tweezing eyebrows and a softer light for general grooming.
Can I just use my bathroom’s overhead ceiling light?
You shouldn’t rely on it for makeup. A central ceiling fixture provides ambient (general) light for navigating the room. A vanity mirror lamp provides task light for the detailed work you do in front of the mirror. Relying only on an overhead light is the primary cause of the dreaded under-eye and chin shadows. The two types of lighting should work together.
What’s the biggest mistake people make with vanity lighting?
Choosing style over function. That beautiful vintage sconce or industrial bar light might look amazing, but if it’s placed in the wrong spot or fitted with a warm, low-CRI bulb, it will fail at its primary job. Always prioritize the light quality first (CRI 90+, 4000K) and placement (side-lighting). Once those functional needs are met, you can find a fixture style that matches your decor.
Your Next Step: The Right Light for Your Reflection
Upgrading your vanity mirror lamp is one of the most impactful changes you can make to your daily routine. It transforms the frustrating task of “getting ready” into a precise and enjoyable process. It’s not about vanity in the traditional sense; it’s about giving yourself the clarity and confidence that comes from knowing you look exactly how you intended.
Before you make your final choice, double-check the specifications. Find the CRI and Kelvin numbers in the product description. If a manufacturer doesn’t list them, move on. Prioritize a CRI of 90+ and a color temperature between 3500K and 5000K. Get that right, and you’re already halfway to a better, brighter, and more accurate reflection every single day.

- DIY Bathroom Mirror Frame Designs on a Budget - October 12, 2026
- Creative Bathroom Mirror Border Ideas for Every Style and Budget - October 11, 2026
- Bathroom Finishes That Handle Moisture and Look Great - October 10, 2026










