
There’s a moment in every morning routine, standing in a dimly lit shower, where you squint to tell the shampoo from the conditioner. It’s a space that should feel refreshing and safe, but it’s often let down by a single, distant vanity light that casts more shadows than illumination. The solution is simpler and more elegant than you might think: a dedicated led shower can light, a small upgrade that fundamentally transforms your daily ritual.
This isn’t just about brightness; it’s about creating a safer, more efficient, and surprisingly luxurious-feeling space right where you start and end your day. We’re going to walk through everything you need to know to choose, install, and enjoy the perfect light for your shower.
At a Glance: Your Quick Guide to Shower Lighting
Short on time? Here are the key takeaways for upgrading your shower with modern LED lighting.
- Safety is Paramount: Always choose a fixture that is explicitly “wet-rated.” This is non-negotiable for use directly inside a shower enclosure where it will be exposed to water.
- LEDs are the Standard: They use up to 90% less energy, last for over 20 years with typical use, and produce very little heat, making them the safest and most economical choice.
- Lumens Measure Brightness: Forget watts. Look for a lumen output of around 500-800 for a standard shower. It’s better to have a brighter light on a dimmer than one that’s too weak.
- Color Temperature Sets the Mood: Choose from warm, spa-like tones (around 2700K) to crisp, daylight-like hues (5000K+) depending on the vibe you want.
- Installation Can Be DIY, But…: If you have any doubts about working with electricity, especially in a wet area, hiring a licensed electrician is the wisest and safest investment.
Why Your Shower Deserves Better Than a Dim, Distant Light
For too long, the shower has been an afterthought in bathroom lighting design. We install beautiful sconces by the mirror and ambient lighting overhead, but the shower stall itself is often left in the gloom. This isn’t just a design flaw; it’s a practical problem.
Poor lighting can make simple tasks difficult and even hazardous. Shaving becomes a guessing game, and the risk of a slip or fall increases when you can’t see clearly. A single, properly placed led shower can light solves these issues instantly, bathing the entire space in clear, even light. It turns a purely functional area into a safer, more pleasant, and more intentional part of your home.
This type of focused, built-in fixture is a cornerstone of modern bathroom design. To get a better sense of how these lights fit into a larger plan, our complete Bathroom Recessed Lighting Guide covers everything from placement to spacing for the entire room. But for now, let’s focus on the star of the wet zone: the shower light itself.
What Exactly Is a LED Shower Can Light?
Let’s break down the name. It’s a type of recessed light, which means the fixture is set into the ceiling for a clean, seamless look.
- “Can” or “Canister”: This refers to the metal housing of the light that is installed inside the ceiling. It contains the wiring and serves as the mounting structure for the light itself. Some modern “canless” models have a more compact design but serve the same function.
- “LED”: This stands for Light Emitting Diode. It’s the light source, and it’s a game-changer. Unlike old-school incandescent bulbs that create light by heating a filament until it glows, LEDs use a highly efficient process called electroluminescence. An electrical current passes through a semiconductor, which then emits bright, clear light with minimal heat waste.
- “Shower”: This is the most critical part. It signifies that the fixture is specially designed and sealed to be used in wet or damp locations, protecting the electrical components from moisture and steam.
Together, these elements create a sleek, powerful, and incredibly safe lighting solution purpose-built for the unique environment of a shower or bathtub enclosure.
The Unbeatable Benefits: More Than Just Brightness
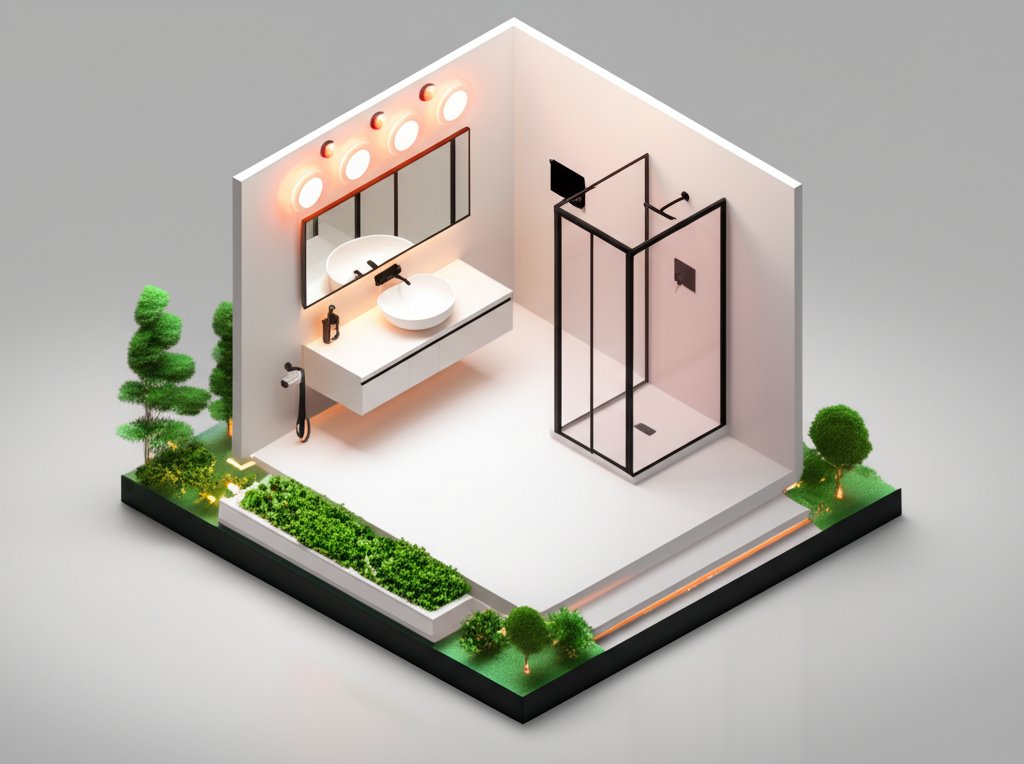
Switching to an LED shower light isn’t just a minor tweak. The practical advantages are significant, impacting your wallet, your schedule, and your home’s safety profile.
Drastically Lower Energy Bills
The efficiency of LED technology is staggering. A typical 65-watt equivalent LED recessed light uses only about 9 watts of electricity. Compared to an old 65-watt incandescent bulb, that’s nearly a 90% reduction in energy consumption. While one light won’t slash your entire utility bill, applying this efficiency across your home leads to substantial long-term savings.
A Light That Lasts for Decades
Remember the last time you changed a lightbulb? With an LED shower light, you might forget how. A quality LED is often rated for 25,000 to 50,000 hours of use.
Let’s put that in perspective: If you use your shower light for one hour every single day, a 25,000-hour fixture will last for more than 68 years. The days of balancing on a step stool in a slippery tub to change a burnt-out bulb are effectively over.
Safety First in Wet Environments
Water and electricity are a dangerous combination, which is why specialized fixtures are crucial. LED shower lights excel in safety for two key reasons:
- Low Heat Output: Incandescent bulbs convert most of their energy into heat, creating a potential fire hazard in the ceiling cavity. LEDs run significantly cooler, making them a much safer choice for enclosed spaces.
- Sealed Construction: Wet-rated fixtures have gaskets and seals that prevent water, steam, and moisture from reaching the internal wiring, eliminating the risk of short circuits and electric shock.
Total Control Over Your Bathroom’s Vibe
Modern LED lighting offers an incredible range of customization. You’re no longer stuck with one level of brightness or a single harsh color.
- Dimmability: Most LED shower lights are compatible with dimmer switches, allowing you to set the perfect brightness. You can have bright, clear light for your morning wake-up shower and a soft, gentle glow for a relaxing evening soak.
- Color Temperature: You can choose the “color” of the white light, measured in Kelvin (K). This allows you to tailor the room’s atmosphere, from a cozy spa to a clean, modern salon.
Choosing the Perfect LED Shower Light: Your 4-Point Checklist
Ready to pick a light? The options can seem overwhelming, but you can narrow it down quickly by focusing on four key factors.
1. Master the Location Ratings: Wet vs. Damp
This is the most important decision you’ll make. Electrical fixtures are rated by Underwriters Laboratories (UL) for specific environments.
- UL-Listed for Wet Locations: This is the only rating acceptable for a light installed inside a shower or directly over a bathtub where it can be hit by water spray. These fixtures have waterproof seals and corrosion-resistant components.
- UL-Listed for Damp Locations: This rating is for areas with ambient moisture and condensation, but no direct water contact. Think of the main bathroom ceiling, outside the shower curtain. These are not safe for use inside the shower itself.
Always check the product specifications for a “wet location” or “wet-rated” designation. There is no compromising on this point.
2. Get the Brightness Right (Lumens, Not Watts)
We’re conditioned to think about light brightness in watts, but that’s a measure of energy use, not light output. For LEDs, you need to look at lumens.
For a standard 3×5 foot shower, a single fixture providing 500 to 800 lumens is typically sufficient. This provides ample, clear light for tasks like shaving without being overwhelmingly bright. If you have a larger walk-in shower, you might consider installing two lights for more even coverage.
Pro-Tip: It’s always better to choose a slightly brighter, dimmable fixture. You can always dim a light that’s too bright, but you can never make a dim light brighter.
3. Pick Your Mood: Understanding Color Temperature
The color of white light, or its color temperature, is measured on the Kelvin (K) scale. This single choice dramatically affects the feel of your bathroom.
- Warm White (2700K – 3000K): This is the cozy, yellowish-white light similar to a traditional incandescent bulb. It’s excellent for creating a relaxing, spa-like, or traditional atmosphere.
- Neutral or Cool White (3500K – 4100K): A crisp, balanced white light that appears clean and modern. It’s a popular choice for bathrooms as it renders colors accurately and is great for grooming tasks.
- Daylight (5000K – 6500K): An intense, blue-ish white light that mimics natural daylight. It’s very energizing and provides the highest contrast and clarity, but some find it too stark for a relaxing space.
Many modern fixtures now come with a switch that lets you select the color temperature during installation, giving you the flexibility to try a few options before committing. Once you know what you’re looking for, you can Explore LED Shower Lights with these specific features in mind.
4. Consider Smart Features and Finishes
Once you’ve nailed the technical specs, you can think about the extras.
- Smart Integration: Many LED lights can connect to your home’s Wi-Fi, allowing you to control them with a smartphone app or voice commands via Amazon Alexa, Google Assistant, or Apple HomeKit. You can change brightness, color temperature, and even set schedules without touching a switch.
- Trim Finishes: The visible ring around the light is called the trim. It comes in various finishes—matte white, brushed nickel, oil-rubbed bronze, black—so you can match it perfectly to your shower head and other bathroom fixtures.
Installation: A Job for You or a Pro?
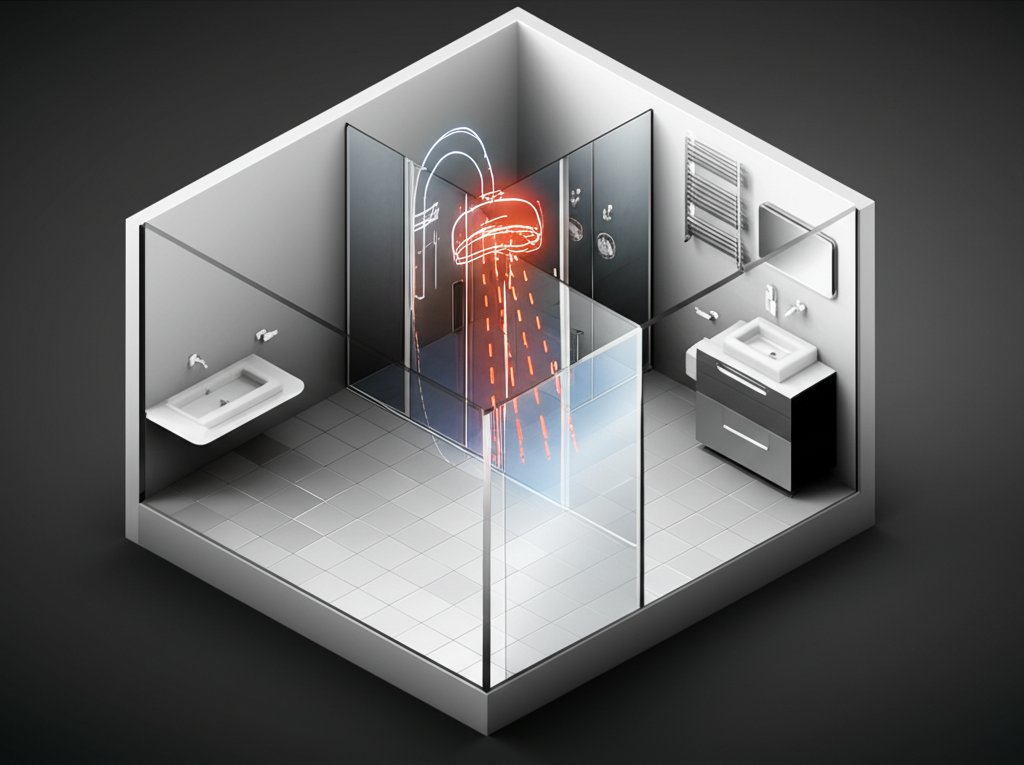
Installing a new light fixture where one didn’t exist before involves cutting a hole in the ceiling and running new electrical wiring. This is a project that requires care and expertise.
Here’s a simplified overview of the process:
- SHUT OFF THE POWER: The first and most critical step is to turn off the corresponding circuit at your home’s main breaker panel.
- Cut the Opening: Use a hole saw attached to a drill and the template provided with the light to cut a precise circle in the ceiling drywall.
- Run Electrical Cable: A new electrical cable (typically 14/2 Romex) is run from a power source, like a nearby switch or junction box, to the opening.
- Connect the Fixture: The cable is connected to the light’s junction box, matching the black (hot), white (neutral), and copper (ground) wires.
- Install the Fixture: The light fixture is pushed up into the hole, where spring-loaded clips or other fasteners secure it firmly against the ceiling.
- Restore Power and Test: Turn the breaker back on and test the light and any dimmer functionality.
A Note on Safety:
Working with electricity carries inherent risks, and building codes in wet environments are especially strict. If you are not completely confident in your ability to perform all these steps safely and correctly, hire a licensed electrician. The peace of mind is well worth the cost. For those planning a project, our guide on Recessed lighting for your shower offers more detailed considerations.
Beyond the Can: Exploring Other Shower Lighting Options
While the recessed can light is the classic choice, it’s not the only one. Depending on your needs and ceiling structure, you might consider alternatives.
- Wet-Rated Flush-Mount Lights: These fixtures sit on the surface of the ceiling rather than inside it. They are a great option for concrete ceilings or areas where you don’t have the clearance for a recessed can.
- Battery-Operated Wireless Lights: For a temporary or less invasive solution (like in a rental), you can find battery-powered, motion-activated puck lights. They stick to the ceiling with adhesive and provide a quick boost of light, but they lack the power and permanence of a hardwired fixture.
- LED Shower Heads: Some high-tech shower heads have built-in LEDs, often powered by the flow of water itself. They can change color based on water temperature and are more of a novelty feature than a primary lighting source.
These alternatives show the breadth of possibilities available today. A broader Concealed bathroom lighting guide can help you explore even more creative ways to integrate lighting seamlessly throughout your space.
Common Questions and Quick Fixes
Even with the best products, questions can arise. Here are answers to some of the most common ones.
My new LED shower light is flickering. What’s wrong?
Flickering is almost always caused by one of two things: a loose wire connection or an incompatible dimmer switch. First, turn off the power and double-check all wire connections. If they are secure, the issue is likely your dimmer. Not all dimmers are rated for LEDs. You need to replace it with a modern dimmer specifically labeled as “LED-compatible” or “CFL/LED.”
How many lights do I need in my shower?
For a standard shower or tub/shower combo (up to about 15-20 square feet), a single, well-placed can light is plenty. For a very large, multi-person walk-in shower, you might place two fixtures about 3-4 feet apart for perfectly even illumination.
Can I just put a wet-rated LED bulb in my old shower light?
It’s more complicated than that. You can use what’s called an “LED retrofit kit,” which is essentially a new all-in-one bulb and trim designed to fit into an existing can housing. However, you must ensure two things: the retrofit kit itself is wet-rated, and the existing housing in your ceiling can safely accommodate it. Often, replacing the entire fixture is a safer and more reliable long-term solution.
How do I clean my LED shower light?
Maintenance is minimal. About once a year, turn off the power at the breaker, wait for the light to cool completely (even though it’s not much), and gently wipe the lens and trim with a soft, damp cloth. Never spray cleaner directly onto the fixture.
Your Next Step to a Brighter, Safer Shower
Upgrading to a dedicated LED shower can light is a small project with an outsized impact. It elevates a routine task into a more pleasant experience, enhances the safety of the most hazardous room in the house, and adds a touch of modern polish to your bathroom’s design. You’ll wonder how you ever managed with a dark, shadowy shower before.
Your path forward is clear:
- Assess Your Space: Measure your shower and confirm you have ceiling clearance.
- Define Your Vibe: Decide on the color temperature and finish that will best complement your bathroom.
- Choose Your Light: Select a high-quality, wet-rated fixture with the right lumen output.
- Plan Your Installation: Decide whether to tackle it yourself or call a professional for a flawless and safe installation.
Investing in proper lighting is one of the most effective and rewarding home improvements you can make. It’s a bright idea that pays off every single day.

- DIY Bathroom Mirror Frame Designs on a Budget - October 12, 2026
- Creative Bathroom Mirror Border Ideas for Every Style and Budget - October 11, 2026
- Bathroom Finishes That Handle Moisture and Look Great - October 10, 2026










