
A poorly lit stairwell is more than just a design oversight; it’s a daily hazard lurking in a high-traffic area of your home. Many people install a single, often glaring, overhead light that casts long, disorienting shadows on the treads. The solution isn’t more brute-force brightness, but smarter, more strategic light—and that’s precisely where stairwell sconces transform a functional passageway into a safe and stylish feature. They provide layered, targeted light right where you need it, eliminating shadows and adding a warm, welcoming ambiance.
At a Glance: Your Quick Guide to Stairwell Lighting
- Master Placement: Learn the three core strategies for positioning sconces—the Rule of Thirds, the Rhythmic Step Pattern, and the Landing Feature—to achieve balanced, effective light.
- Direct the Light: Understand the crucial difference between uplighting, downlighting, and diffused lighting, and how each impacts safety and mood.
- Choose the Right Fixture: Get clear guidance on selecting the proper size, scale, and style of sconce to complement your home’s architecture and meet safety codes.
- Navigate the Rules: Uncover the non-negotiable ADA compliance rule that dictates how far your sconces can protrude from the wall.
- Plan Like a Pro: Follow a simple, step-by-step playbook for measuring, mapping, and preparing for your installation.
Beyond the Hallway: Decoding the Stairwell’s Unique Lighting Needs
Lighting a stairwell isn’t like lighting a flat hallway or a room. It’s a dynamic, multi-level space with unique challenges. The long, angled sightlines, varying ceiling heights, and the critical need for foot-level visibility make it one of an interior’s most complex lighting puzzles. A central chandelier on a high ceiling might look grand, but it often fails to illuminate the individual steps, creating a dangerous glare from above while leaving the treads in shadow.
This is where the targeted nature of stairwell sconces becomes essential. By mounting fixtures directly on the wall alongside the stairs, you bring the light source closer to where it’s needed most. This approach creates layers of light that reduce shadows and define each step, turning a potential hazard into a confident path. The right wall fixtures do more than just illuminate; they guide the eye, add architectural interest, and contribute to a cohesive design story. This balance is key; after all, the best Sconces for style and safety are those that perform both functions flawlessly.
Getting It Right: The Art and Science of Sconce Placement
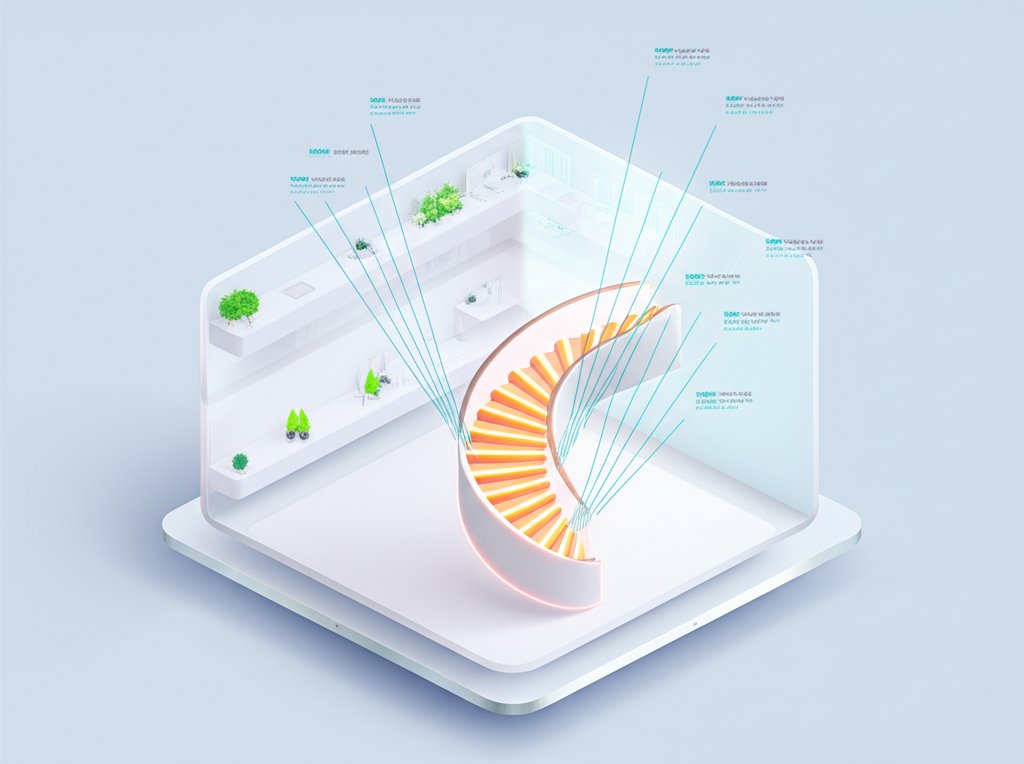
Where you place your sconces is just as important as which ones you choose. Random placement can create an uneven, patchy look and fail to solve the core safety issues. Pros rely on a few time-tested patterns to ensure even coverage and visual appeal.
The Rule of Thirds: A Classic Approach for Even Illumination
This is the go-to method for most standard, straight staircases. Imagine dividing the slanted wall length of your staircase into three equal sections. You place a sconce near the center of the first and last sections, leaving the middle third empty.
- How it works: This pattern provides balanced light at the top and bottom of the run, preventing dark zones where you start or end your climb. It’s visually pleasing and prevents the “runway” look of too many lights in a row.
- Best for: Straight staircases of standard length (10-15 steps).
- Mini-Example: On a 12-foot-long wall section along the stairs, you would place one sconce approximately 3-4 feet from the bottom and another 3-4 feet from the top.
The Rhythmic Step Pattern: Tying Light to Your Ascent
For longer or grander staircases, a more rhythmic approach works wonders. Here, sconces are placed at regular intervals, such as every four or five steps. To avoid a monotonous look, they are often staggered on opposite walls if the staircase is wide enough, or on alternating sides of a landing in a switchback design.
- How it works: This method ensures no part of a long journey is left in the dark. The repetition creates a pleasing visual rhythm that guides you up or down.
- Best for: Long, straight staircases or grand stairways with multiple landings.
- Practical Tip: Use painter’s tape to mark potential locations. Walk the stairs at night with a flashlight held at each taped spot to see how the light falls before committing.
The Landing Feature: Creating Focal Points
If your staircase includes a landing, treat it as a design opportunity. Placing a single, slightly larger sconce or a pair of sconces on the landing wall creates a deliberate focal point. This breaks up the visual journey of the climb and can be used to highlight a piece of art or an architectural detail.
- How it works: This draws attention to the midway point, making the staircase feel more like a planned part of the home and less like a simple utility. It’s an excellent way to add a touch of drama.
- Best for: Switchback, L-shaped, or U-shaped staircases with landings.
| Placement Strategy | Best For | Pros | Cons |
| :— | :— | :— | :— |
| Rule of Thirds | Standard, straight stairs | Balanced, simple, elegant | Can leave the middle slightly dimmer on very long runs |
| Rhythmic Pattern | Long or grand stairways | Highly consistent, safe illumination | Can look too busy if fixtures are too large or close |
| Landing Feature | Stairs with landings | Creates a focal point, adds style | Does not illuminate the entire run on its own |
Not All Light is Created Equal: Matching Sconce Type to Your Goal
The type of light your sconce emits dramatically changes the feel and function of your stairwell. Think about whether you want to direct light for a specific task (seeing the steps) or create a general mood.
Uplighting vs. Downlighting: Directing the Beam for Safety and Ambiance
This is the most critical lighting decision you’ll make for your stairwell sconces.
- Uplights: These fixtures cast their light upward, bouncing it off the ceiling. This creates soft, indirect, ambient light that can make a space feel larger and more open. While beautiful for highlighting tall ceilings or architectural details, they are not the best primary choice for tread safety as they don’t directly illuminate where you step.
- Downlights: These direct their light downward, casting pools of light onto the stair treads below. This is the best option for safety, as it clearly defines each step and eliminates tripping hazards. Many modern sconces are “dark sky” compliant, meaning they have a shield on top to prevent light from spilling upward, focusing every lumen on the path.
Case Snippet: A Tale of Two Staircases
For a client with a soaring, two-story foyer and a grand, curved staircase, we used elegant uplight sconces to emphasize the dramatic height and create a sense of formal grandeur. The ambient glow was sufficient because the foyer’s chandelier provided enough general light.
In contrast, for a family with young children and an enclosed, narrow staircase, safety was paramount. We chose shielded downlight sconces that washed each tread with light. The result was a brightly lit, secure path that gave the parents peace of mind, without any harsh glare in the kids’ eyes as they walked upstairs.
Ambient and Diffused Sconces: The Soft-Glow Solution
These are the all-rounders. Fixtures with fabric shades, frosted glass, or alabaster covers diffuse the light, casting a soft, even glow in all directions. They provide good general illumination and are less likely to create sharp shadows or glare than a fixture with a clear bulb. This makes them a great, balanced choice for most residential stairwells, combining solid safety with a warm, inviting atmosphere.
The Importance of Kelvin and Lumens
Don’t get lost in the technical jargon. Just remember these two terms:
- Lumens (Brightness): For stairwells, you don’t need blinding light. Aim for fixtures that provide around 150-250 lumens each. The goal is a series of gentle light pools, not a floodlight.
- Kelvin (Color Temperature): This dictates the color of the light. For a warm, cozy, and inviting feel typical of a home, stick to the 2700K to 3000K range. This is often labeled “Soft White” or “Warm White.”
Your Stairwell Sconce Installation Playbook
Ready to move from planning to action? Follow this simple framework to ensure a smooth and successful project.
Step 1: Measure and Map Your Space
Before you buy anything, grab a measuring tape and painter’s tape.
- Measure Height: The standard mounting height is 60 to 66 inches above the nose of the stair tread directly below the fixture. Mark this height at your desired locations.
- Measure Horizontally: Apply one of the placement patterns (Rule of Thirds, etc.) to determine the horizontal spacing.
- Mock It Up: Use painter’s tape to create an outline of the sconces on the wall. Live with it for a day or two. Walk up and down the stairs at different times to see how the placement feels. It’s much easier to move tape than a junction box.
Step 2: Mind the Code—ADA Compliance is Non-Negotiable
This is a critical rule that many homeowners miss. The Americans with Disabilities Act (ADA) has guidelines for public spaces that have become a best-practice standard for all circulation paths, including residential stairwells.
The Rule: Any object protruding from a wall between 27 and 80 inches from the floor cannot stick out more than 4 inches.
Since most sconces are mounted in this height range, you must choose fixtures that are “low-profile” or “ADA-compliant.” This ensures no one will accidentally bump into them, which is especially important in narrower stairwells.
Step 3: Selecting the Sconce Style and Size
With measurements and ADA rules in mind, you can now focus on aesthetics.
- Scale: A common mistake is choosing sconces that are too small. They get lost on the wall. A tall, narrow sconce can emphasize verticality, while a wider, more horizontal fixture can make a space feel broader.
- Style: Match the fixture to your home’s architecture. A sleek, metallic cylinder looks at home in a modern house, while a wrought-iron, lantern-style sconce fits a traditional or rustic design.
Step 4: Planning for Power
Unless you are an experienced DIYer comfortable with electrical work, this step is for a licensed electrician.
- Hardwired: This is the standard for stairwell sconces. The wiring is hidden in the wall for a clean, permanent, and professional installation. An electrician will need to run new wiring from a power source and install junction boxes at your marked locations.
- Dimmer Switches: This is the single most valuable upgrade for any lighting project. A dimmer allows you to adjust the brightness to suit the time of day or mood, from a bright, clean light for daytime chores to a soft, low glow for late-night navigation.
Quick Answers to Common Stairwell Sconce Questions
How high should stairwell sconces be mounted?
The industry standard is to center the fixture 60 to 66 inches above the nosing of the stair tread it is directly over. This places the light source just above average eye level, minimizing glare. Always adjust for your family’s height and the scale of the sconce.
Can I use just one sconce in my stairwell?
It’s strongly discouraged. A single light source in a multi-level space like a stairwell is a recipe for long, sharp shadows, which can make it difficult to judge distances between steps. A series of two or more smaller sconces will always provide safer, more even illumination.
Are LED stairwell sconces a good idea?
They are the best choice. Integrated LED sconces or sconces using LED bulbs are highly energy-efficient and have incredibly long lifespans (often 25,000 hours or more). This is a huge benefit for hard-to-reach fixtures high on a stairwell wall—you may not have to change a bulb for over a decade.
What if my stairwell has a low ceiling?
If your ceiling is low or the stairs are particularly narrow, prioritize flush-mount or low-profile ADA-compliant sconces. These fixtures hug the wall and won’t feel obtrusive. Additionally, consider using uplights; by washing the ceiling with light, they can create an illusion of greater height and openness.
From Dark and Dated to Bright and Beautiful
Choosing the right stairwell sconces is about more than just picking a pretty fixture. It’s a strategic decision that directly impacts the safety, functionality, and aesthetic flow of your home. By thoughtfully considering placement, light direction, and scale, you can convert a dark, utilitarian passage into a beautifully illuminated architectural feature.
Before you start shopping, make one final check based on your primary goal:
- If your top priority is safety: Focus on shielded downlight sconces, use the rhythmic placement pattern for full coverage, and install a dimmer switch.
- If your top priority is architectural drama: Explore uplighting to accentuate ceiling height and consider using a larger feature sconce on a landing.
- If you want a balanced, welcoming feel: Choose diffused or ambient light sconces, apply the Rule of Thirds for classic placement, and select a warm color temperature (2700K).
With this plan in hand, you are ready to light your way to a safer and more stylish home.

- DIY Bathroom Mirror Frame Designs on a Budget - October 12, 2026
- Creative Bathroom Mirror Border Ideas for Every Style and Budget - October 11, 2026
- Bathroom Finishes That Handle Moisture and Look Great - October 10, 2026










