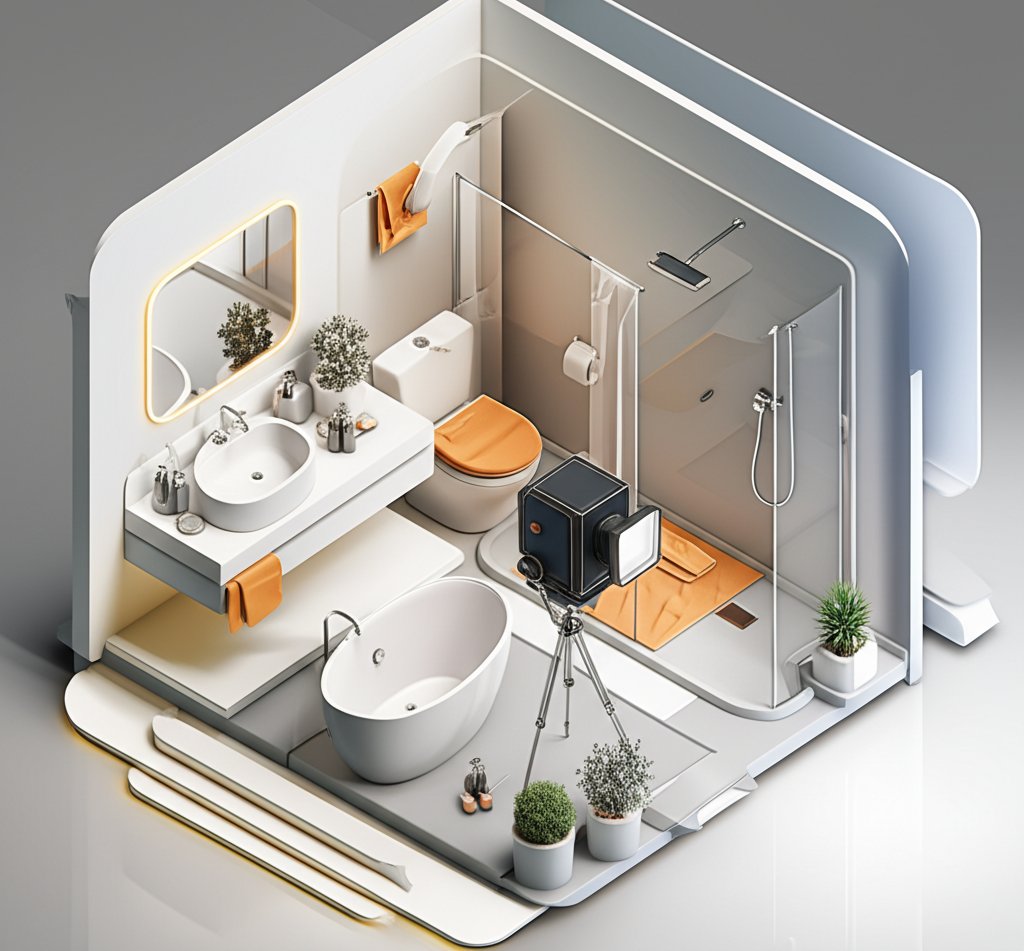
Forget sterile, fluorescent-lit snapshots. The modern bathroom photoshoot has evolved into a legitimate art form, transforming a private, everyday space into a surprisingly versatile creative studio. It’s where raw, intimate portraits and sleek, spa-inspired lifestyle shots come to life. The secret isn’t a five-star bathroom; it’s knowing how to work with mirrors, steam, light, and a few clever props to create images that are compelling, artistic, and deeply personal.
Whether you’re a content creator looking to elevate your feed, a photographer exploring new environments, or simply someone wanting to capture a different side of yourself, this guide will walk you through everything. We’ll cover the techniques to master mirror selfies, create dreamy bathtub scenes, and harness steam for atmospheric effect—all while keeping your gear safe and your results stunning.
At a Glance: Your Bathroom Photography Cheatsheet
Here’s a quick rundown of what you’ll learn to master your next bathroom shoot:
- Master the Mirror: Use angles, distance, and camera height to create dynamic, flattering reflections instead of flat, awkward selfies.
- Leverage the Bathtub: Turn the tub into a versatile set piece for everything from minimalist architectural shots to dreamy, prop-filled scenes.
- Harness Steam & Water: Use steam, fog, and water droplets to create silhouettes, soft-focus effects, and intriguing macro details.
- Style with Purpose: Elevate your shots with simple props like plants, candles, and luxurious textiles to build a specific mood or narrative.
- Control the Light: Understand how to use natural window light for soft, even illumination or dramatic, high-contrast shadows.
- Prioritize Safety: Learn the non-negotiables for protecting your camera gear from moisture and ensuring a safe, comfortable environment.
Mastering the Mirror: Beyond the Basic Selfie
The mirror is the bathroom’s most iconic feature, but most people use it in the most basic way. With a few adjustments to your angle and distance, you can turn a simple reflection into a powerful compositional tool.
The Full-Body Mirror Shot: Angles and Posing
To capture a dynamic full-body shot, don’t stand flat-footed and directly in front of the mirror. Instead, give yourself some space.
- Find Your Distance: Position yourself about 3 to 4 feet away from the mirror. This prevents distortion and allows more of the environment to frame you.
- Play with Camera Height: The height of your camera dramatically changes the perspective. Holding it at chest level is standard, but try a lower angle—from your waist or even the floor—to create the illusion of longer legs and a more commanding presence.
- Use the Corners: If you have a mirror in a corner or a medicine cabinet you can open, use the angle to create depth. A reflection that shows both a direct and a side view of yourself adds a layer of complexity and intrigue.
A common mistake is trying to hide your phone or camera by shooting from an extreme side angle. This often distorts your body. Instead, embrace the camera as part of the image or use clever posing—like holding the phone across your chest—to integrate it naturally.
The Close-Up Portrait: Framing and Light
For intimate close-up portraits, the details matter. Move closer, about 12 to 18 inches from the mirror, and focus on expression and lighting.
- Harness Soft Light: The best light for mirror portraits is soft and diffused. Position yourself so a nearby window illuminates your face. Early morning (7-9 a.m.) or the late afternoon “golden hour” provides a warm, flattering glow that minimizes harsh shadows.
- Frame Your Face: Don’t just stare into the lens. Use your hands, your hair, or even a prop like a skincare bottle to frame your face. A slight tilt of the head or a hand gently resting on your cheek can add a sense of emotion and intentionality.
- Layer Your Reflections: For a more advanced shot, combine multiple mirrors. Use a handheld vanity mirror to reflect a specific detail—like your eyes or lips—back into the larger mirror’s reflection. This creates a fascinating “photo-within-a-photo” effect.
The Bathtub Edit: From Minimalist to Dreamy
The bathtub is a perfect stage. It can be a blank canvas for minimalist compositions or a vessel for lush, imaginative scenes. The key is to decide on a mood and style it accordingly.
The Dreamy Bubble Bath Scene
Bubbles are a photographer’s best friend in the tub. They act as a natural light diffuser, softening shadows and giving skin a radiant glow.
- Build the Bubbles: Don’t be shy. Use a generous amount of bubble bath soap and agitate the water to create dense, long-lasting foam.
- Focus on Details: While a wide shot is nice, the magic is often in the close-ups. Capture the contrast between the soft bubbles and the skin, a hand resting on the edge of the tub, or a relaxed facial expression peeking through the foam.
Minimalist & Architectural Shots
If your bathroom has clean lines and good light, embrace a minimalist aesthetic. In this style, the space itself becomes the subject.
- Declutter Ruthlessly: Remove all distracting items—shampoo bottles, rubber ducks, extra towels. You want the focus to be on form and light.
- Use Geometry as a Guide: Pay attention to the lines of the tub, the grid of the tiles, and the frame of the window. Use these geometric elements to compose a balanced, intentional shot. Natural light pouring in from a single window works beautifully here, creating a simple, elegant interplay of light and shadow. If you’re looking for more ways to capture this clean aesthetic, you can Find bath picture ideas that showcase minimalist and modern styles.
The Overhead “Top-Down” Perspective
For a unique and comprehensive view, shoot from directly above. This angle is perfect for showcasing the entire scene you’ve styled.
- Safety First: This shot requires you to be safely elevated above the tub. Use a sturdy step stool or ladder, and have a spotter if possible. If using a tripod, ensure its legs are secure and won’t slip on a wet floor.
- Compose the Scene: The overhead view turns the scene into a flat lay. Arrange your props—flower petals, candles, a book and a teacup on a bath tray—with intention. This angle also highlights beautiful floor tiles, turning them into a graphic backdrop.
Creating Art in the Shower: Steam, Silhouettes, and Droplets
The shower enclosure is a fantastic space for creating moody, atmospheric, and abstract images. Steam and water become your most powerful creative tools.
The Power of Steam and Silhouettes
A steamy glass shower door is a perfect canvas for creating artistic silhouettes.
- Create the Steam: Run the hot water for a few minutes to fog up the glass.
- Use Strong Backlighting: Position a light source (a lamp, a large window, or even your phone’s flashlight) behind the subject inside the shower. When you shoot from the outside, the subject will appear as a dark, mysterious silhouette against the glowing, steamed-up glass. The steam adds texture and diffuses the light, enhancing the moody effect.
Macro Details: Capturing Water Droplets
Shift your focus from the big picture to the tiny details. Water droplets on skin or glass can make for incredibly compelling macro photography.
- Light from the Side: To make the droplets pop, light them from the side. This technique, called side-lighting, highlights their three-dimensional shape and texture.
- Get Close: Use a macro lens if you have one. If you’re using a smartphone, switch to its macro mode or get as close as you can while maintaining a sharp focus. The contrast between the clear water and the skin or glass creates a beautiful, sensory image.
The Soft-Focus Effect of a Fogged Mirror
Don’t wipe away that fogged-up mirror just yet. It acts as a natural soft-focus filter, perfect for dreamy or romantic portraits. Write a word, draw a simple shape, or wipe away a small section to reveal a sharp reflection of your eye, adding a personal and narrative touch to the shot.
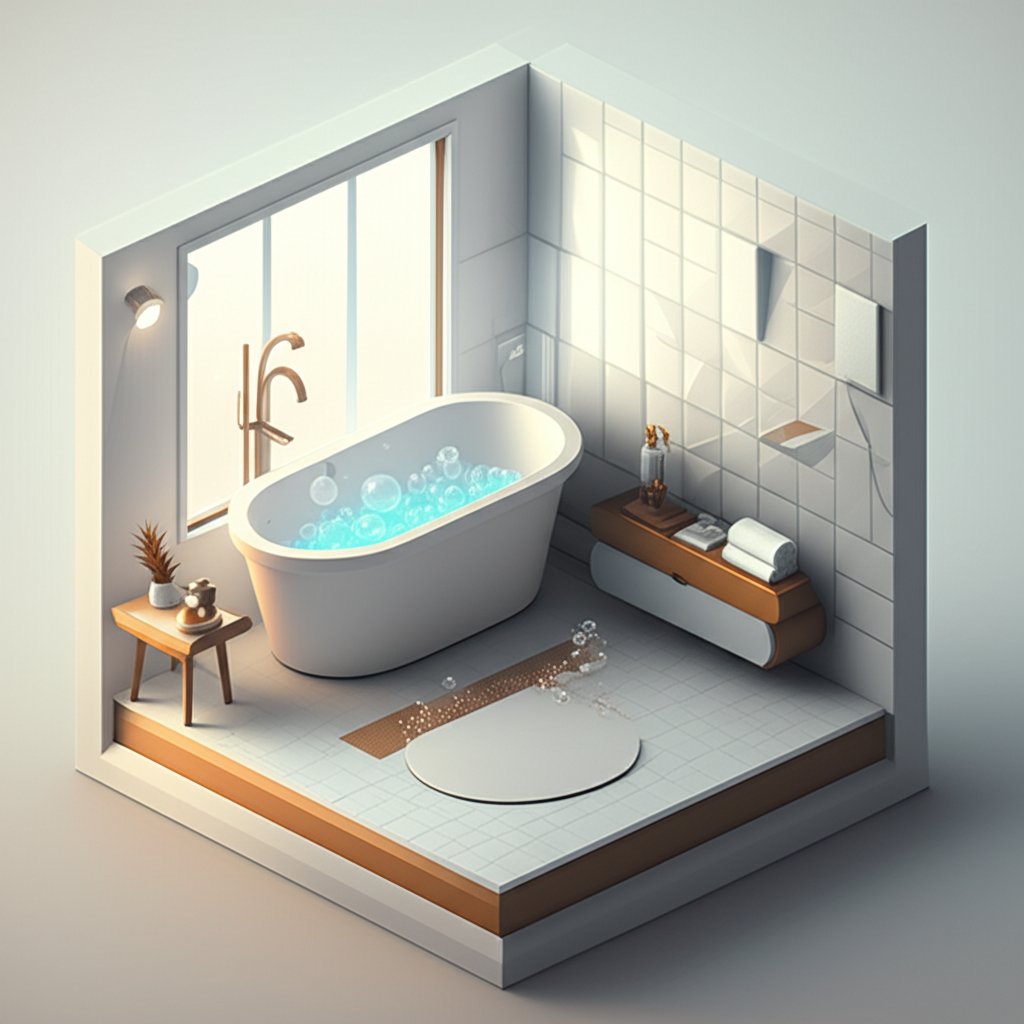
The Vanity Moment: Beauty and “Getting Ready” Stories
The vanity is where transformation happens, making it a perfect spot for storytelling through photography. Capture the ritual of getting ready, showcase favorite products, or document a stunning before-and-after.
Documenting the “Getting Ready” Process
Tell a story by capturing the small moments of a beauty routine.
- Find Your Angle: The best perspective is often a 45-degree angle to the mirror. This allows you to capture both the subject’s face and their reflection without the camera being the central focus.
- Focus on the Action: Take detail shots of the process: the swipe of a lipstick, the dusting of powder with a brush, or the delicate application of eyeliner. These candid, action-oriented shots feel authentic and engaging.
The Perfect Product Flat Lay
Turn your beauty products into art with a well-composed flat lay on your vanity.
- Choose a Clean Background: A neutral surface like marble, a white countertop, or even a plain placemat works best.
- Arrange with Intention: Group products by color family or create geometric patterns. Think about balance and negative space. Adding a personal touch, like a fresh flower or a piece of jewelry, can elevate the composition.
Props and Styling: Setting the Scene Like a Pro
Props are the secret to transforming a functional bathroom into a curated scene. They add personality, texture, and mood, turning a simple photo into a story.
Creating a Spa-Like Ambiance
Evoke a sense of calm and luxury with a few key items.
- Textiles: A stack of fluffy, clean white towels or a luxurious bathrobe draped over a stool immediately suggests a spa-like environment.
- Greenery: Plants soften the hard lines of a bathroom. A few stems of eucalyptus hanging in the shower, a small succulent on the counter, or a fern in the corner add a touch of life and freshness.
Mood Lighting with Candles and LEDs
Ditch the harsh overhead light and create atmosphere with softer sources.
- Candles: Place candles of various heights around the tub or on the vanity. The warm, flickering light is incredibly flattering and creates a cozy, romantic mood.
- Fairy Lights: For a more magical or modern feel, use battery-powered LED fairy lights. You can place them in a glass jar, drape them around a mirror, or even let them hang behind the tub to create a beautiful bokeh effect (those soft, out-of-focus balls of light).
Technical Toolkit: Light, Lenses, and Composition
With your scene set, it’s time to fine-tune the technical details. The right gear and a solid understanding of composition will take your photos from good to great.
Harnessing Natural Light
Natural light is almost always the most flattering option.
- Timing is Everything: Soft morning or late afternoon light from a window will give you beautiful, even illumination and prevent harsh shadows.
- Position Your Subject: For a clean, bright look, have your subject face the window. For a more dramatic, moody shot with deep shadows, position them so the light hits them from the side.
Choosing the Right Lens and Angle
Your lens and camera position can dramatically alter the feel of the space.
- Make the Room Feel Bigger: A wide-angle lens (like a 14-24mm or 16-35mm on a full-frame camera, or the .5x mode on many smartphones) can make a small bathroom feel more spacious and grand. Shoot from a doorway or a low corner to maximize this effect.
- Create Drama from Below: A low angle, shooting upward from the floor, can make a freestanding tub look monumental or emphasize the height of the ceiling.
Frequently Asked Questions
What’s the best lighting for a bathroom photoshoot?
Natural light from a window is almost always best. It’s soft, flattering, and creates a clean, high-end look. If you don’t have a window, use a soft, diffused light source like an LED panel with a softbox, and bounce it off a white wall to avoid harsh shadows.
How do I make a small bathroom look bigger in photos?
Use a wide-angle lens and shoot from a low corner or the doorway to include more of the space in the frame. Keeping the room bright and decluttered also helps create a sense of openness.
How can I take a bathroom photo without my phone showing in the mirror?
There are three main techniques:
- Angle: Shoot the mirror from an angle so your reflection is out of the frame.
- Obscure: Hide the phone behind your body or use a prop to block it.
- Embrace It: Make the phone a deliberate part of the composition. A well-placed phone can look intentional, especially in a “behind-the-scenes” style shot.
What are the key safety concerns?
Water and electronics don’t mix. Keep your gear away from direct splashes, use a sturdy tripod that won’t slip on wet floors, and be extremely careful with any electrical equipment like lights near water. Always prioritize your and your subject’s physical safety.
Your Bathroom Photoshoot Checklist: Gear and Safety First
Before you start shooting, run through this final checklist to ensure you’re prepared, safe, and ready to create.
The Essential Gear List
- Camera: A DSLR, mirrorless camera, or a high-quality smartphone with a “Pro” mode will give you the most control.
- Lens: A wide-angle lens (16-35mm) is great for capturing the whole space, while a prime lens (like a 35mm or 50mm) is perfect for portraits.
- Tripod: Essential for sharp, stable shots, especially in lower light or for before-and-after comparisons.
- Lighting (Optional): A small, battery-powered LED light can help fill in shadows if natural light isn’t enough.
- Polarizing Filter: This handy filter screws onto your lens and can reduce glare and reflections on mirrors, tiles, and water surfaces.
Safety and Privacy: The Non-Negotiables
- Protect Your Gear: Use a lens hood to guard against minor splashes. Keep a dry microfiber cloth handy to wipe down any moisture immediately. Never place gear where it could fall into water.
- Secure Your Setup: Ensure tripods and light stands are on a dry, stable surface. If the floor is wet, place the tripod feet on a towel or rubber mat.
- Communicate Clearly: If you’re photographing someone else, maintain open communication about poses, comfort levels, and boundaries. Ensure they feel safe and respected throughout the process.
- Manage Privacy: Remember that bathrooms are private spaces. Lock the door and inform others in the household that you’re shooting to avoid interruptions.
With these techniques and a little creativity, your bathroom can become one of your favorite places to shoot. It’s a space that invites vulnerability, self-reflection, and artistry—all you have to do is pick up your camera and start exploring the possibilities.

- Bathroom Photoshoot Creative Angles Lighting and Props for Stunning Results - October 26, 2026
- DIY Bathroom Mirror Frame Designs on a Budget - October 12, 2026
- Creative Bathroom Mirror Border Ideas for Every Style and Budget - October 11, 2026