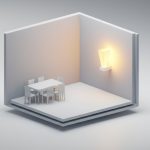
That single, glaring floodlight mounted over the garage does its job, but it washes out your home’s character and creates harsh, unwelcoming shadows. This is where the subtle power of outdoor recessed lighting transforms a purely functional exterior into a sophisticated, inviting retreat. By integrating light directly into your home’s architecture—its soffits, stairs, and covered patios—you create layers of illumination that enhance safety, highlight beauty, and extend your living space well after sunset.
This isn’t about just flooding your yard with light. It’s about painting with it.
At a Glance: What You’ll Learn
- Master the Three Layers of Light: Understand how to use ambient, task, and accent lighting to create a balanced and beautiful exterior scene.
- Zone-Specific Lighting Recipes: Get specific ideas and placement tips for soffits, porches, decks, stairs, and walkways.
- Avoid Common Pitfalls: Learn how to choose the right brightness (lumens) and color temperature (Kelvin) to avoid a sterile, “airport runway” look.
- Practical Placement Rules: Discover simple spacing formulas for techniques like wall washing and creating elegant light scallops.
- Plan Your Project with Confidence: A quick-start guide to help you map out your design from sketch to fixture selection.
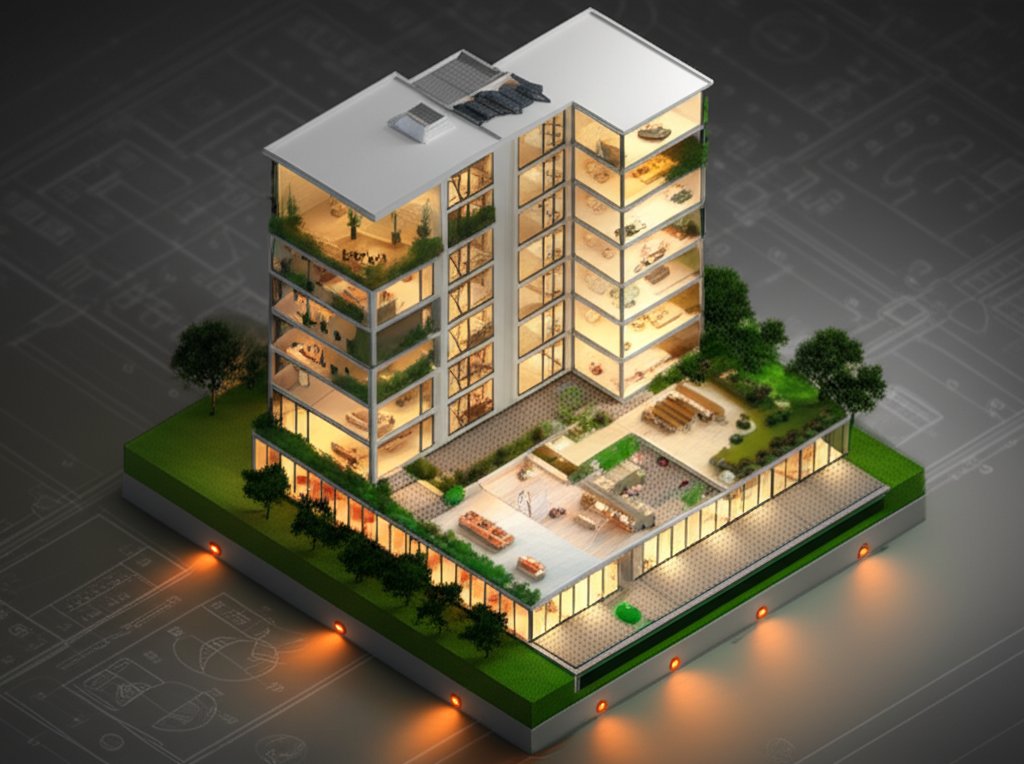
Think Like a Designer: Layering Light for Maximum Impact
Before drilling any holes, it’s essential to understand the three fundamental layers of lighting design. Most professional-looking outdoor lighting schemes don’t rely on a single type of light; they artfully combine these three functions to create depth, interest, and utility.
- Ambient Lighting (The Foundation): This is the general, overall illumination that makes a space usable and comfortable. For exteriors, this is often achieved with outdoor recessed lighting installed in porch ceilings or soffits, providing a soft, downward glow. It sets the mood without being overpowering.
- Task Lighting (The Workhorse): This is focused, brighter light aimed at a specific area where a task is performed. Think of a recessed light directly over the grill on your patio, or low-profile lights built into stair risers to ensure safe passage.
- Accent Lighting (The Drama): This is the most artistic layer. Accent lighting draws the eye to specific features, like the beautiful texture of a stone facade, an architectural column, or a prized sculpture. The “wall grazing” technique is a perfect example of recessed accent lighting.
A successful design blends these layers seamlessly. For instance, your soffit lights provide the ambient glow, step lights handle the task of safety, and a few well-aimed fixtures grazing the brickwork add the accent. To master the technical specifications behind these layers, from IP ratings to trim choices, our comprehensive Outdoor recessed lighting buyers guide is an essential resource.
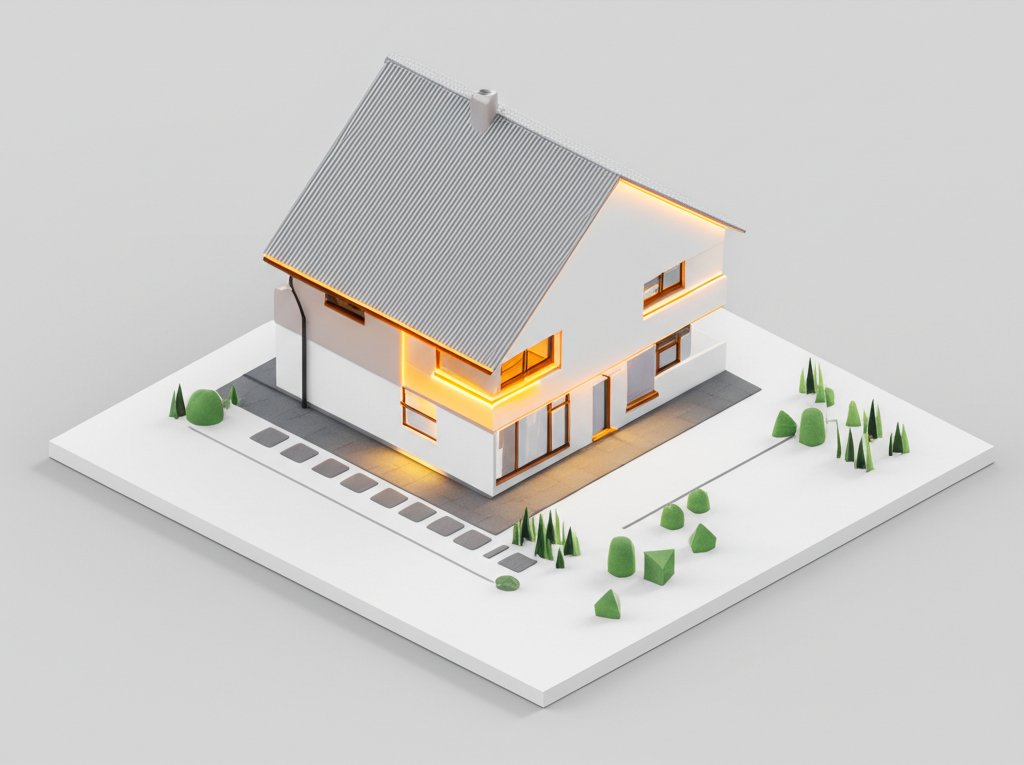
Soffit and Eave Lighting: Your Home’s Architectural Halo
The soffits—the underside of your roof’s overhang—are the most popular and versatile location for outdoor recessed lighting. They provide a perfect, protected perch to cast light downward, achieving several distinct effects.
The ‘Wall Washing’ Technique for Rich Texture
Wall washing is a premium look that uses light to highlight the vertical surfaces of your home. It’s especially effective on materials with inherent texture, like stone, brick, or board-and-batten siding. The light catches the peaks and valleys of the material, creating beautiful shadows and a sense of depth.
- How to Do It: Install your recessed fixtures in the soffit, placing them relatively close to the wall—typically 12 to 24 inches away.
- Spacing: Space the fixtures between 3 and 5 feet apart. The closer they are, the more the cones of light will overlap for a continuous, uniform wash.
- Pro Tip: Use a gimbal (adjustable) trim that allows you to tilt the light source slightly toward the wall, maximizing the grazing effect.
Creating a ‘Scalloped’ Light Pattern for Classic Elegance
If you prefer a more traditional or classic look, you can create soft, arching “scallops” of light against your walls. This effect feels less modern than a uniform wash but adds a gentle, rhythmic beauty.
- How to Do It: Pull the recessed fixtures further away from the wall—typically 24 to 36 inches out from the vertical surface.
- Spacing: The key is the relationship between spacing and the fixture’s beam angle. A common rule of thumb is to space the lights roughly equal to their distance from the wall. So, if they are 3 feet from the wall, space them 3 feet apart.
- Mini Case Snippet: A homeowner with a long, plain stucco wall used 4-inch recessed lights with a 40-degree beam angle, placed 30 inches from the wall and spaced 4 feet apart. The result was a series of distinct, elegant scallops that broke up the monotonous surface.
Pathway and Perimeter Lighting from Above
Soffit lighting isn’t just for aesthetics; it’s highly functional. When positioned correctly, it creates a safe and well-lit perimeter around your home, illuminating walkways, entrances, and patio edges right next to the house. This provides a sense of security and eliminates the need for multiple, bulkier path lights.
Illuminating Decks, Patios, and Porches
Your outdoor living spaces are where memories are made. The right recessed lighting makes them safer, more functional, and more magical after dark.
Step and Stair Lighting for Unquestionable Safety
Trips and falls are a real concern on dark stairs. Recessed step lights are the most elegant solution, integrating directly into the structure for a clean, built-in look.
- Placement: You can install them in the vertical “riser” of the stair or on the side walls of the staircase. Riser lights cast light down onto the tread below, while side-wall lights can illuminate several steps at once.
- Brightness is Key: This is one area where less is more. Choose low-lumen fixtures (50-120 lumens). The goal is to illuminate the path, not to blind the person climbing the stairs. A 2700K warm white color is ideal here, as it’s less jarring to the eyes at night.
- Spacing: For riser lights, installing one on every other step is often sufficient. For side-wall lights, one fixture every three or four steps, staggered on each side, works well.
In-Deck and In-Patio Lighting for a Celestial Glow
For a truly high-end look, consider installing small, walk-over-rated recessed lights directly into your deck boards or stone patio. These “in-ground” fixtures are perfect for defining the edges of a space, marking the perimeter of a seating area, or creating a whimsical, starry-night effect.
- Durability Matters: Ensure any fixture installed in a floor surface is specifically rated for walk-over or even drive-over traffic and has a high IP rating (IP67 is common) to withstand pooling water and pressure washing.
- Application Snippet: On a dark wood deck, a designer installed tiny 1-watt, 2700K recessed “dots” every 6 feet around the perimeter. The effect was a subtle, sophisticated glow that outlined the space without creating any upward glare.
Overhead Ambiance in Covered Spaces
For covered porches, porticos, or gazebos, outdoor recessed lighting in the ceiling is the ultimate way to provide smooth, dimmable ambient light. A grid of four to six 4-inch or 6-inch fixtures can replace a single, harsh “boob light,” distributing illumination evenly and making the space feel larger and more like an intentional outdoor room.
Your Quick-Start Planning Playbook
Feeling inspired? Don’t just start buying fixtures. A few minutes of planning will save you hours of headaches and ensure a professional result.
- Sketch Your Space: Grab a pencil and paper (or a tablet) and draw a simple, bird’s-eye view of your property. Mark the key areas: soffits, front door, garage, deck, stairs, and main walkways.
- Identify Zones & Goals: For each area, define the goal. Is the front porch about welcoming ambiance? Is the side yard about security? Is the back patio for entertaining? Label each zone with its primary purpose (e.g., “Soffit – Accent,” “Deck Stairs – Task/Safety”).
- Map Out Fixture Placement: Using the techniques above, start placing dots on your sketch where you think lights should go. For soffits, measure the linear feet. For stairs, count the treads. Don’t worry about perfection; this is a draft.
- Select Your Hardware: Now, match the fixture specs to the goal. Use a simple chart to keep things straight.
| Application | Recommended Kelvin (Color) | Recommended Lumens (Brightness) | Why It Works |
| :— | :— | :— | :— |
| Soffit (Ambient/Accent) | 2700K – 3000K | 350 – 650 lm | Warm and inviting. Bright enough to wash a wall but not overwhelming. Dimmers are a must. |
| Step/Stair Lighting | 2700K | 50 – 120 lm | Very low brightness prevents dangerous glare when looking down. Warm color is easy on the eyes. |
| Covered Porch Ceiling | 3000K | 600 – 800 lm | Slightly cooler/brighter for a clean, functional feel. Can be dimmed for relaxation. |
| In-Ground Path/Deck | 2700K – 3000K | 100 – 300 lm | Meant for marking and gentle guidance, not broad illumination. |
Answering Your Top Outdoor Recessed Lighting Questions
Can I just use indoor recessed lights outside in a covered area?
Absolutely not. This is a common and dangerous mistake. All outdoor lighting fixtures must have a specific UL rating for their location. “Damp-rated” fixtures can be used in covered areas protected from direct rain, like a porch ceiling. “Wet-rated” fixtures are required for any location exposed to the elements, like soffits or in-ground applications. Indoor lights lack the seals and corrosion-resistant materials to withstand moisture and temperature swings, creating a fire and electrical hazard.
How far apart should I space my outdoor soffit lights?
A popular rule of thumb is to take the height of your soffit from the ground and divide it by two to get your spacing. For an 8-foot soffit, you’d space lights 4 feet apart. However, this is just a starting point. For a more blended, uniform look, space them closer. For distinct pools of light, space them further apart. Your fixture’s beam angle also plays a huge role; a wider beam can be spaced further.
What’s the best color temperature (Kelvin) for outdoor lighting?
For residential settings, stick to the warmer end of the spectrum.
- 2700K (Warm White): This is the color of a classic incandescent bulb. It’s warm, cozy, and very inviting. It’s excellent for seating areas, decks, and general ambiance.
- 3000K (Soft White): A slightly crisper, cleaner white. It renders colors a bit more accurately and can feel more modern. It’s great for task areas, security lighting, and wall washing on neutral-colored homes. Avoid anything 4000K or higher, which can look sterile and commercial.
Do outdoor recessed lights need to be on a GFCI circuit?
Yes. For safety, the National Electrical Code (NEC) requires that nearly all outdoor receptacles and lighting be protected by a Ground Fault Circuit Interrupter (GFCI). This device quickly shuts off power if it detects an imbalance, preventing dangerous electrical shocks. This is not a DIY shortcut to skip; always consult with or hire a licensed electrician for outdoor wiring.
Your home’s exterior is a blank canvas when the sun goes down. With a thoughtful approach, outdoor recessed lighting allows you to add the strokes of light that create safety, drama, and usability. It’s one of the few home improvements that enhances curb appeal, increases property value, and fundamentally changes how you experience your own space.
Start with one area—perhaps the front porch soffit or the back deck stairs. A small, well-executed project can build your confidence and completely redefine how you enjoy your home after sunset.

- Outdoor Recessed Lighting Ideas to Brighten Your Exterior Spaces - June 26, 2026
- Exterior Recessed Lighting Buyers Guide for Your Outdoor Space - June 25, 2026
- Dining Room Wall Sconces Brighten Your Decor with Elegant Layered Light - June 24, 2026