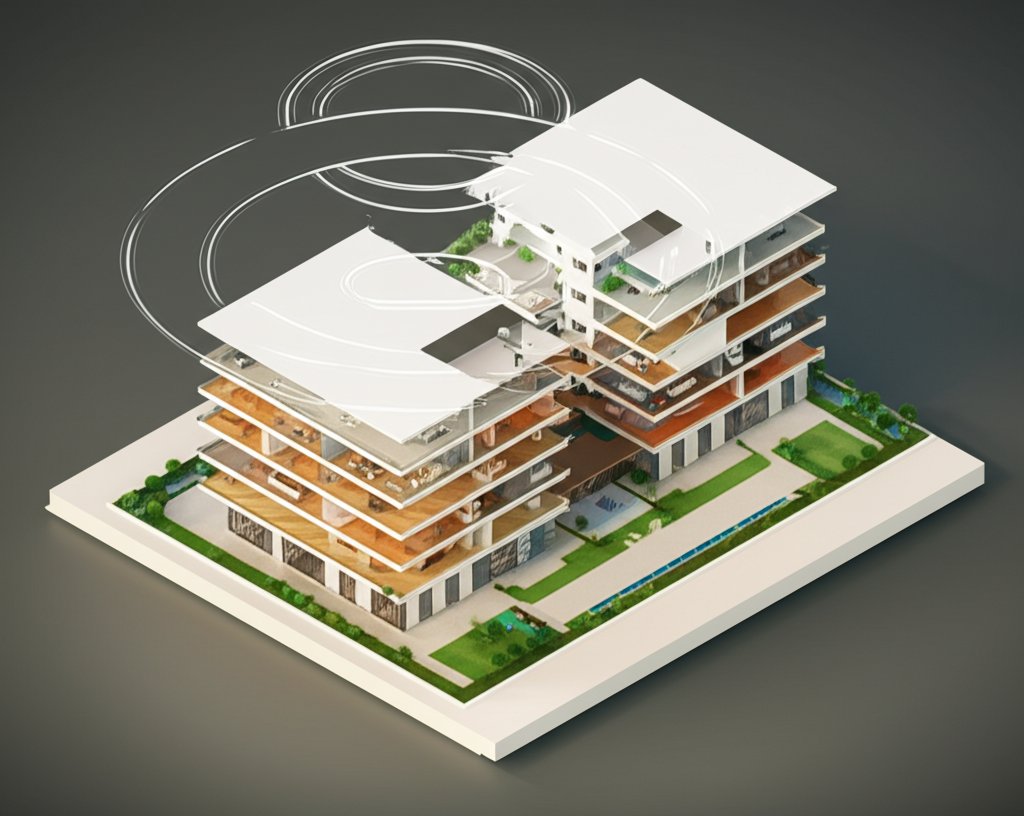
That shadowy basement or home gym doesn’t have to feel like a compromise. The secret to transforming a space with a functional T-bar grid into a polished, inviting room often comes down to lighting. And when it comes to creating a clean, modern aesthetic, high-quality drop ceiling can lights are the undisputed champion, turning a utilitarian feature into a seamless part of your home’s design.
But choosing and installing them correctly involves more than just picking a fixture off the shelf. Get it right, and you’ll have brilliant, even light; get it wrong, and you could face flickering, uneven shadows, or even a safety hazard.
At a Glance: Your Path to Perfect Lighting
This guide will give you the practical knowledge to select and plan your lighting project with confidence. Here’s what you’ll be able to do:
- Pinpoint the essential specs for any can light destined for a drop ceiling.
- Understand the non-negotiable rule for safely supporting your fixtures.
- Master a simple layout formula for even, glare-free illumination.
- Choose the right color temperature to set the perfect mood for your space.
- Sidestep the common mistakes that frustrate many DIYers.
Beyond Function: From Utility Space to Finished Room
Historically, drop ceilings were lit with long, humming fluorescent troffers. While functional for an office, they cast a flat, sterile light that screams “utility space.” Recessed can lights are a complete paradigm shift.
By sitting flush with the ceiling tiles, they disappear, creating an uninterrupted visual plane. This makes low ceilings feel higher and rooms feel larger and more intentional. Whether you’re building a cozy family media room, a bright home workshop, or a motivating personal gym, the clean lines of can lights provide the perfect foundation for any design style.
Not All Can Lights Are Created Equal: Key Specs to Master
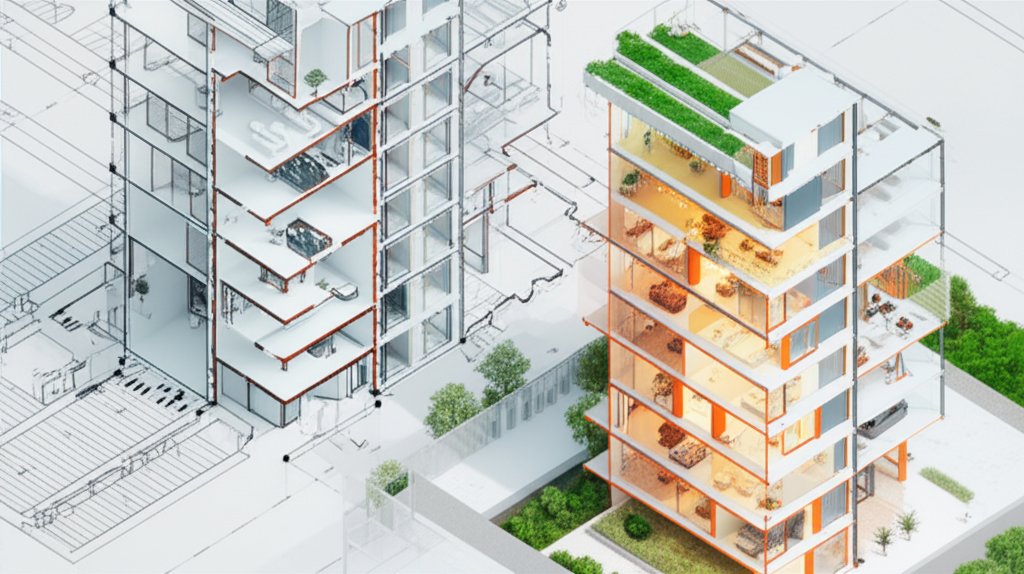
Navigating the technical details is where most people get stuck. But for drop ceilings, only a few key specifications truly matter. Getting these right is the difference between a professional-grade installation and a future headache.
These are the mission-critical specs to focus on. For a complete breakdown of all types of recessed fixtures, our main guide to Recessed lights for T-bar ceilings provides the broader context for your entire project.
The Absolute Must-Have: An “IC” Rating
If you learn only one technical term, make it this one. IC stands for Insulation Contact. An IC-rated fixture is designed and tested to be safely buried in or surrounded by insulation without overheating and creating a fire risk.
Since the space above a drop ceiling is often filled with insulation for sound dampening or thermal control, using non-IC-rated fixtures is a serious fire hazard. Always check the product specifications for a “Type IC” or “IC-Rated” designation. There is no good reason to use a non-IC-rated can light in a residential drop ceiling.
Dialing in the Vibe: Lumens, Kelvins, and Beam Angle
Once you’ve confirmed the safety rating, you can focus on the quality of the light itself. Modern LED fixtures give you incredible control over the look and feel of your room.
- Lumens (Brightness): This measures how much light the fixture produces. Don’t think in watts anymore; think in lumens. For general ambient lighting in a basement with an 8-foot ceiling, aim for fixtures that produce around 600-800 lumens each. A workshop or gym might need more (900+ lumens) for brighter task lighting.
- Kelvins (Color Temperature): This defines the color of the white light, from warm and cozy to cool and crisp. It’s measured on the Kelvin (K) scale. This is purely a matter of preference and function.
- Beam Angle (Spread): This determines how wide or narrow the cone of light is. For general lighting in a drop ceiling, you want a wider beam angle—typically 90 to 120 degrees. This creates overlapping pools of light for soft, even coverage and prevents the “spotlight” effect that can leave dark spots between fixtures.
Here’s a quick cheat sheet for choosing the right color temperature:
| Kelvin (K) | Light Color | Best For | Vibe |
|————-|———————|———————————————————–|————————————|
| 2700K | Warm White | Basements, media rooms, dens | Cozy, intimate, relaxing |
| 3000K | Soft White | All-purpose spaces, kitchens, bathrooms | Welcoming, comfortable, versatile |
| 4000K | Cool White | Home gyms, workshops, garages, laundry rooms | Crisp, focused, energizing |
| 5000K+ | Daylight | Detailed task areas (e.g., craft table, workbench) | Bright, alert, mimics natural noon |
The Cardinal Rule: Never Trust a Ceiling Tile to Hold a Light
This is the single most critical aspect of installing drop ceiling can lights. Acoustic ceiling tiles are not structural. They are typically made of compressed mineral fiber or fiberglass and are designed to hold only their own weight.
Placing the full weight of a recessed light housing, even a lightweight LED model, directly onto a ceiling tile will cause it to sag, crack, and eventually fail. All recessed lights must be independently supported by the T-bar grid itself or the structural joists above it.
Your Support System Options
You have two primary, reliable methods for securing your fixtures:
- Independent Wire Supports: This is a simple and effective method. Galvanized steel hanger wire (the same kind used to support the T-bar grid) is tied from the floor joists or roof trusses above directly to the mounting frame of the can light housing. Each light gets at least two, preferably four, wires to keep it stable and level.
- Specialized Brackets: Several manufacturers, like Caddy or Lithonia Lighting, make brackets designed specifically for T-bar ceilings. These metal frames clip or rest directly onto the metal grid, spanning the opening you cut in the tile. The light fixture then attaches to this sturdy frame, transferring all the weight to the grid, not the tile.
A Real-World Example: Mark was finishing his basement home gym. He bought six 4-inch drop ceiling can lights and cut perfect holes in his tiles. Within a week, he noticed every tile with a light was sagging. He had to take everything down, buy T-bar support brackets, and reinstall them. By planning for support from the start, you avoid doing the job twice.
A Blueprint for Brilliance: Spacing Your Lights for Even Coverage

A great lighting plan looks effortless, but it starts with a simple layout. Poor spacing creates a “cave effect” with dark corners or a “runway effect” with harsh hot spots.
A Simple Spacing Formula to Start With
For general ambient lighting, a reliable rule of thumb is to divide your ceiling height by two. This gives you a good starting distance between each light.
- Example: For a standard 8-foot ceiling, your lights should be spaced approximately 4 feet apart.
Next, determine the distance from the walls. A common practice is to place the first row of lights half the distance of your main spacing away from the wall. - Example: With 4-foot spacing between lights, you would place them 2 feet from the walls.
This method ensures the perimeter of the room is properly illuminated, making the entire space feel bigger and brighter. Always sketch your plan on paper first, adjusting for any obstructions like ductwork or support posts.
Step-by-Step Installation Insights
While we always recommend hiring a licensed electrician for any work involving your home’s main circuits, understanding the process is crucial for planning.
- Plan and Power Off: Finalize your layout on paper. Turn off the power to the circuit at the breaker panel. Verify the power is off using a non-contact voltage tester.
- Install Your Supports: Before you even touch a tile, install your hanger wires or T-bar brackets from above. This is much easier to do with an unobstructed view.
- Mark and Cut the Tiles: Remove the target ceiling tiles. Use the template provided with your light fixture to trace the circle on the back of the tile. A simple drywall jab saw or a hole saw attachment for a drill works best for a clean cut.
- Run and Connect Wiring: Run the appropriate electrical cable (e.g., Romex 14/2) from the power source to each light location. Connect the wires inside the fixture’s junction box, matching colors: black to black (hot), white to white (neutral), and copper to green (ground).
- Secure the Housing: Fasten the can light’s housing to the support system you installed in step 2. Ensure it’s level with where the face of the ceiling tile will be.
- Install the Tile, Trim, and Bulb: Carefully place the cut tile back into the grid. Install the decorative trim and the LED bulb (or connect the integrated LED module).
- Power On and Test: Restore power at the circuit breaker and test your new lights.
Answering Your Top Questions About Drop Ceiling Can Lights
Q: Can I use any recessed light in a drop ceiling?
No. You absolutely need an IC-rated fixture for safety if there is any insulation present. You also need a fixture with a housing and mounting frame that can be attached to a support system—ultra-thin “wafer” lights designed for drywall may not have the right mounting points.
Q: How many can lights do I need for my basement?
Use the spacing formula (ceiling height / 2) as a starting point. For a 15’x20′ basement with an 8-foot ceiling, you’d space lights 4 feet apart. This would likely result in three rows of four lights, for a total of 12 lights, to achieve even coverage. Online lumen calculators can also help you fine-tune this based on the room’s purpose and your chosen fixture’s brightness.
Q: Are LED drop ceiling can lights worth the extra cost?
Absolutely, and they are now the standard. Their benefits are overwhelming:
- Energy Efficiency: They use up to 80% less energy than incandescent bulbs.
- Long Lifespan: An LED fixture can last 25,000 to 50,000 hours, meaning you might never change a bulb.
- Low Heat: They produce very little heat, which is a major safety advantage in the enclosed space above a drop ceiling.
Q: Can I put my new lights on a dimmer switch?
Yes, and it’s highly recommended for versatility. However, you must ensure your LED fixtures are explicitly labeled “dimmable” and that your dimmer switch is rated for LEDs (look for “CFL/LED” or “ELV” type dimmers). Using an old incandescent dimmer with LEDs will often cause flickering, humming, or failure.
Your Quick-Start Decision Guide
Feeling ready to move forward? Use this simple checklist to guide your next steps.
- Define the Mission: Is this a media room (cozy, warm light) or a workshop (bright, cool light)? This decision drives your target Kelvin and Lumen specs.
- Confirm Your Constraints: Measure your ceiling height to calculate spacing. Peek above a tile to confirm if you have insulation—this makes an IC rating mandatory.
- Choose Your Support: Will you use simple hanger wires attached to the joists or purchase dedicated T-bar brackets that rest on the grid?
- Sketch Your Layout: Draw the room to scale and place your lights using the spacing formula. Count the total number of fixtures you need.
- Select Your Pro: Decide if you are comfortable and qualified to run the electrical wiring yourself or if it’s time to call a licensed electrician. For safety and code compliance, an electrician is always the wisest choice.
By focusing on proper support, the right technical specs, and a thoughtful layout, your drop ceiling can lights will do more than just illuminate a room—they’ll elevate it completely.

- Bathroom Materials Selection Offers Quality Fixtures for Home Design Projects - October 9, 2026
- Best Cosmetic Storage Containers For a Tidy Vanity - October 8, 2026
- Best Makeup Storage Boxes to Keep Your Vanity Spotless - October 7, 2026










