
That grid of plain, recessed lights on your ceiling does its job, but it rarely adds personality. For years, the trade-off for clean, unobtrusive lighting was a sea of boring white baffles. But modern decorative recessed lighting offers a powerful alternative, allowing you to transform the character of a room without the cost and complexity of a full electrical overhaul. You can add warmth, glamour, or architectural interest in minutes, turning functional fixtures into deliberate design elements.
At a Glance: Your Quick Guide to Decorative Covers
- Learn how to match a decorative recessed lighting cover to your room’s specific style, from modern farmhouse to glam contemporary.
- Understand the key differences between upgraded trims, pendant conversion kits, and architectural medallions.
- Get a simple checklist to verify compatibility with your existing recessed cans (size, type, and bulb).
- Discover straightforward installation tips for achieving a tool-free, professional-looking finish.
- Avoid common pitfalls like choosing the wrong material, creating unwanted glare, or overlooking critical safety ratings.
Beyond the Baffle: Understanding Your Decorative Options
When you think of “covers,” you might just picture a new ring. But the world of decorative recessed lighting is much broader. Your choice boils down to how much of a statement you want to make. The three main categories range from a subtle whisper of style to a bold declaration.
Upgraded Trims: A Subtle, Polished Look
This is the most direct upgrade. You’re simply swapping the standard, functional trim (the visible ring and interior) for one with a more refined finish and design. Instead of builder-grade white plastic, you can install a trim made of full metal with an oil-rubbed bronze finish, like the TORCHSTAR 6 Inch Recessed Can Light Trim.
These trims often feature designs like step baffles, which have tiered concentric rings to soften light and minimize glare. They’re perfect for creating a cohesive look throughout a home.
- Best for: Kitchens, hallways, and living rooms where you want to match the lighting to new cabinet hardware, faucets, or door handles.
- Real-World Snippet: A homeowner recently renovated their kitchen with matte black cabinet pulls and a matching faucet. Swapping their ten standard white recessed light trims for matte black step baffle trims took less than an hour but made the entire ceiling feel integrated and high-end.
Conversion Kits: The Pendant and Chandelier Illusion
This is where the real transformation happens. A conversion kit lets you turn a recessed light into a hanging pendant or semi-flush mount fixture with zero rewiring. The magic is in an adapter that screws directly into the existing E26 lightbulb socket. The decorative fixture then attaches to this adapter, drawing power just like a regular bulb.
Products like the Worth Home Products Instant Pendant Light Conversion Kit allow you to add a woven seagrass shade over a kitchen island, while the Audickic Gold Semi Flush Mount can bring a touch of art deco glamour to a hallway.
- Best for: Creating a focal point over a dining nook, kitchen island, or in a pair over bedside tables where you lack the junction box for a traditional pendant.
- Real-World Snippet: A renter in a small apartment wanted a statement light over their dining table but was forbidden from altering the wiring. Using a brushed bronze pendant conversion kit, they installed a beautiful fixture in about five minutes, completely changing the ambiance of their dining space.
Medallions: Framing Your Light with Classic Elegance
Ceiling medallions are architectural elements that sit flush against the ceiling, framing the base of a light fixture. While traditionally used with chandeliers, smaller medallions work beautifully with recessed lights to add a touch of formality and hide imperfections.
Made from durable, lightweight polyurethane like the Home Lighting Ceiling Medallions, they are often paint-ready, allowing you to match them to your ceiling, trim, or even a bold accent color. They add a layer of texture and depth that a simple trim cannot.
- Best for: Formal living rooms, dining rooms, and bedrooms where you want to add a touch of traditional or classic character. They are also brilliant for hiding cracks or discoloration on the ceiling around the fixture.
The Selection Framework: Matching a Cover to Your Space
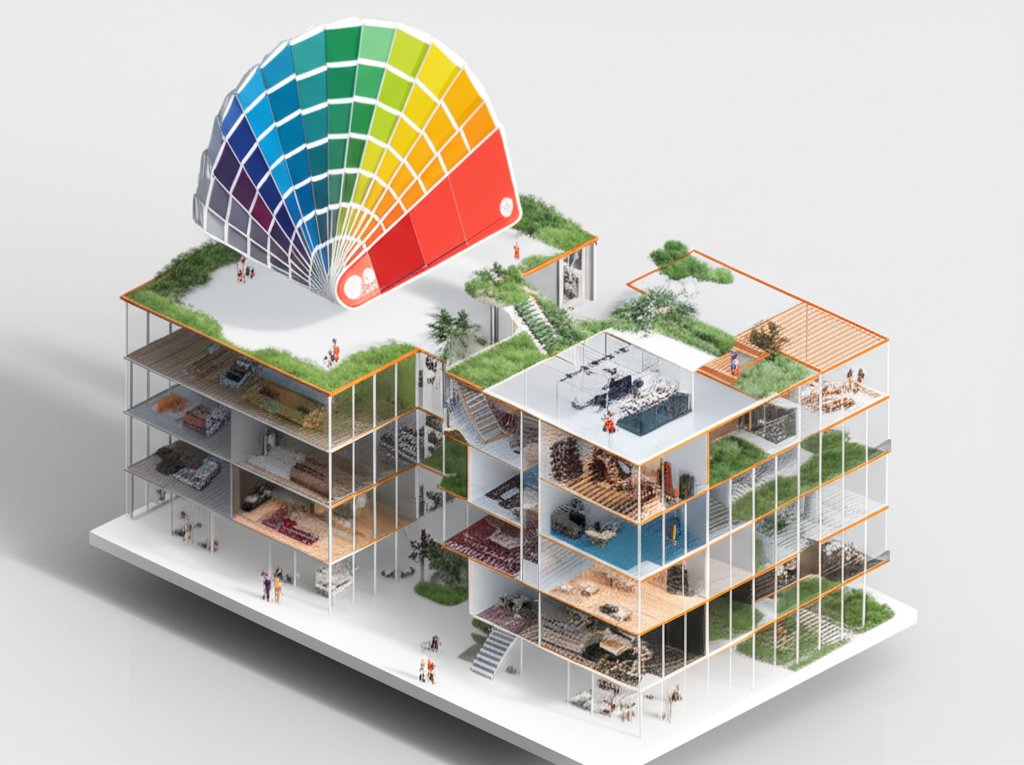
Choosing the right decorative cover is less about what’s trendy and more about what’s right for your room, your existing hardware, and your lighting needs. Follow this simple framework to make a confident choice.
Step 1: Define Your Style and Material Palette
The material of your cover dictates its look, durability, and effect on light. Your choice should complement the existing finishes in the room. Don’t just think about the color; consider the texture.
| Style Goal | Recommended Material | Example Product | Why It Works |
|---|---|---|---|
| Modern & Sleek | Metal (brushed nickel, matte black, oil-rubbed bronze) | TORCHSTAR 6 Inch Recessed Trim | Provides a clean, crisp finish that pairs well with stainless steel appliances and minimalist decor. |
| Warm & Coastal | Natural Fibers (seagrass, rattan, woven fabric) | Worth Home Products Seagrass Kit | Introduces organic texture and diffuses light softly, creating a relaxed, airy feel. |
| Glamorous & Bold | Acrylic, Crystal, Polished Metal (gold, brass) | Waneway 3 Tiers Chandelier Shade | Catches and refracts light, adding sparkle and a sense of luxury to a space like a walk-in closet or powder room. |
| Traditional & Formal | Polyurethane (paintable), Fabric Shades | Home Lighting Ceiling Medallions | Offers classic architectural detail and can be customized to match trimwork for a stately, cohesive look. |
Step 2: Nail the Critical Compatibility Check
This is the most important step. An amazing decorative cover is useless if it doesn’t fit. Before you fall in love with a design, verify these three things:
- Can Size: Recessed cans come in standard diameters. The most common are 4-inch, 5-inch, and 6-inch. Measure the inside diameter of your existing can. A 6-inch trim will not fit a 5-inch can. Be precise.
- Mounting Type: Look inside your can. Most modern trims and conversion kits are designed to attach via two C-shaped torsion springs that clip into brackets inside the can. Older cans might use simple friction clips. Check the product description to ensure the mounting method matches what you have.
- Bulb and Fixture Type: This is a common pitfall. Most decorative conversion kits are designed to screw into a standard E26 (Edison-base) socket that holds a traditional bulb (like an A19, BR30, or PAR30). They are almost never compatible with newer all-in-one LED retrofit kits or “disc” lights where the light source is integrated into the trim. If you have an integrated LED fixture, your only decorative option is to replace the entire unit.
Step 3: Consider the Desired Lighting Effect
A decorative cover is no longer just a trim; it’s a lampshade. It will fundamentally change how light is distributed in your room.
- For Soft, Ambient Light: Choose a cover with a fabric or frosted acrylic shade. It will diffuse the light, reducing harsh shadows and creating a warm, inviting glow. This is ideal for bedrooms and living areas.
- For Bright, Unobstructed Light: Opt for a simple metal trim or a wide, open-bottomed pendant kit. Reflective interiors, like a white baffle, will maximize light output.
- To Reduce Glare: A step baffle trim is specifically designed for this. The tiered rings trap stray light, preventing it from shining directly into your eyes. This is a game-changer in kitchens and home offices where you’re working under direct light.
- To Create Sparkle and Drama: A chandelier-style cover with acrylic beads or crystals, like the Waneway Pendant Shade, will scatter light around the room, creating dynamic patterns and a glamorous effect.
Practical Playbook: A 5-Step Installation Guide

While you should always follow the manufacturer’s specific instructions, most decorative cover installations follow this simple, tool-free process.
- Safety First: Kill the Power. Go to your breaker box and turn off the circuit powering the lights you’re working on. Flick the light switch to confirm the power is off.
- Remove the Old Trim and Bulb. Unscrew the lightbulb. Gently pull down on the existing trim ring. You’ll feel resistance from the springs inside. Squeeze the springs together to release them from their brackets and remove the trim completely.
- Prep for the New Cover. For a conversion kit, this is as simple as screwing the socket adapter into the bulb socket. For a new trim, you’ll simply hold it up to the ceiling, ready to connect. If using a medallion, you may need to apply adhesive to the back now.
- Secure the New Decorative Fixture. Squeeze the torsion springs on your new trim or conversion kit base and guide them into the same brackets inside the can. Push the fixture up until the trim ring is flush with the ceiling. The tension from the springs will hold it securely in place.
- Install the Bulb and Test. Screw in your lightbulb. Go back to the breaker, restore power, and flip the switch to admire your work.
Pro Tip: Some metal trims can have sharp edges. It’s not a bad idea to wear a pair of thin work gloves during installation to protect your fingers from nicks and smudges.
Quick Answers to Common Questions
Q: Can I use a decorative recessed lighting cover on any recessed light?
A: No, and this is crucial. Compatibility is everything. Most decorative options are designed for standard recessed cans that use a screw-in E26 bulb. They are generally not compatible with the newer, slim-profile, all-in-one LED “puck” lights. Always read the product specifications to confirm it works with your can size and type.
Q: Will a decorative cover make my room darker?
A: It can. Any cover that is opaque, has a dark finish, or features a heavy fabric shade will absorb or block some light compared to an open baffle trim. If maintaining maximum brightness is your priority, choose a design that is open at the bottom or has a highly reflective interior. You can often compensate by using a dimmable LED bulb with a higher lumen output.
Q: Are these covers safe to use in a bathroom or kitchen?
A: Only if they are specifically rated for it. Look for a UL or ETL listing that specifies “damp location” or “wet location.” A natural seagrass shade, for example, is a poor choice for a steamy primary bathroom as it can absorb moisture and degrade. Metal, glass, or certified polymer trims are much safer and more durable choices for these environments.
Q: Do decorative covers impact my ceiling’s insulation?
A: The decorative element itself does not, but it’s part of a larger system that does. The safety and performance of your recessed lighting depend heavily on whether the housing can (the part in the ceiling) is IC-rated (Insulation Contact rated) and properly sealed to prevent air leaks. While this guide focuses on aesthetics, understanding the foundational safety and energy efficiency is a critical first step. You can explore these core principles in our complete guide to Select recessed light covers.
Your Next Steps to a Transformed Ceiling
Upgrading your recessed lighting is one of the fastest and most impactful DIY projects you can tackle. By replacing a standard trim with a thoughtful decorative cover, you can add a layer of custom design that makes your home feel more complete.
Before you buy, run through this final checklist:
- Identify Your Goal: Are you looking for a subtle upgrade (trim), a new statement piece (conversion kit), or classic architectural detail (medallion)?
- Measure Twice, Buy Once: Confirm your can’s inner diameter (e.g., 6 inches) and verify you have a standard E26 bulb socket.
- Match Your Room’s Vibe: Choose a material and finish—like brushed bronze, woven fabric, or faceted acrylic—that complements your existing decor and hardware.
- Check the Fine Print: Look for safety certifications (UL/ETL) and ensure the product is rated for the location (e.g., “damp-rated” for a bathroom).
With the right choice, that boring grid of ceiling lights can become a network of beautiful accents that elevate your entire space.

- Bathroom Materials Selection Offers Quality Fixtures for Home Design Projects - October 9, 2026
- Best Cosmetic Storage Containers For a Tidy Vanity - October 8, 2026
- Best Makeup Storage Boxes to Keep Your Vanity Spotless - October 7, 2026










