
Prepare to be amazed by the ultimate guide to “Coolest Projects to Do at Home for an Instant Upgrade”! Get ready to transform your abode into an extraordinary living space with these innovative and budget-friendly projects. From stunning transformations to practical improvements, this comprehensive article will empower you to unleash your creativity and embark on a home renovation journey that will leave you with a sense of accomplishment and a home that reflects your unique style.
Key Takeaways:
- Explore quick and easy crafts at home for instant fun and relaxation.
- Discover creative DIY projects to transform your home decor and add a personal touch.
- Use resources like Mod Podge Rocks and Best Life for inspiration and step-by-step home improvement ideas.
- Enhance the aesthetics and functionality of your home through budget-friendly DIY projects.
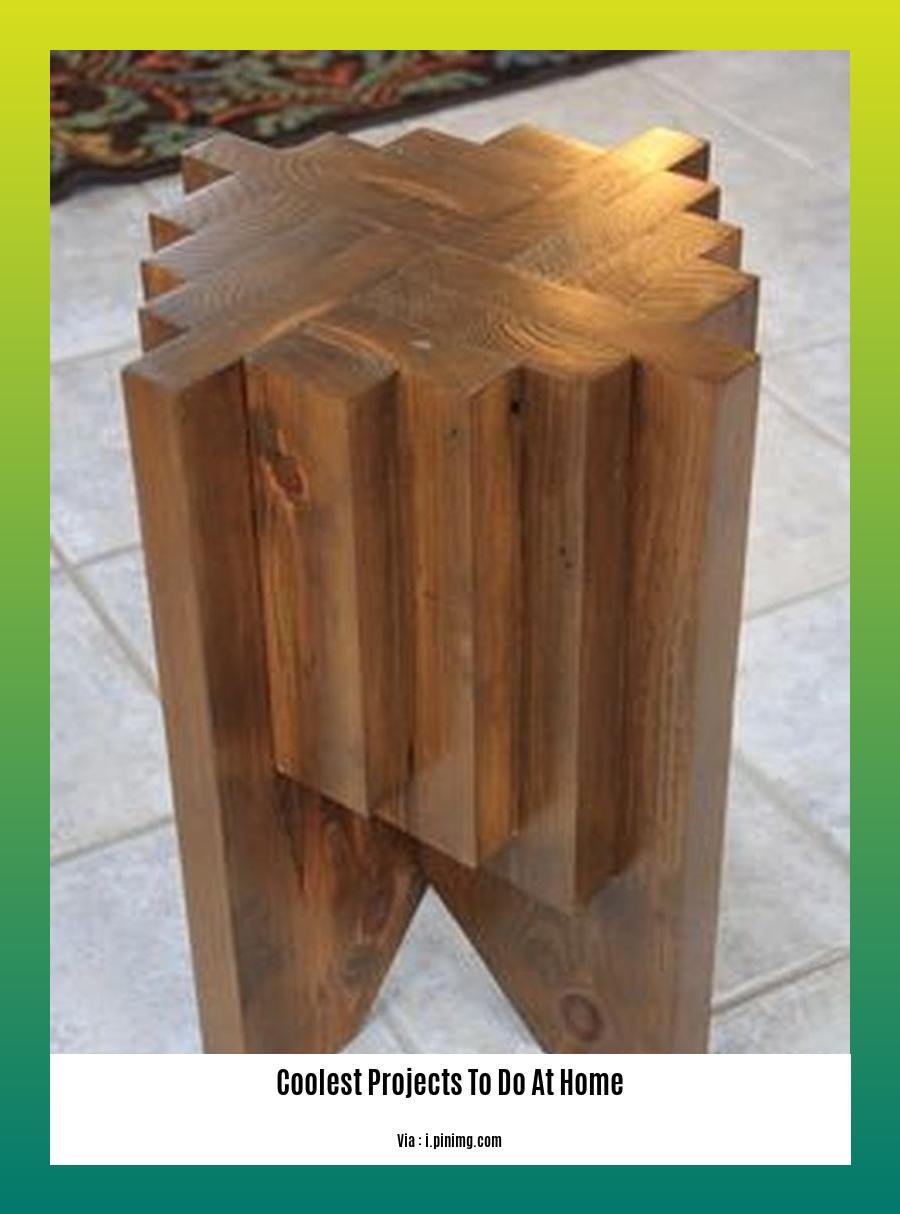
Coolest Projects to Do at Home

With a little creativity and effort, you can transform your home into a space that’s both stylish and inviting. Here are a few of the coolest projects you can do to give your home an instant upgrade:
- Build a Statement Wall: Create a focal point in your living room, bedroom, or dining room by adding a statement wall. You can do this by painting a wall a bold color, adding wallpaper, or installing shiplap.
- Install Floating Shelves: Floating shelves are a great way to add extra storage and display space without taking up too much floor space. They’re also a great way to show off your favorite books, plants, or other decorative items.
- Repurpose Old Furniture: Don’t throw away old furniture! With a little paint and some new hardware, you can give old pieces a new life. You can also reupholster chairs and sofas to give them a completely different look.
- DIY Wall Art: Create your own wall art by painting a canvas, framing a print, or creating a collage. You can also find unique and affordable wall art at thrift stores or online.
- Add Plants: Plants add life and color to any space. They can also help to purify the air and improve your mood. Add a few plants to your home to create a more inviting and relaxing atmosphere.
These are just a few of the many cool projects you can do to upgrade your home. With a little creativity and effort, you can create a space that you love.
Table: Coolest Projects to Do at Home
| Project | Difficulty | Time | Cost |
|---|---|---|---|
| Build a Statement Wall | Easy | 1-2 days | $50-$150 |
| Install Floating Shelves | Easy | 1-2 hours | $20-$50 |
| Repurpose Old Furniture | Moderate | 1-2 days | $50-$150 |
| DIY Wall Art | Easy | 1-2 hours | $20-$50 |
| Add Plants | Easy | 1 hour | $20-$50 |
- Finding the perfect mobile home in an ideal location is easy with Clayton mobile homes locations.
- Explore the world of Clayton mobile homes near you at Clayton mobile homes near me.
- Discover incredible deals on clayton repossessed mobile homes for sale near greeneville tn.
- Unleash your inner scientist with the coolest experiments to do at home with household items.
- Capture stunning images from the comfort of your home with coolest photos to take at home.
Repurpose Old Furniture
Repurposing old furniture can be a great way to save money and give your home a unique and personal touch. Here are a few cool project ideas to get you started:
Convert old dressers into charming bathroom vanities
This is a great way to add storage and style to your bathroom without breaking the bank. Simply remove the drawers from an old dresser and replace them with a sink and countertop. You can also add a mirror and some new hardware to complete the look.
Create vintage pet beds from old furniture
If you have an old nightstand or end table that you’re no longer using, you can easily convert it into a cozy bed for your furry friend. Simply remove the top and add a cushion or mattress. You can also add some decorative touches, such as a blanket or pillow, to make it even more comfortable.
Transform old music makers into speakeasies
If you have an old gramophone or record player that you’re no longer using, you can turn it into a unique speakeasy-style bar. Simply remove the turntable and add a shelf for glasses and bottles. You can also add some dim lighting and some vintage decor to complete the look.
Repurpose chests of drawers into comfortable seating
If you have an old chest of drawers that you’re no longer using, you can turn it into a comfortable bench or ottoman. Simply remove the drawers and add a cushion or mattress to the top. You can also add some decorative touches, such as a throw blanket or pillows, to make it even more stylish.
Convert bookshelves into dollhouses
If you have an old bookshelf that you’re no longer using, you can turn it into a charming dollhouse for your child. Simply remove the shelves and add some wallpaper, furniture, and dolls. You can also add some decorative touches, such as a miniature garden or a play kitchen, to make it even more fun.
Upcycle leftover materials into cute play kitchens
If you have some leftover materials from other projects, you can use them to create a cute play kitchen for your child. Simply use your imagination and creativity to put together a kitchen that is both fun and functional.
Retire old suitcases and turn them into coffee tables
If you have an old suitcase that you’re no longer using, you can turn it into a unique coffee table. Simply add a piece of glass or wood to the top and use it to display your favorite books, magazines, or plants.
Key Takeaways:
- Repurposing old furniture is a great way to save money and give your home a unique and personal touch.
- There are many different ways to repurpose old furniture, so you can find a project that fits your needs and style.
- With a little creativity and effort, you can turn old furniture into something new and beautiful.
Citations:
- 40 DIY Upcycled and Repurposed Furniture Ideas
- 15 Repurposed Furniture Ideas That Will Give Your Pieces a Fresh Look
Install Floating Shelves
Key Takeaways:
- Save space: Floating shelves don’t take up floor space, creating a more organized and spacious home.
- Versatile: Display books, photos, or decor, making them perfect for any room.
- Customizable: Choose from various styles, sizes, and colors to match your decor.
- Easy to install: With minimal tools and simple steps, you can install floating shelves like a pro.
- Budget-friendly: Floating shelves are an affordable way to add storage and style to your home.
Step-by-Step Guide:
- Gather materials: You’ll need floating shelves, screws, a drill, a level, and a stud finder.
- Mark stud locations: Use a stud finder to locate studs in the wall where you want to hang the shelves.
- Pre-drill holes: Drill pilot holes into the studs at the desired height.
- Attach brackets: Secure the mounting brackets of the floating shelves to the studs using screws.
- Hang shelves: Slide the floating shelves onto the brackets until they lock into place.
- Level the shelves: Use a level to ensure the shelves are aligned horizontally.
- Optional: Add trim: For a more finished look, you can add decorative trim around the edges of the shelves.
Tips:
- Use heavy-duty screws and brackets to ensure the shelves can support your items.
- If you’re installing heavy shelves, consider using toggle bolts or other reinforced fasteners.
- Experiment with different placement options to find the most visually appealing and functional arrangement.
Citations:
- DIY Floating Shelves: How To Build a Floating Shelf
- 12 DIY Floating Shelves for Your Home
DIY Terrarium
Creating DIY terrariums is a fun and rewarding project that can add a touch of nature to your home. They are miniature ecosystems that offer a blend of gardening and artistic expression within a glass enclosure. Here’s a step-by-step guide to help you create your own:
Materials:
- Glass container (e.g., mason jar, teapot)
- Small rocks or gravel
- Activated charcoal
- Potting soil
- Plants
- Decorative elements (e.g., figurines, moss, rocks)
Steps:
- Add a layer of rocks or gravel to the bottom of the container for drainage.
- Sprinkle a thin layer of activated charcoal on top of the rocks to absorb impurities.
- Fill the container about halfway with potting soil.
- Choose plants that thrive in a terrarium environment (e.g., succulents, ferns, mosses).
- Carefully plant your chosen plants in the soil.
- Add decorative elements to create a visually appealing terrarium.
- Water your terrarium lightly.
Key Takeaways:
- Terrariums can enhance indoor spaces and bring a touch of nature into your home.
- Choose plants that are suitable for the terrarium environment, such as succulents and ferns.
- Layer the bottom of the terrarium with rocks for drainage and activated charcoal to absorb impurities.
- Water your terrarium lightly to avoid overwatering.
Relevant URL Sources:
FAQ
Q1: What are some quick and easy crafts I can try at home?
Q2: How can I use DIY projects to enhance my living space?
Q3: Where can I find inspiration for repurposing old furniture?
Q4: What steps should I follow to build a DIY floating shelf?
Q5: What are the different types of DIY terrariums and what are their benefits?