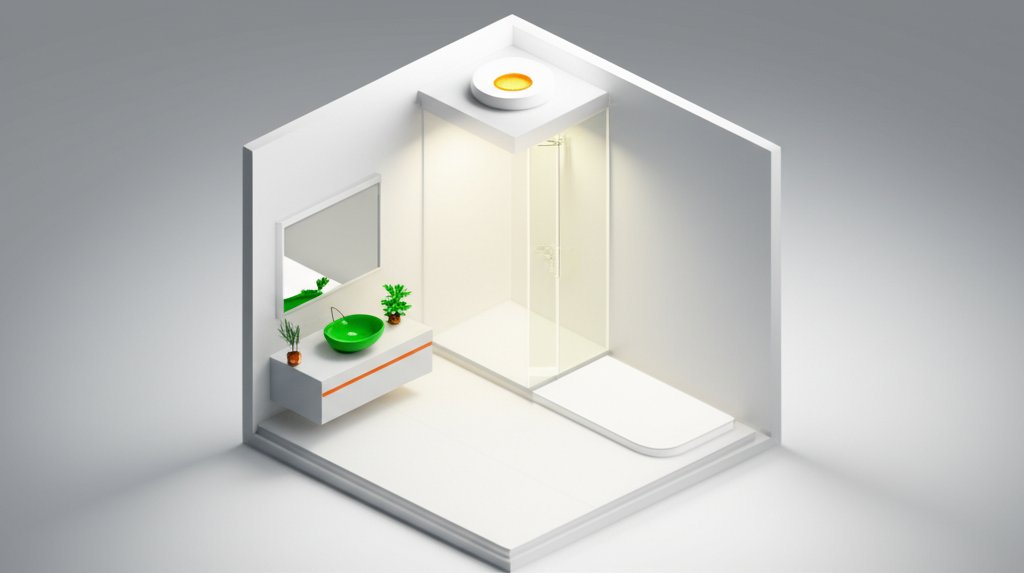
The single, dim “boob light” in the middle of a small bathroom is a design crime we’ve all witnessed—or lived with. It casts unflattering shadows, makes the space feel cramped, and fails at its one job: to illuminate. Effective bathroom overhead lighting is the unsung hero of a successful small bathroom design, acting as the foundation for a space that feels larger, brighter, and far more functional. It’s the starting point that transforms a utilitarian closet into a personal retreat.
This isn’t just about screwing in a brighter bulb. It’s about a strategic choice that dictates the mood, utility, and perceived size of your entire bathroom.
At a Glance: Your Overhead Lighting Blueprint
Get ready to master the fundamentals of illuminating your small bathroom from the top down. Here’s what you’ll walk away with:
- The Right Fixture Type: Learn the crucial differences between flush mount, semi-flush, and recessed lights for low-ceiling spaces.
- Decoding the Specs: Understand what lumens (brightness), Kelvin (color temperature), and CRI (color accuracy) actually mean for your daily routine.
- Strategic Placement: Discover why the center of the room isn’t always the best spot and how to create a layered, shadow-free environment.
- Safety is Non-Negotiable: Grasp the importance of UL damp and wet ratings to ensure your lighting is both beautiful and code-compliant.
- Avoiding Common Pitfalls: Sidestep the mistakes that lead to a poorly lit, frustrating bathroom experience.
Why Your Overhead Light Sets the Tone for Everything
Think of your bathroom lighting in three layers: ambient, task, and accent. Your overhead lighting is the ambient layer—the general, all-encompassing light that fills the room and allows you to navigate it safely. It’s the sun in your small bathroom’s ecosystem. Without a strong ambient foundation, your other lighting has to work overtime and the space will feel unbalanced.
Task lighting, like sconces beside your mirror, is for specific jobs like shaving or applying makeup. Accent lighting might be a small spotlight on a piece of art. But the overhead fixture is what ties it all together.
Getting this foundational layer right is the first step. While your overhead fixture provides the general illumination, pairing it with the right vanity lights is crucial for eliminating shadows. We cover a range of complementary options in our comprehensive guide to the Best small bathroom ceiling lights, but let’s focus here on mastering that critical overhead component. A great overhead light makes every other element in the room look better.
Flush Mount vs. Semi-Flush vs. Recessed: What’s the Right Call?

In a small bathroom, every inch of vertical space matters. Your primary overhead lighting choice will likely come down to three categories, each with distinct advantages for compact areas.
| Fixture Type | Best For… | Pro | Con |
|---|---|---|---|
| Flush Mount | Ceilings under 8 feet; minimalist or modern designs. | Takes up zero vertical space, creating an uncluttered look. | Can feel generic; light distribution is often wide but flat. |
| Semi-Flush Mount | Ceilings 8 feet or higher; adding a decorative element. | Drops down slightly, allowing light to wash across the ceiling and down, creating a softer effect. More stylistic options. | Can feel imposing if the ceiling is too low or the fixture is too large for the room. |
| Recessed (Can) | Ultra-modern aesthetics; zoning light over specific areas (like a shower). | Completely disappears into the ceiling for the ultimate low-profile look. | Requires multiple fixtures for even coverage, which can mean more complex installation and drywall work. Poor placement can create harsh “scallops” of light on walls. |
| Practical Snippet: Imagine a 5’x7′ bathroom with a standard 8-foot ceiling. A 12-inch wide, low-profile flush mount light like the Combuh Modern Bathroom Light Fixture provides clean, unobtrusive light. If that same bathroom had a 9-foot ceiling, a semi-flush fixture like the Dorence Vanity Bath Light (installed facing up) could bounce light off the ceiling, making the entire room feel more open and airy. |
Getting the Light Right: Lumens, Color Temperature, and Clarity
Choosing a fixture is only half the battle. The light it produces will make or break your bathroom’s functionality. You need to pay attention to three key metrics.
How Bright is Bright Enough? (Lumens)
Lumens are a direct measure of brightness. Forget watts—that’s a measure of energy consumption. For a bathroom, where visibility is key, you want to aim for a total of 70-80 foot-candles on your main surfaces.
Don’t worry, the math is simple. One foot-candle is one lumen per square foot.
- Step 1: Calculate your bathroom’s square footage (Length x Width).
- Example: A 5 ft x 8 ft bathroom is 40 square feet.
- Step 2: Multiply that by your target foot-candles.
- Example: 40 sq ft x 80 foot-candles = 3,200 lumens.
This means you need a total of 3,200 lumens for the whole room. Your overhead fixture will provide the bulk of this (e.g., 1,500-2,000 lumens), with the rest coming from your vanity task lighting. A 24W LED fixture like the OKELI or SineRise models often produces around 1,800-2,000 lumens, making them a strong source for your ambient layer.
Setting the Mood: The Kelvin Scale (Color Temperature)
The color of the light itself, measured in Kelvin (K), dramatically affects the room’s feel.
- 2700K (Warm White): Very yellow and cozy, like an old incandescent bulb. Great for a relaxing bath, but terrible for seeing true colors.
- 3000K (Soft White): A balanced, inviting white with a hint of warmth. An excellent all-around choice for a spa-like yet functional bathroom.
- 4000K (Neutral White): A crisp, clean white without being blue or yellow. Mimics natural daylight and is fantastic for task-oriented bathrooms where color accuracy for makeup is important.
- 5000K-6000K (Cool White/Daylight): An intense, blue-toned white. While models like the OKELI (6000K) offer maximum brightness and an energizing feel, this temperature can feel clinical or harsh for some, especially late at night.
Expert Tip: A dimmer is your best friend. Pairing a dimmable 4000K overhead light with a compatible dimmer switch gives you bright, clear light in the morning and the ability to dim it down for a softer, more relaxing mood in the evening.
Seeing True Colors: Why CRI Matters for Makeup and More
Color Rendering Index (CRI) is a scale from 0 to 100 that measures how accurately a light source reveals the true colors of objects. The sun has a CRI of 100. For a bathroom, where you’re matching foundation or checking if a shirt is black or navy blue, a high CRI is non-negotiable.
Always look for a CRI of 90 or higher. Low-CRI lighting can make skin tones look sallow and colors appear distorted. Most quality LED fixtures today will meet this standard, but it’s always worth checking the specs.
Where You Put Your Light is as Important as What You Choose
The biggest mistake in small bathroom lighting is assuming one central fixture is enough. This common placement creates a “cavern effect,” where light shines directly down on the top of your head, casting deep, unflattering shadows under your eyes, nose, and chin when you look in the mirror.
The Center-of-the-Room Myth
A single overhead light in the center of the room forces you to stand in your own shadow when you’re at the vanity. This is why even a powerful light can leave you squinting. The overhead light’s job is to fill the room, not to be a solo performer.
A Smarter Layout: The Layered Approach
The goal is to create overlapping fields of light that eliminate shadows.
- The Classic Combo (Most Recommended): Place a central flush mount or semi-flush mount to provide ambient light for the whole room. Then, install vertical sconces on either side of the mirror, about 66 inches from the floor and 30-36 inches apart. This combination floods your face with even, shadow-free light.
- The Modern Recessed Grid: For a seamless look, use two to four recessed lights. Place one centered in the main floor space, one directly over the center of the bathtub or shower (it must be wet-rated), and consider two smaller ones positioned about a foot out from the vanity to illuminate the sink area without creating harsh overhead shadows.
- The Single Statement Piece: If you’re set on a single overhead fixture, choose a semi-flush mount with a translucent or glass shade that diffuses light in all directions, including upwards. Place it slightly more towards the vanity than the dead center of the room. A dimmer switch is absolutely essential with this setup to control the intensity.
Don’t Get Shocked: Navigating UL Damp and Wet Ratings

Water and electricity don’t mix. In a bathroom, moisture is everywhere, so your light fixtures need to be properly rated for safety by an organization like UL (Underwriters Laboratories). The IP (Ingress Protection) rating system is also common, particularly on integrated LED fixtures like the SineRise (IP44).
- Dry-Rated: Not suitable for bathrooms. These are for living rooms, bedrooms, and hallways.
- Damp-Rated (IP44 Equivalent): This is the minimum requirement for most bathroom lighting. These fixtures are designed to withstand moisture and condensation. They are perfect for the main ceiling area and above the vanity, as long as they aren’t in direct contact with water.
- Wet-Rated: This is required for any light fixture placed inside a shower or directly over a bathtub where it could be sprayed with water. These fixtures are sealed to prevent any water intrusion.
Always check the product specifications for its rating before you buy. Using a dry-rated fixture in a bathroom is a safety hazard and a code violation.
Your Overhead Lighting Questions, Answered
Q: Can I just use one very bright overhead light in my small bathroom?
A: You can, but you’ll almost certainly regret it. A single, powerful light source from above is the primary cause of harsh facial shadows at the mirror. For true functionality, you need to layer your overhead (ambient) light with dedicated task lighting at the vanity.
Q: Is a chandelier or pendant light a good idea for a small bathroom?
A: Usually, no. In rooms with ceilings under 9 feet, pendants and chandeliers hang too low, creating a head-bumping hazard and making the space feel more cramped. A stylish semi-flush mount offers a similar decorative impact without compromising precious vertical space.
Q: Do I really need a dimmer for my overhead light?
A: It’s one of the most impactful and affordable upgrades you can make. A dimmer allows your bathroom to serve multiple purposes: full, energizing brightness for your morning routine, and a soft, tranquil glow for a relaxing evening soak. Just ensure your LED fixture and bulbs are “dimmable” and that you buy a compatible LED-rated dimmer switch (like an ELV-type dimmer).
Q: What’s the biggest mistake people make with small bathroom overhead lighting?
A: There are two common ones: choosing a fixture that is dramatically out of scale (either tiny and ineffective or overwhelmingly large) and relying on that single fixture to do all the work. Lighting should be a team effort, with your overhead fixture as the captain.
Your Next Move: From Plan to Perfect Illumination
Choosing the right bathroom overhead lighting is a deliberate process, not an afterthought. It’s the key to unlocking the full potential of your small space. Before you start shopping, run through this final checklist.
Your Quick-Start Decision Tree:
- Measure Your Ceiling Height.
- Under 8 feet? Your best options are sleek flush mounts or minimalist recessed lights.
- 8 feet or higher? You can introduce a decorative semi-flush mount to add personality.
- Define Your Lighting Goal.
- Need maximum clarity for tasks? Plan for a layered system with a neutral white (4000K) overhead light and dedicated vanity lighting.
- Want a relaxing, spa-like feel? Choose a warm-to-soft white (3000K) dimmable overhead fixture.
- Check the Technical Specs.
- Lumens: Calculate your room’s needs (Sq. Ft. x 75).
- CRI: Don’t settle for anything less than 90.
- Rating: Ensure it is at least UL Damp-Rated. If it’s going in the shower, it must be Wet-Rated.
By investing a little thought into your overhead lighting, you’re not just brightening a room—you’re expanding it, enhancing its function, and creating a space that starts and ends your day on a better note.

- Bathroom Materials Selection Offers Quality Fixtures for Home Design Projects - October 9, 2026
- Best Cosmetic Storage Containers For a Tidy Vanity - October 8, 2026
- Best Makeup Storage Boxes to Keep Your Vanity Spotless - October 7, 2026










