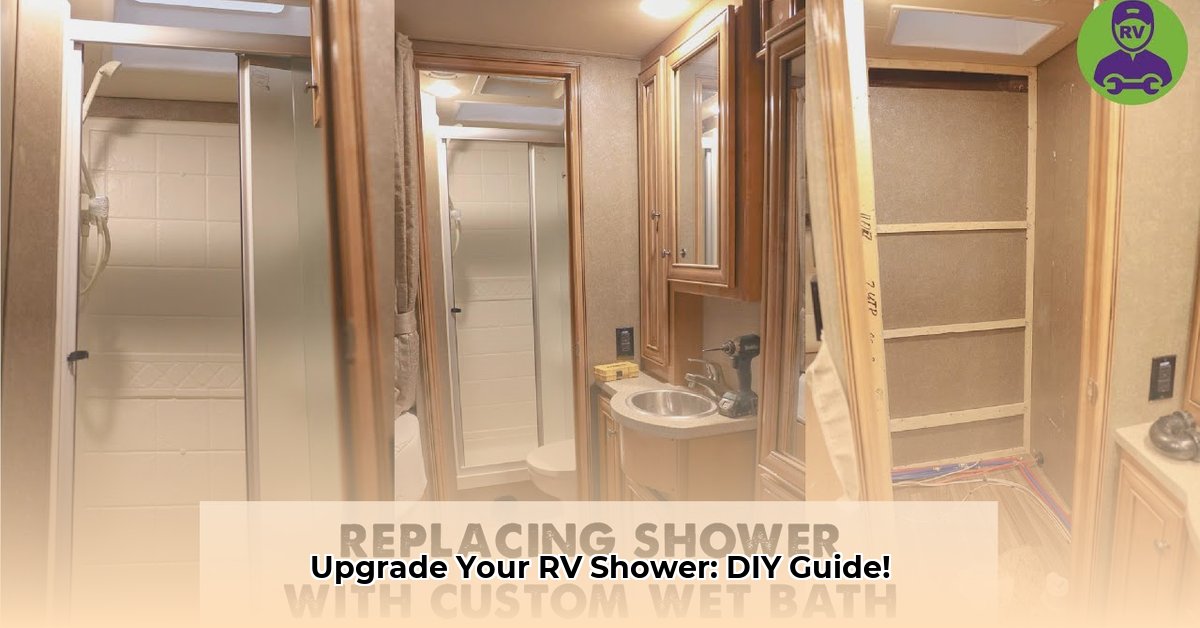
Is your RV shower showing its age with unsightly cracks or persistent leaks? Don’t let a worn-out shower dampen your travel adventures! Replacing it yourself is more manageable than you might think. This comprehensive guide will provide you with the knowledge and confidence to tackle this DIY project, leading to a refreshing upgrade that enhances your RV experience. We’ll walk you through each step, from selecting the perfect replacement pan to ensuring a watertight seal, so you can enjoy a sparkling new shower on the road. For additional RV plumbing upgrades, check out these RV sink options.
Assessing Your RV Shower Needs
Before diving into the replacement process, take a moment to evaluate your current shower situation. Is it simply outdated, or are there more pressing issues like cracks, leaks, or drainage problems? Identifying these issues will help you determine the scope of your replacement project and guide your purchasing decisions.
Essential Tools and Materials
Gathering the necessary tools and materials beforehand will streamline the replacement process. Here’s a checklist to get you started:
- New RV shower pan (ensure it matches your measurements)
- Shower surround (optional, if replacing)
- Measuring tape
- Utility knife
- Screwdriver set
- Level
- Caulking gun
- Silicone caulk (mildew-resistant)
- Putty knife or scraper
- Pry bar (if needed)
- Safety glasses
- Gloves
- Rags or towels
Choosing the Right Replacement Pan
Selecting the right replacement pan is crucial for a successful shower upgrade. Consider these factors:
- Size and Shape: Measure your existing shower pan precisely to ensure a proper fit.
- Material: Common materials include ABS acrylic and fiberglass. ABS acrylic is lightweight and impact-resistant, while fiberglass is known for its durability and affordability.
- Drain Location: Ensure the drain location of the new pan matches your existing plumbing to avoid costly modifications.
- Threshold Height: Consider the threshold height for ease of entry and exit, especially for individuals with mobility issues.
Step-by-Step Replacement Process
Follow these steps for a seamless RV shower replacement:
Step 1: Removing the Old Shower
- Turn off the water supply to your RV.
- Disconnect the shower drain.
- Carefully remove any screws, caulk, or adhesive securing the old shower pan and surround.
- Use a utility knife or putty knife to cut through any remaining caulk or adhesive.
- Gently pry the old shower pan and surround away from the walls.
- Clean the exposed area thoroughly, removing any debris or old adhesive.
Step 2: Installing the New Shower Pan
- Position the new shower pan in the designated area, ensuring the drain aligns with the existing plumbing.
- Level the shower pan using shims if necessary.
- Secure the shower pan to the floor using screws or adhesive, following the manufacturer’s instructions.
- Connect the shower drain.
Step 3: Installing the New Shower Surround (Optional)
- Apply adhesive to the back of the shower surround panels.
- Position the surround panels against the walls, ensuring they are level and aligned properly.
- Secure the surround panels with screws or nails, following the manufacturer’s instructions.
- Allow the adhesive to dry completely.
Step 4: Caulking and Sealing
- Apply a generous bead of silicone caulk along all seams and edges of the shower pan and surround.
- Smooth the caulk with a wet finger or caulking tool.
- Allow the caulk to dry completely.
Step 5: Final Touches
- Reinstall any shower fixtures, such as the showerhead and faucet.
- Turn on the water supply and check for leaks.
- Clean the shower area thoroughly.
Material Comparison: ABS Acrylic vs. Fiberglass
Choosing the right material for your RV shower can be tricky, as both ABS acrylic and fiberglass offer unique advantages. Let’s delve into a detailed comparison:
| Feature | ABS Acrylic | Fiberglass |
|---|---|---|
| Weight | Lighter, easier to handle | Heavier, requiring more effort to install |
| Durability | Impact-resistant, less prone to cracks | More prone to cracking under stress |
| Water Resistance | Excellent | Excellent |
| Cost | Typically more expensive | Generally more affordable |
| Maintenance | Easy to clean and maintain | Easy to clean and maintain |
Ultimately, the best material depends on your individual needs and preferences. ABS acrylic is a great option for those seeking a lightweight and durable shower, while fiberglass offers a more budget-friendly solution.
Troubleshooting Common Issues
Even with careful planning, you might encounter some hiccups during the shower replacement process. Here are some common issues and how to address them:
- Leaks: Check all caulk lines and plumbing connections. Reapply caulk or tighten connections as needed.
- Drainage Problems: Ensure the drain is properly connected and free of obstructions.
- Surround Fit Issues: Double-check measurements and make necessary adjustments to the surround panels.
Maintaining Your New RV Shower
To keep your new RV shower looking its best, follow these maintenance tips:
- Wipe down the shower walls and floor after each use to prevent mildew growth.
- Use a mild soap and water solution to clean the shower regularly.
- Inspect caulk lines periodically and reapply as needed.
- Avoid using abrasive cleaners, which can damage the shower surface.
By following this comprehensive guide, you can confidently replace your RV shower and enjoy a refreshed and comfortable bathing experience on your travels.
- Modern Butcher Block Kitchen: Warmth and Style with White Cabinets - January 6, 2026
- White Cabinets with Butcher Block Countertops: A Kitchen Classic - January 5, 2026
- White Kitchen With Butcher Block Countertops: A Warm, Inviting Design - January 4, 2026


