Want gorgeous, easy-to-grow ribbon plants that’ll brighten your home? This guide is your secret weapon! We’ll cover everything from telling the difference between ribbon plants and their look-alike cousins to getting them to thrive and even multiply. Whether you’re a plant pro or just starting out, we’ll give you simple, effective tips to keep your ribbon plants happy and healthy. We’ll show you how to tackle common problems, explore different varieties, and learn how to easily propagate more plants. Let’s grow some amazing ribbon plants together!
Ribbon Plant Care: Your Guide to a Thriving Houseplant
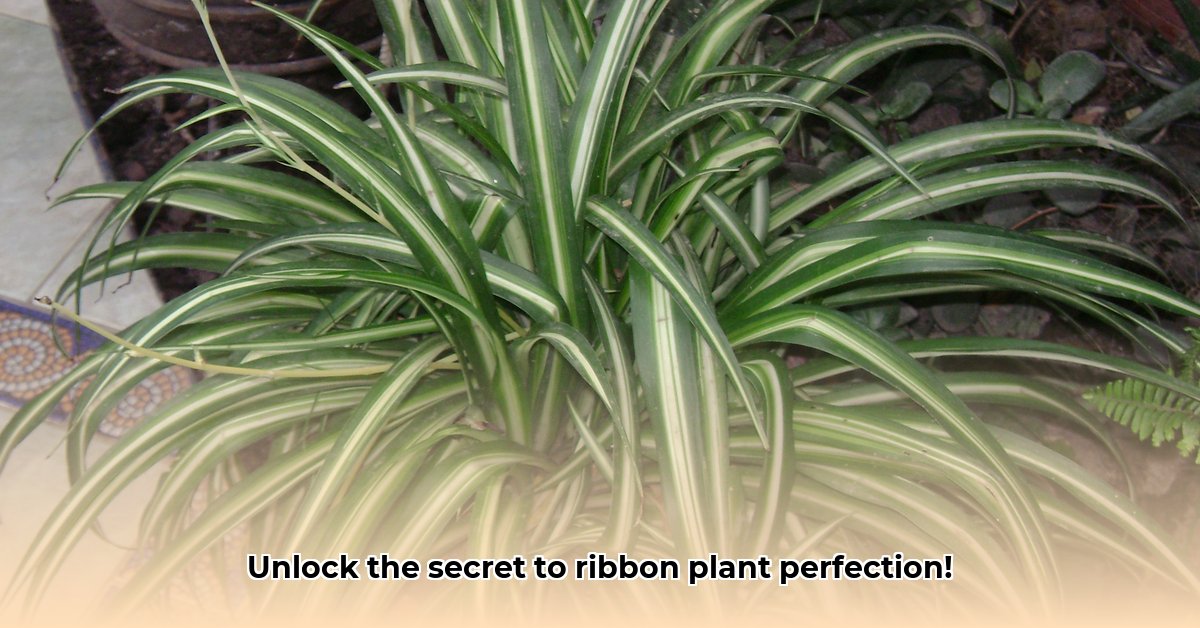
Ready to add some elegance to your home? Ribbon plants, with their charming, variegated leaves, are perfect for beginner plant parents and experienced green thumbs alike. These relatives of spider plants are surprisingly low-maintenance, rewarding you with beautiful foliage with minimal effort. Let’s dive in and explore everything you need to know to cultivate these stunning plants, including essential care tips.
Light and Location: Finding the Perfect Spot
Ribbon plants thrive in bright, indirect light. Think of a sunny spot diffused by a sheer curtain, especially if it’s a south-facing window. East- or west-facing windows are generally ideal, offering a balance of sunlight. Too little light, and your plant will become leggy, with the vibrant colors fading. Too much intense, direct sunlight will scorch the leaves. The best approach? Observe! Monitor your plant’s response to different locations to identify its ideal spot. You might be surprised how adaptable these plants can be. If you notice the leaves are pale or stretched, it needs more light. If the leaves are scorched or brown, move it away from direct sun.
Watering Wisdom: Avoiding Overwatering
Overwatering is a common cause of problems with ribbon plants. Always let the top inch or two of soil dry out completely between watering to prevent root rot. When you water, soak the soil thoroughly until water drains from the pot’s drainage holes. The key is to avoid soggy soil. Before watering, test the soil moisture. Stick your finger an inch or two into the soil. Feels dry? It’s time to water. Feels damp? Wait a day or two. Watering frequency depends on humidity, temperature, and pot size. Improper watering can lead to fungal diseases, so err on the side of underwatering if unsure.
Soil and Potting: The Foundation for Root Health
Well-draining potting mix is essential. A standard commercial potting mix formulated for indoor plants usually works well. Ensure your pot has drainage holes to prevent water accumulation and root rot. Repotting is generally necessary every one to two years, or when the roots become root-bound (circling inside the pot). When repotting, choose a pot only slightly larger than the previous one. A drastic increase in pot size can lead to overly-moist soil and root rot.
Feeding Your Ribbon Plant: Nourishment for Growth
During the growing season (spring and summer), give your ribbon plant a boost with a balanced liquid fertilizer, diluted to half the recommended strength. Apply every two to four weeks. Less is more. In winter, when growth slows, reduce or stop fertilizing altogether. Always follow fertilizer instructions carefully to avoid over-fertilization, but never fertilize dry soil. Balanced nutrients are key for optimal plant health.
Propagation: Multiply Your Ribbon Plant Family
One of the best things about ribbon plants is their easy propagation. They produce “plantlets,” or baby plants, on long stems. These are practically begging to become new plants! Here’s how to propagate them:
- Gentle Detachment: Carefully detach a plantlet that has developed a few tiny roots.
- Potting Up: Place the plantlet in a small pot filled with moist, well-draining potting mix.
- Consistent Moisture: Keep the soil consistently damp, but not soggy, until the plantlet establishes itself with strong roots.
Alternatively, when repotting, you can divide the rhizome (the underground stem). This is more involved, but effective.
Troubleshooting: Addressing Common Issues
Even the hardiest plants can encounter problems. Here’s a quick guide to common issues and solutions:
| Problem | Possible Causes | Solutions |
|---|---|---|
| Yellowing Leaves | Overwatering, underwatering, nutrient deficiency | Adjust watering; check for root rot; provide balanced fertilizer (diluted). |
| Leggy Growth | Insufficient light | Increase light intensity or move to a brighter location. |
| Brown Leaf Tips | Low humidity, fluoride in tap water, underwatering, sun burn | Increase humidity; use filtered water; adjust watering; move from harsh sun. |
| Pests | Spider mites, mealybugs | Treat with insecticidal soap or neem oil; isolate affected plants. |
Regularly inspect your plant for any signs of problems. Early detection allows for easier resolution.
Exploring the Ribbon Plant Family: Variety
There’s a diversity in ribbon plants. Beyond the classic ‘Variegatum’ with white stripes, you’ll find varieties like ‘Reverse Variegatum’—a mirror image. There are even cultivars boasting subtle hints of yellow or other colors.
Ribbon Plant vs. Spider Plant: What’s the Difference?
While often confused, ribbon plants and spider plants have distinct characteristics. One key difference lies in their leaf structure; ribbon plants typically possess broader, more substantial leaves compared to the slender foliage of spider plants. Additionally, the variegation patterns can differ, with ribbon plants often showcasing bolder, more defined stripes. While both produce plantlets, the overall growth habit and texture of the plants set them apart. Chlorophytum comosum, or the spider plant, has curved leaves and thinner stalks, while the ribbon plant has thicker, upright leaves.
Air Purification: Fact vs. Fiction
While some sources claim ribbon plants are powerful air purifiers, it’s important to approach these claims with a degree of skepticism. While they do contribute to air quality by converting carbon dioxide to oxygen, the impact in a typical home environment is likely minimal. A large number of plants would be required to significantly improve air quality. Enjoy them for their beauty, but don’t rely on them as a primary means of air purification.
The Bottom Line: Consistent Care for Success
With care and attention, your ribbon plants will flourish. Remember, these are guidelines, not strict rules. Observe your specific plant and adapt your approach as needed. Happy growing!
How to Propagate Spider Plant Pups for Maximum Plantlet Production
Key Takeaways:
- Spider plant propagation is easy and sustainable.
- You can increase your plant collection affordably.
- The right method (water or soil) impacts success.
- Basic care ensures healthy plantlets.
Choosing Your Plantlets: The Foundation
Ready to expand your spider plant family? Select healthy pups from an existing mature plant. Look for plantlets with several leaves (at least 2-3 inches long) and visible roots; these are the most vigorous. Smaller pups can work, but they’ll need extra care.
Method 1: Water Propagation – The Quick Route
Water propagation is known for its speed in developing new roots. Here’s how to maximize plantlet production using this method:
- Snip: Gently cut a pup from the main plant, ensuring you have a section of stem attached.
- Soak: Place the pup in a glass of water, ensuring only the stem is submerged.
- Wait: Within a week or two, you should see roots emerging from the cut stem.
- Pot: Once roots are about an inch long, gently pot the pup into well-draining soil.
Pros: Faster root development allows for a quick turn around. Cons: Roots might be weaker than those grown in soil, requiring careful handling during transplanting.
Method 2: Soil Propagation – The Strong Roots Approach
For sturdier plants, soil propagation is ideal. Here, we’ll focus on how to propagate spider plant pups maximizing plantlet production using this technique:
- Prep: Use well-draining potting mix to avoid fungal diseases and rot. A mix of peat moss, perlite, and vermiculite is ideal.
- Plant: Gently bury the base of the pup in the soil leaving the leaves exposed to light. Don’t overplant or overcrowd.
- Water: Water gently but thoroughly. Allow the soil to dry slightly between waterings to prevent over-saturation.
- Wait: Keep soil moist.

- Gray Kitchen Backsplash Tile: Ideas for a Stylish Upgrade - December 14, 2025
- Backsplash For Gray Cabinets: Choosing the Right Backsplash Style - December 13, 2025
- Gray And White Backsplash: Ideas For Timeless Style - December 12, 2025