Imagine entering a beautifully designed space where a single element captures the essence of vintage charm while providing modern comfort. Retro ceiling fans are more than just appliances; they’re iconic pieces that elevate any room, blending nostalgic aesthetics with contemporary functionality. For energy-efficient lighting options, check out these LED bulbs. This comprehensive guide provides everything you need to know about retro ceiling fans, from their historical roots and diverse styles to selecting, installing, and maintaining the perfect fan for your home.
Embracing Vintage Charm: The Allure of Retro Ceiling Fans
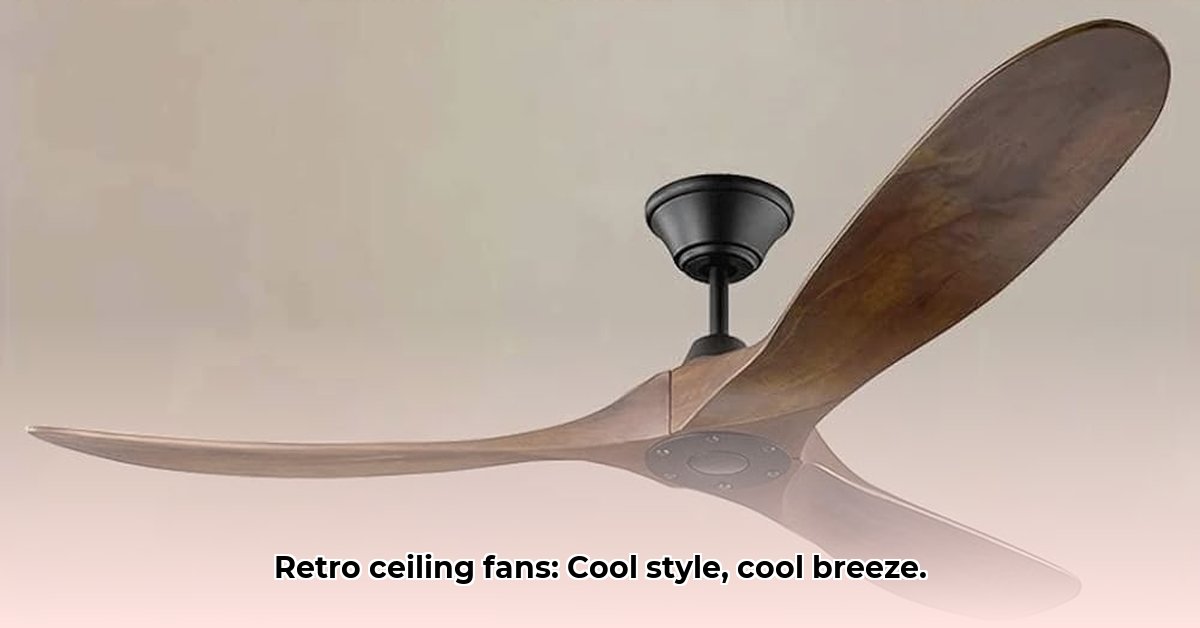
Step back in time and infuse your home with the unique character of a retro ceiling fan. Experience the warmth and elegance of a carefully curated mid-century modern interior, perfectly complemented by the gentle breeze and visual appeal of a stylish retro fan.
A Historical Journey Through Retro Fan Design
The evolution of the retro ceiling fan mirrors significant shifts in design history. From the geometric elegance of the Art Deco era (1920s-1930s) to the clean, functional lines of mid-century modern designs (1950s-1960s), each decade has left its distinct mark. These fans reflect the architectural and artistic trends of their time, adding a layer of historical depth to your home.
Exploring Styles and Materials: A Spectrum of Design Options
Selecting a retro ceiling fan is like choosing a piece of art, with a diverse range of styles and materials to complement any interior décor.
- Art Deco: Characterized by geometric patterns, metallic finishes (brass, chrome, and copper), and a luxurious feel. Rich wood accents, bold shapes, and intricate detailing create a sense of sophisticated elegance.
- Mid-Century Modern: Emphasizes clean lines, organic forms, and functionality. Expect streamlined designs in wood, chrome, and brushed metal finishes that integrate seamlessly with a variety of interior styles. Look for subtle curves and understated elegance.
- Industrial: Projects a rugged, utilitarian aesthetic with exposed metal components. The design is simple and functional, often featuring steel or iron with matte black, gunmetal, or distressed finishes. These fans are ideal for lofts and urban spaces.
- Antique/Victorian: Showcases intricate designs, ornate carvings (often in dark, rich wood), and elaborate light kits. These fans are perfect for homes with a romantic or traditional aesthetic, evoking a sense of old-world charm.
Here’s a detailed table highlighting key features:
| Style | Common Materials | Defining Characteristics | Ideal Setting |
|---|---|---|---|
| Art Deco | Brass, chrome, copper, lacquered wood | Geometric shapes, streamlined designs, luxurious feel, intricate detailing | Upscale apartments, vintage homes, formal spaces |
| Mid-Century Modern | Wood, metal (chrome, brushed steel) | Simple lines, organic forms, functionality emphasized, subtle curves | Ranch homes, mid-century modern homes, living rooms |
| Industrial | Metal (steel, iron) | Exposed mechanics, utilitarian aesthetic, rugged feel, minimalist design | Lofts, industrial-style homes, studios |
| Antique/Victorian | Wood (ornate carvings, dark finishes) | Intricate details, elaborate designs, often with light kits, ornate details | Traditional homes, Victorian homes, dining rooms |
Functionality and Technology: Marrying Vintage Style with Modern Innovation
Modern retro fans offer impressive functionality, incorporating energy-efficient LED lighting (combining style and sustainability) and advanced features like optimized blade designs for enhanced airflow. Some integrate seamlessly with smart home systems, enabling control via smartphone apps or voice assistants.
Selecting and Installing Your Retro Fan: A Comprehensive Guide
Choosing the perfect retro fan requires careful consideration of several factors. Room size is paramount; larger rooms require fans with a greater blade span. The existing décor should guide your style selection.
Detailed Installation Guide:
- Prioritize Safety: Turn off the power at the breaker box and confirm the power is off using a voltage tester.
- Mounting Bracket Installation: Securely attach the mounting bracket to a ceiling joist or a properly rated ceiling fan brace. Ensure the bracket is firmly anchored to support the fan’s weight.
- Motor Attachment: Carefully connect the fan motor to the mounting bracket, ensuring all screws and fasteners are securely tightened. Double-check the connections for stability.
- Blade Installation: Attach the fan blades to the motor using the provided hardware, following the manufacturer’s instructions. Ensure blades are evenly spaced and securely fastened.
- Wiring Connections: Connect the electrical wires according to the wiring diagram. Properly ground the fan to prevent electrical shock. If unsure, consult a qualified electrician.
- Light Kit Installation (if applicable): Install the light kit, following the manufacturer’s instructions. Connect the wiring carefully, ensuring all connections are secure and properly insulated.
- Final Assembly and Testing: Secure all fan blades and decorative elements. Restore power and test the fan at all speeds and with the light kit (if installed) to ensure everything functions correctly. If you encounter any issues or feel uncomfortable with the installation process, consult a licensed electrician.
Maintaining Your Retro Fan: Ensuring Longevity and Performance
Regular maintenance is essential to keep your retro ceiling fan running smoothly and efficiently for years to come. Dust accumulation reduces airflow and can strain the motor.
- Regular Dusting: Dust the blades regularly with a soft cloth, microfiber duster, or a vacuum cleaner with a brush attachment.
- Motor Maintenance: Check the motor housing for dust buildup and clean as needed.
- Blade Balancing: If the fan wobbles, use a balancing kit to adjust blade weights and ensure smooth operation.
- Tighten Connections: Periodically check and tighten all screws and connections to prevent rattling and ensure stability.
- Professional Inspection: Consider a professional inspection every few years to identify and address potential issues before they become major problems.
Beyond Functionality: A Design Statement that Enhances Your Home
Retro ceiling fans provide more than just cooling and lighting; they are design elements that add a distinctive touch to your home, transforming the atmosphere of any room and injecting personality and style.
Integrating Smart Home Features into Vintage Ceiling Fans: A Modern Upgrade
Key Takeaways:
- Integrating smart features into vintage ceiling fans offers enhanced convenience, energy efficiency, and control.
- Retrofit kits and full replacements are the primary methods for adding smart functionality.
- Compatibility with existing smart home ecosystems is crucial; thorough research is essential before making a purchase.
- Installation complexity varies; professional assistance may be required for certain setups.
- Proper maintenance extends the life of both the fan and the smart components.
Rediscovering the Past: The Enduring Appeal of Retro Fans
Retro ceiling fans evoke a sense of nostalgia and timeless style. From the geometric designs of Art Deco to the minimalist elegance of mid-century modern, these fans offer a unique blend of form and function.
Methods for Smart Integration: Choosing the Right Approach
There are several options for adding smart functionality to your retro fan:
- Smart Fan Replacement: Replacing your existing fan with a smart ceiling fan guarantees compatibility and often includes built-in energy-efficient features. However, this approach may alter the original aesthetics if you are committed to preserving a specific vintage design.
- Retrofit Kits: Smart retrofit kits offer an appealing upgrade path, allowing you to add smart controls to your existing fan without replacing it. These kits typically involve installing a smart controller that integrates with your fan’s pull chain or wall switch. Compatibility and installation can pose challenges, so careful research is essential.
Retrofitting Your Vintage Fan: A Step-by-Step Guide
Integrating smart home features into a vintage ceiling fan using a smart retrofit kit requires some DIY skills and familiarity with basic electrical work.
- Assess Compatibility: Verify that your fan’s motor and wiring are compatible with the chosen retrofit kit. Check the kit’s specifications and compare them to your fan’s electrical characteristics.
- Disconnect Power: Always disconnect power to the fan at the breaker box before starting any work. Use a voltage tester to confirm that the power is off.
- Install the Controller: Follow the kit’s instructions carefully. This typically involves connecting the controller to your fan’s wiring and electrical system. Ensure all connections are secure and properly insulated.
- Connect to Your Smart Home System: Configure the smart controller using your smartphone app, linking it to your preferred smart home ecosystem (Amazon Alexa, Google Home, Apple HomeKit, etc.). Follow the app’s instructions for pairing and setup.
- Test Thoroughly: After installation, restore power and test the fan at all speeds and with any integrated lighting features. Verify that the smart controls function correctly through your smartphone app and voice commands.
Selecting the Right Smart Home Ecosystem
Amazon Alexa, Google Home, and Apple HomeKit are popular choices, each offering unique features and capabilities. Consider which ecosystem best suits your needs and preferences.
Maintaining Your Smart Retro Fan for Optimal Performance
Regular maintenance is crucial to keep your smart retro fan running smoothly and safely.
- Clean the Blades: Periodically clean the blades to remove dust and debris, ensuring optimal airflow.
- Inspect Motor and Wiring: Assess the motor and wiring for any signs of wear and tear. Check for loose connections or frayed wires.
- Update Firmware: Keep the smart controller’s firmware updated to ensure compatibility and optimal performance.

- Glass Tile Shower Ideas to Create a Stunning Bathroom Space - December 7, 2025
- Glass Wall Tile Ideas for Kitchens and Bathrooms - December 6, 2025
- Glass Tile Bathroom: Create a Beautiful, Easy-Clean Space - December 5, 2025