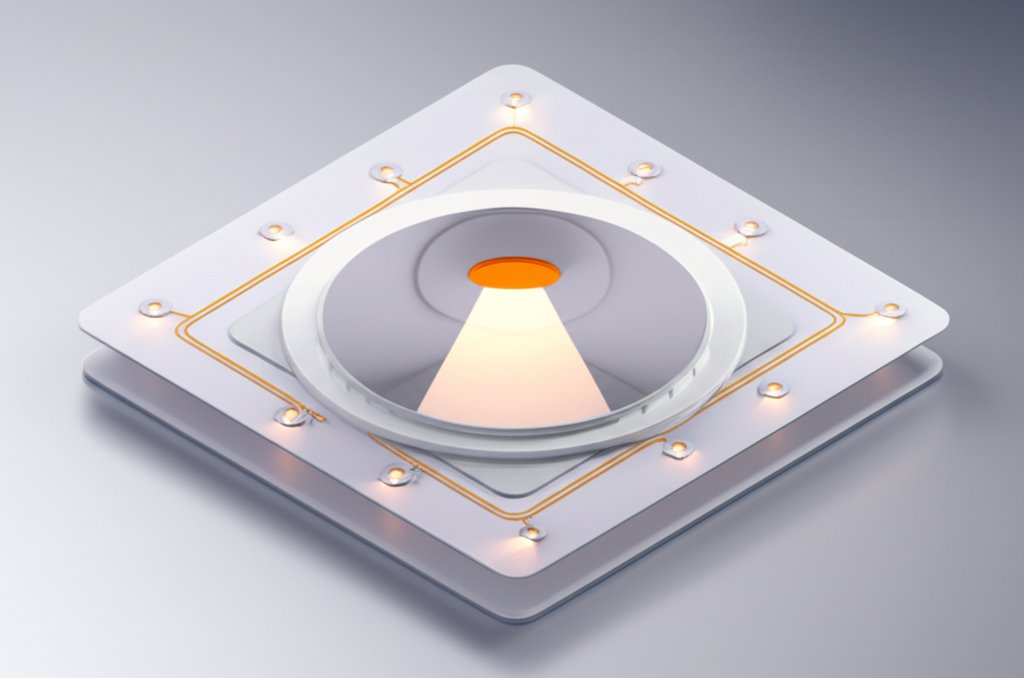
Planning a room refresh? The sleek, modern look of recessed lighting is hard to beat. But the moment you start researching, the true pot light cost can feel like a moving target, with quotes varying by hundreds or even thousands of dollars. Understanding what drives that final price tag is the key to a successful project that doesn’t break the bank.
This guide breaks down every component of your pot light installation bill—from the hardware in the ceiling to the electrician’s hourly rate—so you can budget with confidence.
At a Glance: Key Cost Takeaways
- All-In Cost Per Light: Expect to pay an electrician between $200 and $250 per light for a straightforward installation.
- Typical Project Scope: A common project of four to six lights can range from $400 to $3,000, depending heavily on the complexity of the job.
- Labor is a Major Factor: An electrician’s time makes up a significant portion of the cost, typically billed at $50 to $200 per hour.
- Fixture Choices Matter: The hardware itself—the housing, trim, and bulb—can range from a budget-friendly $40 per unit to over $300 for high-end or specialty options.
- Hidden Costs are Real: New wiring, drywall repair, and navigating ceiling obstacles can add unexpected expenses to your total pot light cost.
Breaking Down the Bill: What Really Drives Pot Light Cost?
When you receive a quote for recessed lighting, you’re looking at a combination of two main categories: materials (the lights themselves) and labor (the professional installation). While a simple fixture replacement might be straightforward, a new installation has many moving parts.
The single biggest variable is the complexity of the electrical work. Tapping into an existing, accessible circuit is far simpler than running entirely new wires from your breaker box. While these numbers provide a detailed starting point, a full breakdown of all Recessed lighting cost factors can provide an even broader view of your entire project’s financial landscape.
Here’s a sample breakdown for a typical project of installing six new pot lights in a living room with no pre-existing wiring:
| Cost Component | Low-End Estimate | High-End Estimate | Notes |
|---|---|---|---|
| Fixtures (6 x $40) | $240 | – | Basic 4″ canless LED fixtures. |
| Fixtures (6 x $150) | – | $900 | Higher-end fixtures with gimbal trim and specialty housing. |
| Labor (6 lights x 2.5 hrs) | $750 | $3,000 | Based on an hourly rate of $50/hr (low) to $200/hr (high). |
| New Wiring & Supplies | $450 | $900 | For running new wiring to each of the six light locations. |
| Dimmer Switch Installation | $125 | $125 | A common and highly recommended add-on. |
| Estimated Total Project | $1,565 | $4,925 | Excludes permits and significant drywall repair. |
| As you can see, the exact same project can have a vastly different final cost based on your fixture choice and the local labor rates. |
The Anatomy of a Pot Light: Choosing Your Fixtures Wisely

The term “pot light” or “recessed light” actually refers to a system of three parts: the housing, the trim, and the bulb. Your choices for each will directly impact your budget and the final look.
Housing: The Unseen Workhorse in Your Ceiling
The housing is the metal can or fixture that is installed inside your ceiling. Its primary job is to hold the trim and bulb, but its type is determined by your ceiling’s structure and environment.
- IC-Rated (Insulation Contact): The most common type for modern homes. These housings are designed to be in direct contact with ceiling insulation without being a fire hazard.
- Canless: A popular modern alternative. These are ultra-slim LED fixtures that don’t require a traditional “can” housing. They are great for tight spaces but can be more expensive per unit.
- Wet-Rated: Essential for bathrooms, showers, and outdoor soffits. These are sealed to protect against moisture.
Here’s how the costs typically break down per fixture:
| Housing Type | Average Cost Range | Best For… |
| ——————– | —————— | ————————————————————- |
| IC-Rated | $10 – $110 | Standard ceilings where insulation is present. |
| Canless LED | $20 – $160 | Tight ceiling cavities, remodels, and a streamlined look. |
| Airtight | $10 – $120 | Energy efficiency; prevents air leaks between floors. |
| Wet-Rated | $20 – $100 | Bathrooms, showers, covered patios, and other damp locations. |
| Shallow Ceiling | $10 – $150 | Ceilings with minimal clearance due to joists or pipes. |
| Vaulted Ceiling | $20 – $75 | Angled ceilings, to direct light straight down. |
Trim: The Style and Function You Actually See
The trim is the visible part of the light that you see from below. It shapes the light and defines the style.
- Baffle Trim ($10-$30): The most common style, with interior ridges that absorb excess light and reduce glare. Perfect for general room lighting.
- Reflector Trim ($10-$40): Has a smooth, mirror-like interior that maximizes light output. Ideal for kitchens and high ceilings.
- Gimbal or Eyeball Trim ($20-$150): These are adjustable, allowing you to pivot the light to highlight artwork, a fireplace, or a workspace.
The finish also affects the price. Standard white is the most affordable, while finishes like brushed nickel, bronze, or black will be at the higher end of the range.
Bulbs: The Heart of the Light
Today, LED is the undisputed champion for recessed lighting. While the upfront cost of an LED bulb ($5-$50) is higher than a halogen ($3-$12), its incredible lifespan (up to 25,000 hours) and energy efficiency make it far cheaper in the long run. A standard 10W LED bulb typically costs just $6-$8.
The X-Factors: Unseen Costs That Can Surprise You
A smooth installation is one thing, but home renovation projects often come with surprises. Factoring these potential costs into your budget from the start can prevent sticker shock later.
Wiring Woes: New vs. Existing
This is often the biggest unknown in a pot light cost estimate.
- Replacing an Existing Fixture: If you’re swapping an old ceiling light for a pot light in the same location, the wiring is already there. This is the cheapest and fastest scenario.
- Adding Lights to an Existing Circuit: An electrician can often tap into a nearby circuit to power your new lights. This involves running new wire and costs about $75 to $150 per light or $5 to $10 per linear foot of wire run.
- Requiring a New Circuit: If your existing circuits can’t handle the extra load, or if code requires it, the electrician will need to run a dedicated new circuit from your main panel. If your panel is full, this could even require a new circuit panel, a major expense costing $1,500 to $4,500.
Ceiling Access and Obstacles
What’s hiding above your drywall? An electrician won’t know until they start working.
- Drywall Repair: Installing pot lights requires cutting holes in the ceiling. While a good electrician will be clean, you’ll likely need minor patching and painting. If significant cuts are needed to run wires, budget an average of $300 for professional drywall repair.
- Ceiling Obstacles: HVAC ducts, plumbing pipes, and unexpected framing can block the ideal placement for a light. Working around these can add $200 or more in extra labor fees per obstacle.
Dimmers, Permits, and Other Details
- Dimmer Switches: A must-have for setting the mood in living rooms and dining areas. Expect to pay about $125 for an electrician to install a quality dimmer switch.
- Permits: Depending on your location and the scope of the work, an electrical permit may be required. This can range from $50 to $500. Your electrician will handle the filing process.
Real-World Scenarios: Putting It All Together
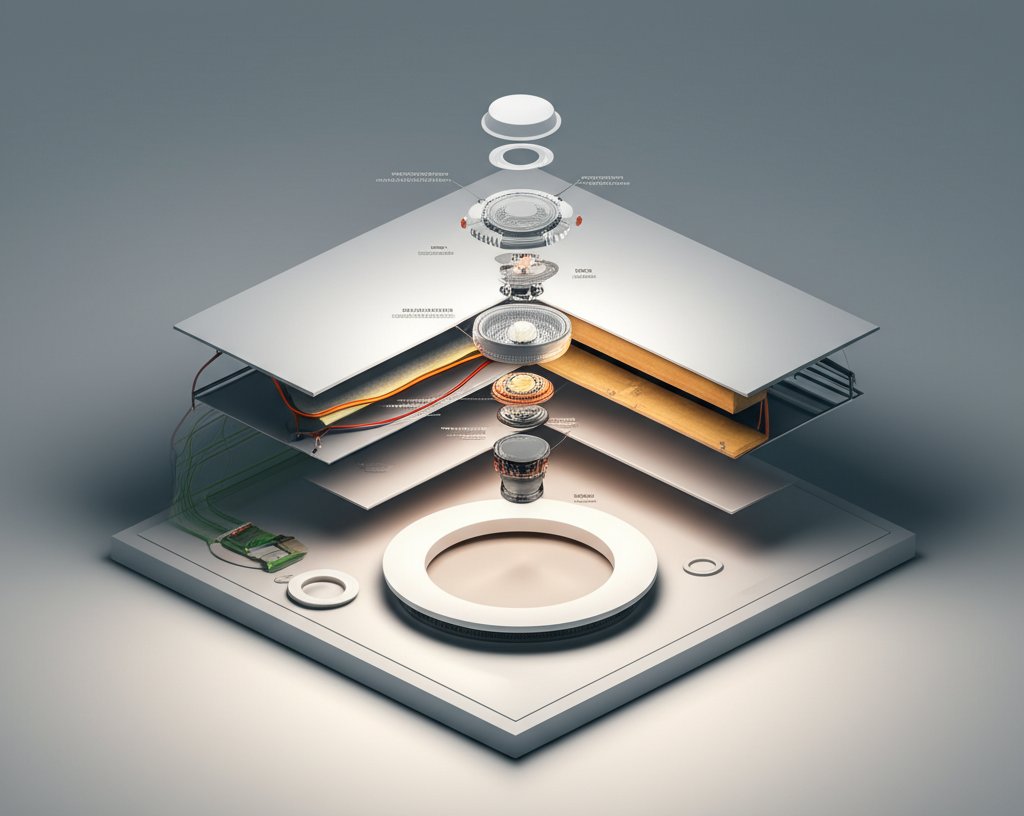
Let’s apply these numbers to a few common projects to see how the pot light cost can vary.
- Scenario 1: The Simple Living Room Retrofit
- The Job: Add four 6″ pot lights to a living room ceiling that has good attic access above.
- Cost Breakdown:
- Fixtures: 4 x $60 (IC-Rated housing + LED bulb/trim kit) = $240
- Labor: 4 lights x 2 hours/light x $100/hr = $800 (faster due to attic access)
- Estimated Total: ~$1,040
- Scenario 2: The Full Kitchen Remodel
- The Job: Install eight 4″ pot lights in a kitchen during a gut remodel. This includes two wet-rated lights over the sink and a dimmer.
- Cost Breakdown:
- Fixtures: 6 x $80 (Canless LEDs) + 2 x $100 (Wet-Rated) = $680
- Labor: 8 lights x 2.5 hours/light x $125/hr = $2,500 (walls are open, so it’s straightforward)
- Dimmer Switch: $125
- Estimated Total: ~$3,305
- Scenario 3: The Finished Basement Project
- The Job: Install ten 6″ pot lights in a newly finished basement with no existing overhead lighting. A new circuit is required.
- Cost Breakdown:
- Fixtures: 10 x $50 (Basic Canless LEDs) = $500
- Labor & New Circuit: 10 lights x $250/light (all-in rate for complex job) = $2,500
- Estimated Total: ~$3,000
Quick Answers to Common Pot Light Cost Questions
Is it cheaper to install pot lights during new construction?
Absolutely. Installing recessed lighting when the walls and ceilings are open is dramatically cheaper and faster. The electrician has easy access to run wires without cutting and patching drywall, which can cut labor costs by 30-50%.
Can I install pot lights myself to save money?
While DIY is possible for experienced individuals, electrical work is risky. A mistake can lead to fire hazards or failed inspections. For safety and peace of mind, hiring a licensed electrician is strongly recommended. They understand local codes, can pull necessary permits, and are insured.
How many pot lights do I need for a room?
A good rule of thumb is to plan for one recessed light for every 25 square feet of ceiling space. For general lighting, space your fixtures 4 to 6 feet apart. For an 8-foot ceiling, place them about 2 to 3 feet from the walls.
Are canless LED lights cheaper to install?
The fixture itself might cost slightly more than a traditional housing/trim combo, but they can be cheaper to install. Because they are an all-in-one unit and very slim, electricians can often install them faster, reducing labor time and your overall pot light cost.
Your Pot Light Project: A 3-Step Action Plan
Feeling ready to move forward? Use this simple plan to get started.
- Map Your Vision. Before calling anyone, decide where you want your lights. Use painter’s tape on the ceiling to mark potential locations. Think about the room’s function: do you need focused task lighting over a counter, ambient light for the whole room, or accent light on a feature wall? This gives an electrician a clear scope to quote.
- Build a Comprehensive Budget. Use the cost ranges in this guide to create a realistic budget. Start with the fixtures and estimated labor, then add a 15-20% contingency fund to cover potential surprises like wiring issues or drywall repair. Don’t forget the small stuff like dimmers and permits.
- Get At Least Three Professional Quotes. Contact licensed and insured electricians in your area. Provide them with your layout plan and photos of the room. When you receive quotes, make sure they are “apples-to-apples,” detailing the exact type of fixtures being used, the hourly rate, and what is included (or excluded). This preparation will ensure you get a fair price for a safe, beautiful, and professional installation.

- Bathroom Materials Selection Offers Quality Fixtures for Home Design Projects - October 9, 2026
- Best Cosmetic Storage Containers For a Tidy Vanity - October 8, 2026
- Best Makeup Storage Boxes to Keep Your Vanity Spotless - October 7, 2026










