Stuck with a cramped kitchen that lacks prep space and storage? Well-designed kitchen center island plans can transform your cooking area into a functional and stylish hub. The right island turns wasted space into a chef’s dream.
At a glance:
- Discover how to choose the best island size and layout for your kitchen.
- Learn about different island styles from rustic to modern.
- Find affordable options using stock cabinets or upcycled materials.
- Understand essential safety considerations before you start building.
- Explore creative storage solutions to maximize island functionality.
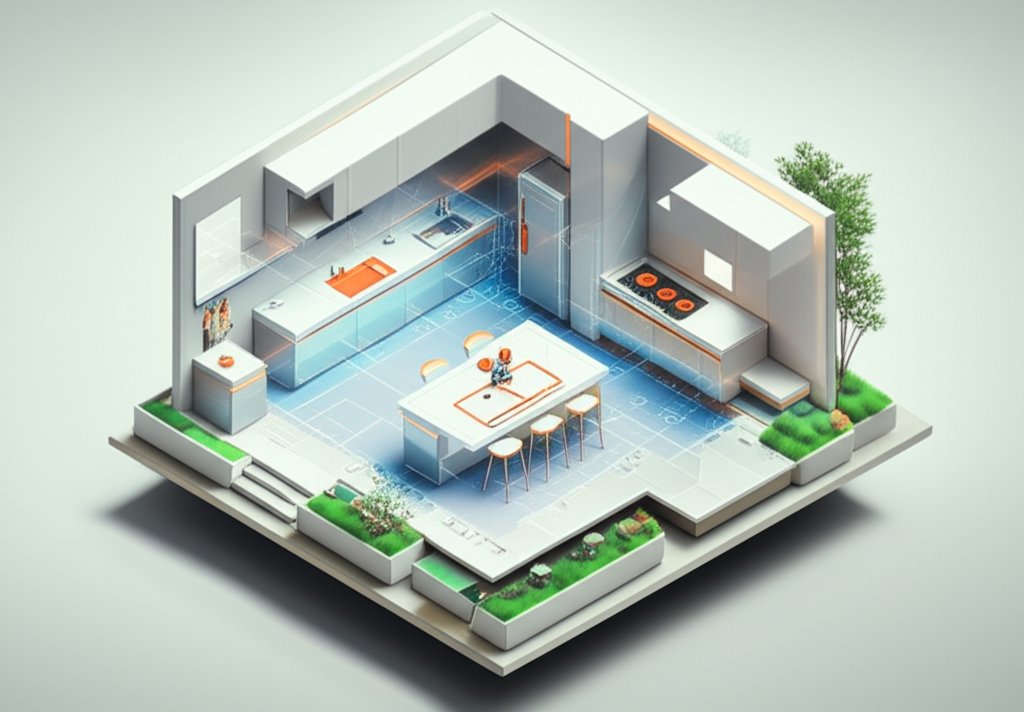
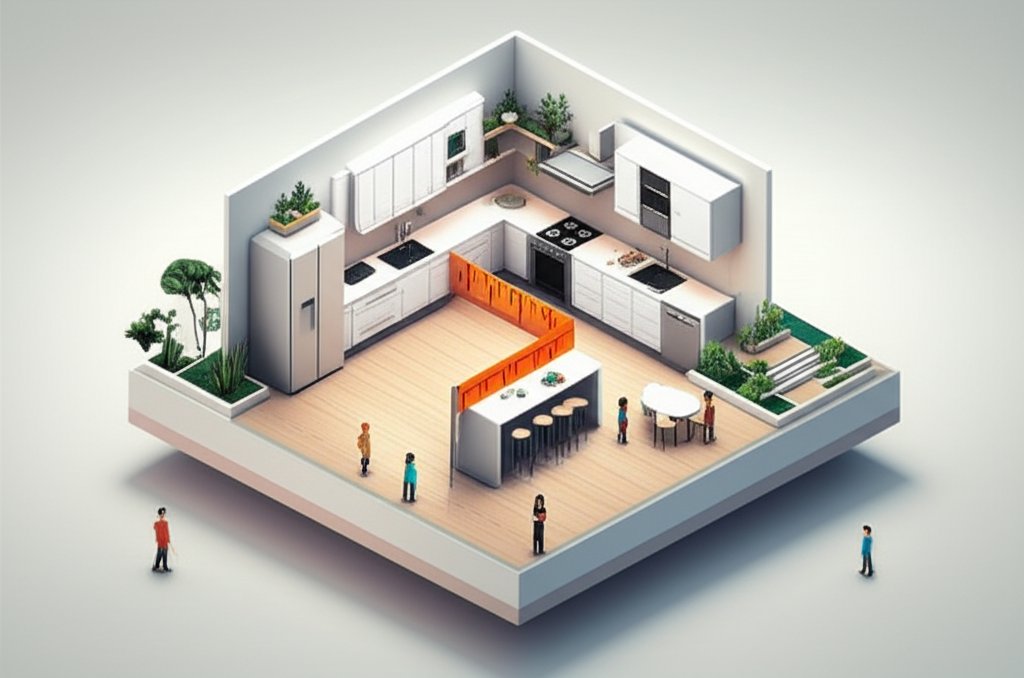
Finding the Perfect Fit: Island Size and Kitchen Layout
The first step in any successful kitchen center island plan is assessing your space. It’s not just about finding a plan you like; it’s about choosing one that enhances your kitchen’s flow and functionality. A too-large island will create bottlenecks and cramped walkways; a too-small island won’t provide enough of a functional boost.
- Measure Everything: Accurately measure your kitchen’s dimensions, marking the locations of appliances, doorways, and walkways.
- Walkway Clearance is Key: Aim for at least 36 inches of clearance around the island, ideally 42-48 inches, to allow comfortable movement, especially with multiple people in the kitchen.
- Consider Island Shape: Rectangular islands are common, but L-shaped or even circular islands can be more space-efficient in certain layouts.
- Think About Functionality: How will you primarily use the island? Food prep, dining, storage, or a combination? This will influence size and feature needs.
Example: Imagine a galley kitchen. A long, narrow island could work well, providing additional prep space without completely blocking the passage. Conversely, a square island might be better suited for a larger, more open kitchen.
Style Selection: Matching Your Kitchen’s Aesthetic
Your kitchen center island plan should complement your existing kitchen style. Are you going for farmhouse chic, modern minimalist, or something in between? The island’s design, materials, and finishes should all align with your overall aesthetic.
- Farmhouse: Consider a butcher block countertop, shiplap siding, and distressed paint finishes.
- Modern: Opt for sleek lines, stainless steel accents, and solid surface countertops like quartz or granite.
- Traditional: Choose raised-panel cabinets, ornate hardware, and a classic countertop material like marble.
- Rustic: Embrace reclaimed wood, exposed hardware, and a concrete countertop for an industrial vibe.
Case Snippet: One DIYer sought a rustic appearance. After adding a foundation to raise the island’s height, they fastened cedar boards to the surface in the form of a barn door, giving it an outdoor look.
Budget-Friendly Builds: Affordable Island Options
Building a kitchen island doesn’t have to break the bank. Here are some cost-effective strategies:
- Stock Cabinets: Use stock kitchen cabinets as the base for your island. This is a relatively inexpensive way to create a functional and stylish island with built-in storage.
- Upcycled Furniture: Repurpose an old dresser, buffet, or console table into a unique kitchen island. This is a great way to save money and add character to your kitchen.
- Butcher Block Countertops: Butcher block provides a warm, inviting look and is often more affordable than stone countertops.
- DIY Frame: Build a simple frame from lumber and clad it with inexpensive materials like plywood or beadboard.
Looking for design ideas? You’ll find a great collection of Free kitchen island plans.
Practical Tip: Check your local classifieds for used cabinets or furniture that you can repurpose. You might be surprised at the treasures you can find!
Safety First: Essential Considerations Before Building
Before you start hammering and sawing, prioritize safety. A poorly built island can be a hazard.
- Electrical Wiring: If your island will have outlets, consult with a qualified electrician to ensure proper wiring and compliance with local codes. This is especially crucial if you’re adding a cooktop or other appliance.
- Plumbing: If you’re adding a sink or dishwasher, hire a plumber to handle the plumbing connections.
- Structural Integrity: Ensure the island’s frame is sturdy and can support the weight of the countertop and any appliances. Use appropriate fasteners and construction techniques.
- Ventilation: If using a cooktop, make sure you have adequate venting.
- Anchoring: Freestanding or mobile islands don’t need to be anchored and offer flexibility in your kitchen layout. if your island will house a sink, appliances, or serve as a primary work surface, anchoring it can provide stability and safety.
- Building Codes: Check your local building codes to ensure your island complies with all regulations.
Warning: Never attempt electrical or plumbing work unless you are qualified to do so. Improper wiring or plumbing can be dangerous and could violate building codes.
Storage Solutions: Maximizing Island Functionality

A kitchen island is more than just a countertop; it’s a storage powerhouse. Plan your storage solutions carefully to make the most of your island.
- Drawers: Ideal for storing utensils, cookware, and small appliances.
- Shelves: Great for displaying cookbooks, storing decorative items, or keeping frequently used items within easy reach.
- Cabinets: Perfect for storing larger items like pots, pans, and small appliances.
- Pull-Out Trash/Recycling Bins: Keep trash and recycling out of sight with a convenient pull-out system.
- Wine Racks: Add a touch of elegance and functionality with a built-in wine rack.
- Open Shelving: Incorporating open shelving for displaying cookbooks or decorative items.
Example: A baking enthusiast might include pull-out shelves for storing cookie sheets and baking pans, while a wine lover might add a built-in wine rack.
Implementation Playbook: A Quick-Start Guide
Here’s a streamlined approach to turn your kitchen center island plans into reality:
- Define Your Needs: List the primary functions you want your island to serve: prep space, dining, storage, seating, etc.
- Measure and Sketch: Measure your kitchen and create a rough sketch of the island’s desired size and shape. Consider walkway clearance.
- Choose a Style: Select a style that complements your existing kitchen décor. Gather inspiration from magazines, websites, and showrooms.
- Select Materials: Choose materials that fit your budget and style. Consider stock cabinets, upcycled furniture, butcher block countertops, etc.
- Create a Detailed Plan: Develop a detailed plan with dimensions, materials list, and step-by-step instructions. There are numerous free DIY kitchen island plans as stated above, each with its own set of features and designs to fit your specific requirements.
- Gather Tools and Materials: Assemble all the necessary tools and materials before you begin construction.
- Build the Frame: Construct a sturdy frame to support the countertop and any appliances.
- Add Storage: Install drawers, shelves, cabinets, and other storage solutions.
- Install the Countertop: Carefully install the countertop, ensuring it is level and securely fastened.
- Add Finishing Touches: Paint, stain, or otherwise finish the island to match your kitchen décor. Install hardware, lighting, and any other desired features.
Quick Answers: Clearing Up Common Questions
Q: How much does it really cost to build a kitchen island?
A: The cost varies wildly. A basic DIY island using repurposed materials might only cost a few hundred dollars. A custom-built island with high-end materials and appliances can easily run into the thousands.
Q: Can I build an island in a tiny kitchen?
A: Absolutely! Consider a smaller, narrower island or even a mobile cart. These options provide extra counter space and storage without overwhelming the room.
Q: Do I have to anchor my kitchen island?
A: Not always. Freestanding islands offer flexibility. However, if your island houses a sink, cooktop, or is used as a primary work surface, anchoring it is recommended for stability and safety.
Q: What tools do I really need?
A: At a minimum, you’ll need a measuring tape, saw, drill, screws, level, and sandpaper. A circular saw and power sander will speed up the process.
Q: What about electricity and plumbing, can I DIY that?
A: While some experienced DIYers tackle these tasks, it’s generally best to consult with or hire licensed professionals for electrical and plumbing work to ensure safety and code compliance.
Your Dream Island Awaits: Time to Start Planning
With careful planning and a little elbow grease, you can transform your kitchen with a beautiful and functional center island. By considering your space, style, and budget, you can create an island that perfectly meets your needs and enhances your home. Don’t be afraid to get creative and personalize your island with unique storage solutions, finishes, and accents. So, grab your measuring tape, gather your inspiration, and start building your dream kitchen island today!

- Gray Kitchen Backsplash Ideas: Find Your Perfect Gray Tile - December 11, 2025
- Glass Wall Tiles For Bathroom: A Stylish, Durable Choice - December 10, 2025
- Glass Mosaic Kitchen Backsplash: Add Shimmer and Style - December 9, 2025