Building a house or any structure? Getting the blueprints right is super important – it’s like the recipe for your building! This guide will walk you through everything you need to know about drawing up those floor plans so they’re accurate, easy to understand, and ready for the builders. We’ll cover the essential rules for measuring things inside and outside, showing you how to avoid common mistakes and make sure everything fits perfectly. We’ll delve into dimensioning walls, windows, doors, and essential interior elements. We’ll make sure you understand *why* these rules are important and not just *how* to do it, saving you time, trouble, and potential disasters down the road. For more detailed information on dimensions, check out this helpful guide on [floor plan dimensions](https://www.wavesold.com/floor-plan-dimensions-explained). Let’s get started building a plan that’s built to last!
Mastering Architectural Floor Plan Standards – Design Precision and Clarity
Creating a flawless house plan—one that builders can easily understand and that truly reflects your vision—starts with solid architectural floor plan standards. These standards ensure a clear, consistent language within the construction process. This isn’t about arbitrary rules; it’s about clear communication, preventing costly mistakes, and ensuring regulatory compliance. Let’s break it down in simple terms.
- Clear communication prevents costly errors and project delays; well-defined plans reduce ambiguities and scope variations.
- Solid standards ensure everyone interprets the plans consistently, leading to more accurate bids and fewer on-site adjustments.
- Understanding why standards matter is as important as how to apply them; it fosters a deeper comprehension of the construction process.
Exterior Dimensions: Establishing the Building Footprint with Accuracy
Think of the building’s exterior as the groundwork for your entire project. Getting the outside measurements right is absolutely essential. This means carefully measuring everything, from the overall building size to distances from property lines (setbacks), and even the precise location of utility connections. Inconsistent measurements or neglecting regulatory setbacks are a recipe for disaster on a construction site, leading to costly delays, rework, and potential legal issues. Stick to one type of measurement unit—either feet and inches or meters—throughout the entire plan. Avoid mixing them! Also, organize your measurements neatly using gridlines (straight lines making a grid) to make everything much easier to read. Ensure that all exterior features, such as decks, patios, and overhangs, are accurately dimensioned.
Step-by-Step Guide to Exterior Dimensioning:
- Establish a System: Decide on a consistent system—feet and inches, for instance—for all your measurements. Note this unit clearly on every sheet of the plan. Don’t switch halfway through!
- Use the Right Tools: Leverage architectural design software like AutoCAD, Revit, or ArchiCAD. Most programs have built-in tools to automatically and accurately calculate dimensions, saving you time and preventing errors. They also allow for easy adjustment and revision.
- Unit Consistency is Key: Be absolutely consistent with your units of measurement. Don’t use feet in one place and meters in another. Indicate the unit of measure on each drawing sheet.
- Overall Dimensions: Clearly define the complete, overall measurements of the building. This includes the length, width, and height (to the highest point of the roof).
- Accurate Setbacks: Precisely note the distance between the building and property lines, especially if these lines are oddly shaped. Verify these distances against local zoning regulations to ensure compliance. Dimension setbacks using arrows to indicate the measured distance. Label dimensions with “Rear Yard,” “Side Yard,” and “Front Yard” to remove ambiguity.
- Gridlines for Clarity: Align dimension lines with gridlines. This helps the eye follow the lines, making the drawing cleaner and easier to understand. Snap dimension strings to gridlines when possible to avoid covering the gridline string.
- Dimensioning to Property Line Corners: Include dimensions from the building’s corners to the property line corners to accurately establish its location on the site.
- Dimensioning to the Face of Core: In wall framing plans, always dimension to the outside face of the core, which refers to the structural part of the wall. This practice ensures consistency and accuracy in construction.
Interior Dimensions: Defining Living Spaces with Precision
Now, let’s move inside. Interior dimensions bring your building to life by showing the rooms and their sizes. Be precise with every room’s measurements, indicating wall thicknesses, door and window openings, and the locations of built-in features. However, avoid excessive detail that can crowd your plan and make it hard to read. Clear, concise information is paramount. You want something that’s easily interpreted by everyone involved, from the architect to the contractor. Interior dimensions should align with architectural floor plans for easy understanding.
Best Practices for Interior Dimensioning:
- Crystal Clear: Make every measurement easy to spot and understand using clear dimension strings. Use continuous dimension lines to provide overall and intermediate measurements.
- Stay Consistent: Keep your measuring system consistent throughout the entire interior plan. Use the same units as the exterior dimensions.
- Prioritize Readability: Focus on creating a plan that is effortless to understand through simplified drawings. Use clear and concise text for all dimensions.
- Internal Standards: Follow any internal design standards your firm uses for dimensioning to avoid miscommunication. Ensure that all team members are familiar with these standards.
- Dimensioning to the Face of Drywall: Architectural floor plans should use clear dimensions to the face of drywall for interior room dimensions, especially if there is a separate wall framing plan in the set.
- Dimensioning Between Levels: Dimension between levels starting with the main floor (T.O. Sheathing) and ending with the maximum roof height. Align these dimensions with level break points for clear vertical information.
- Alignment and Spacing: Maximize readability by aligning dimensions and spacing them appropriately. The fourth dimension line down should align with the crop box. If repeating dimension strings, remove witness lines from subsequent strings for a cleaner look.
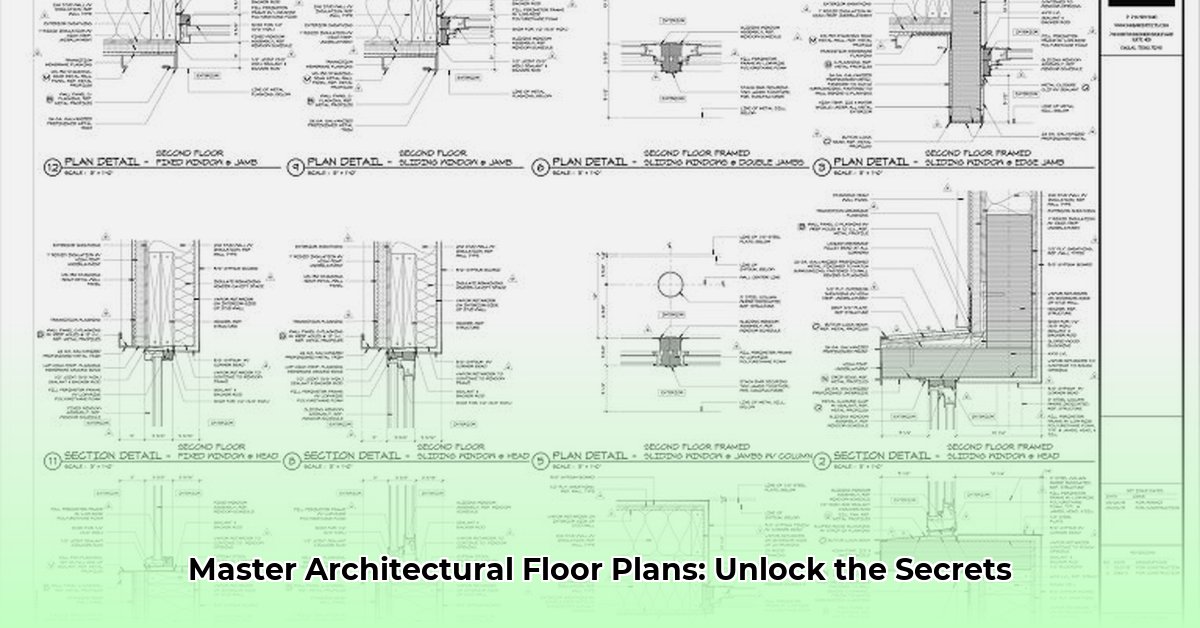
Tackling Tricky Shapes and Details – Curved Walls and Complex Geometries
Not every room is a perfect rectangle. Some have curves or odd angles. For these, use a mix of linear (straight) and radial (circular) measurements as needed. Clearly indicate the center points of arcs and the radii of curves. Built-in features like cabinets or unusual architectural elements require extra attention to detail. Be meticulous, as inaccuracies here could lead to significant problems once construction begins. For complex shapes, break them down into simpler geometric figures to simplify measurement.
Teamwork Makes the Dream Work: Architects, Contractors, and Clients – Collaboration Strategies
The Architect’s Role: Architects are the leaders here. They are responsible for creating plans that are not just aesthetically pleasing but also completely accurate, detailed, and compliant with building codes. Adhering to standards ensures everyone is on the same page, preventing miscommunications and the associated delays and expense. Thoroughly review every detail before handing the plan off.
The Contractor’s Perspective: Contractors need accurate information to do their job properly. They should review the plans carefully before starting any work. Any discrepancies (differences between the plans and what’s needed on site) should be immediately reported to the architect. This saves everyone from costly rework later. The need for accurate measurements extends to material ordering which impacts the project’s schedule and budget.
Client Engagement: Clients are vital partners, too. They should look at the plans, checking that everything matches their wishes. Open communication between the architect and the client is crucial; this shared understanding minimizes any surprises during the construction. Explain all dimensions clearly and answer any questions the client may have.
Stakeholder Responsibilities: A Summary
| Stakeholder | Key Responsibilities |
|---|---|
| Architect | Create precise plans following standards; ensure clear, consistent communication; code compliance. |
| Contractor | Carefully review; promptly report discrepancies; maintain precise measurements on site; ensure material orders align. |
| Client | Review and confirm plans; communicate needs and expectations clearly; participate in design reviews. |
The Power of Technology – CAD Software and BIM
Modern software—like AutoCAD, Revit, ArchiCAD, or BIM (Building Information Modeling) platforms—makes the whole dimensioning process much easier and more accurate than ever before. Not only does using these programs speed up the work, but they also significantly reduce human errors during calculation and drawing. BIM, in particular, allows for integrated design and construction documentation, ensuring that dimensions are consistent across all project phases. They’re indispensable tools for everyone involved.
Remember, these are guidelines, not inflexible rules. While established standards exist, the specific details might vary based on local regulations, client needs, and project specifics. The field is constantly evolving, with ongoing research that refines our understanding of best practices. The key is clear communication and a commitment to accuracy from everyone involved—this ensures a smooth and successful project.
How to avoid common mistakes in architectural dimensioning – Avoiding Blunders and Ensuring Accuracy
Key Takeaways:
- Inconsistent dimensioning leads to costly errors and delays; adherence to clear standards is paramount.
- Structure-to-structure dimensioning and the use of actual sizes are crucial for accurate material ordering and construction.
- Software plays a vital role in accurate dimensioning, but requires proper training and understanding to maximize its benefits.
- Strong quality control, including peer reviews and multiple checks, minimizes mistakes significantly.
- Industry-wide standardization and improved training are needed to promote accuracy and reduce variability.
Understanding the Problem: Why

- Modern Kitchen Backsplash Ideas To Inspire Your Refresh - December 19, 2025
- Modern Backsplash Ideas: A Guide to Todays Kitchen Trends - December 18, 2025
- Ceramic Kitchen Wall Tiles: Style and Protection for Your Walls - December 17, 2025