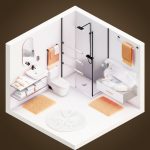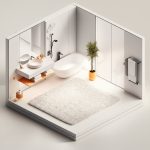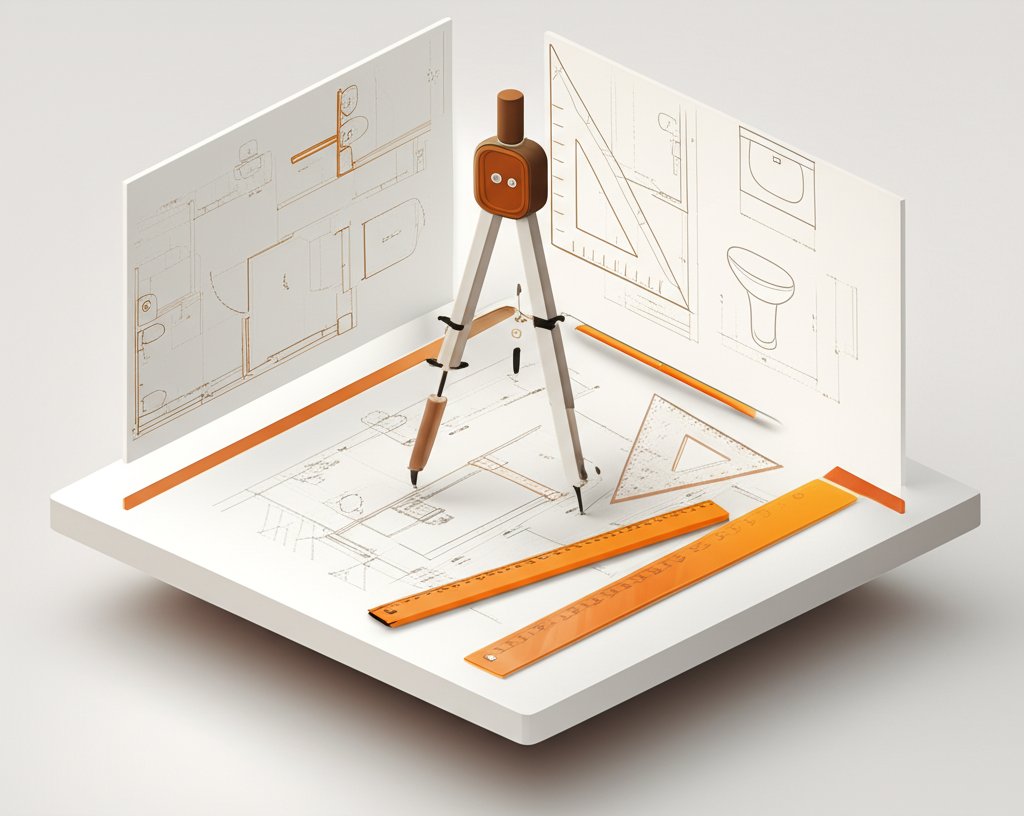
That sinking feeling when you step into a cramped, poorly designed bathroom is universal. The door swings in and nearly hits the toilet, the vanity has zero counter space, and the shower feels like a phone booth. Before you call a contractor or swing a single sledgehammer, the most critical step is the one that happens on a screen or a sheet of paper: the bathroom drawing. This isn’t just a sketch; it’s the blueprint that separates a stressful, expensive remodel from a serene, functional oasis.
A detailed bathroom layout plan is your roadmap. It helps you catch design flaws, experiment with fixture placements, and communicate your vision clearly to everyone involved, saving you time, money, and a world of frustration.
At a Glance: Your Bathroom Drawing Essentials
- Function First: The best bathroom layouts prioritize how you use the space over fleeting trends.
- Digital Tools are Game-Changers: Modern software like Planner5D lets you create detailed 2D floor plans and stunning 3D visualizations with simple drag-and-drop controls, no architectural degree required.
- Layouts Have Names: From a simple half-bath to a luxurious primary suite, understanding the standard bathroom configurations helps you define your project’s scope.
- Measure Everything: Accurate dimensions of your room, doors, windows, and existing plumbing are non-negotiable for a plan that works in the real world.
- Visualize in 3D: Seeing your design in three dimensions before you commit is the single best way to avoid costly mistakes and ensure you’ll love the final result.
Why Your Remodel Hinges on a Solid Bathroom Plan
For decades, bathroom planning meant graph paper, a pencil, and a lot of erasing. You’d sketch out squares for the tub and circles for the toilet, trying to imagine how it would all fit. Today, a digital bathroom drawing is the gold standard for homeowners and professionals alike.
The reason is simple: it forces you to think through every detail before the stakes are high.
A good drawing acts as your project’s single source of truth. It allows you to:
- Optimize Flow: See how people will move through the space. Can two people use the vanity at once? Does the door block access to a towel rack?
- Verify Clearances: Ensure you have enough room around the toilet, in front of the sink, and for the shower door to swing open. Building codes have specific requirements for this, and a drawing helps you meet them.
- Plan for Plumbing and Electrical: A floor plan helps you map out where your “wet wall” (the wall containing the main plumbing lines) should be, which is a major factor in your budget. You can also pinpoint locations for outlets, switches, and lighting fixtures.
- Avoid Expensive Changes: Moving a toilet drain by six inches after it’s been installed can cost a thousand dollars or more. Finalizing these decisions in your bathroom drawing costs nothing.
Think of it as the difference between following a GPS and just “heading west.” One path is strategic and efficient; the other is a recipe for getting lost.
Decoding Bathroom Layouts: What’s in a Name?
When you start exploring ideas, you’ll hear terms like “three-quarter bath” or “Jack and Jill.” These aren’t just fancy names; they’re shorthand for the number of fixtures a bathroom contains. Understanding them helps you clarify your own needs.
Here’s a quick breakdown of the most common types:
- Half Bathroom (Powder Room): The workhorse for guests. It contains just two fixtures: a toilet and a sink.
- Three-Quarter Bathroom: A step up, this layout features a toilet, a sink, and a shower (but no bathtub). This is a popular and efficient choice for guest rooms or smaller full baths.
- Full Bathroom: The traditional standard. It includes a toilet, a sink, and a bathtub. Often, the tub is a shower/tub combination.
- Primary Bathroom: Connected to the main bedroom, this layout prioritizes comfort and space. It typically includes a toilet, a double vanity (two sinks), and either a separate shower and tub or a large combination unit.
- Luxury Primary Bathroom: The spa-at-home experience. This expansive layout features a freestanding tub, a separate walk-in shower, a double vanity, and a private compartment for the toilet.
- Jack and Jill Bathroom: A clever, space-saving design situated between two bedrooms, with doors leading to each. It usually contains one toilet and one tub/shower, but may have two sinks to accommodate multiple users.
- Accessible Bathroom: Designed with safety and inclusivity in mind, this layout follows specific guidelines (like those from the ADA) to ensure ample space for mobility aids and features like grab bars and a curbless shower.
Choosing the right type depends on your home’s size, your family’s needs, and your budget. A family with young children might prioritize a full bath with a tub, while a couple in a modern apartment may prefer the sleek look of a three-quarter bath with a large walk-in shower.
The Modern Toolkit: Using Software to Draw Your Bathroom
The best part about modern home design is that powerful planning tools are no longer reserved for architects. Apps like Planner5D have democratized the design process, turning a complex task into an intuitive, three-step journey.
Here’s how it generally works.
Step 1: Create Your 2D Floor Plan
This is the foundation. You start with a blank canvas and use simple drag tools to draw the walls, setting the exact dimensions of your bathroom. You aren’t just guessing; you’re building a digital twin of your actual space.
Next, you’ll browse a library of elements to add doors and windows, placing them precisely where they exist in your home. This 2D top-down view is the classic blueprint, perfect for confirming measurements and overall flow.
Step 2: Furnish and Equip Your Space
Now for the fun part. You’ll access a vast catalog of fixtures, furniture, and finishes. Want to see how a freestanding tub looks versus a built-in one? Drag and drop both to compare. Not sure if a 48-inch or 60-inch vanity is better? Place them in your drawing to see how much floor space each one occupies.
Every element—from the toilet and sink to tile patterns and light fixtures—can be placed, moved, resized, and customized. This is where you test your ideas without commitment. You can experiment with different layouts until you find the one that feels right.
Step 3: Switch to 3D and Visualize the Result
This is the magic moment. With a single click, the software transforms your flat 2D bathroom drawing into a photorealistic 3D rendering.
Suddenly, you can “walk” through your new bathroom. You can see how the light from the window hits the vanity mirror, how the tile color looks next to the cabinet finish, and whether that walk-in shower feels as spacious as you’d hoped. This immersive view is invaluable for catching things you’d never notice on a 2D plan, like an awkward corner or a clashing texture.
The Nitty-Gritty: Essential Elements of Your Bathroom Plan
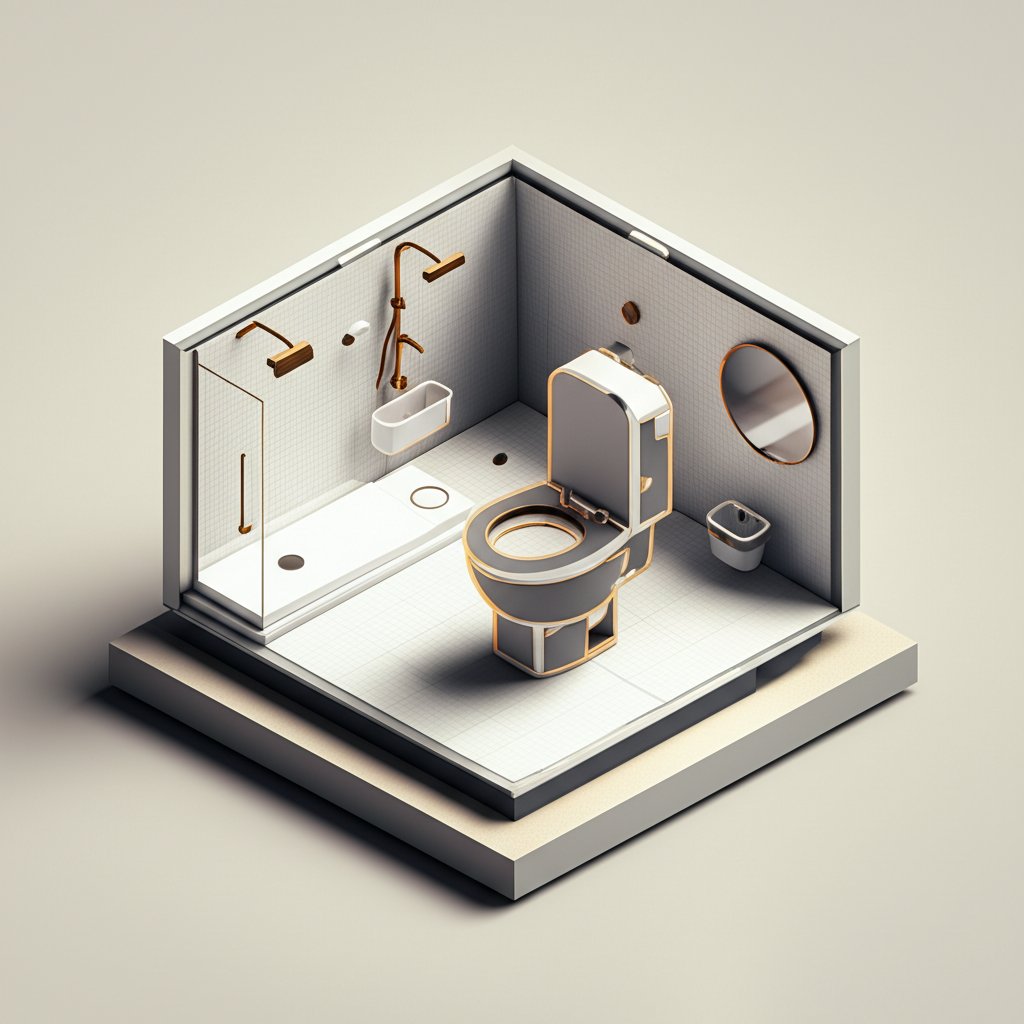
A beautiful drawing is useless if it’s not practical. As you design, keep these core functional components at the forefront of your mind.
Measure Twice, Draw Once
Garbage in, garbage out. Your drawing is only as good as your measurements. Before you start, grab a tape measure and document:
- The length and width of the room.
- The ceiling height.
- The size and location of windows and doors (including which way the door swings).
- The exact location of the current toilet drain, sink pipes, and shower/tub drain.
Keeping plumbing in the same general area can save you thousands in renovation costs. Note these locations on your drawing.
The “Big Three”: Placing Your Toilet, Sink, and Shower
The arrangement of your main fixtures dictates the bathroom’s usability. The goal is to create a logical flow without feeling cramped.
- The Toilet: Don’t make it the first thing you see when you open the door if you can help it. Building codes typically require at least 15 inches of space from the centerline of the toilet to any wall or obstacle, and at least 21 inches of clear space in front of it.
- The Sink/Vanity: This is your primary task area. Ensure there’s enough counter space for your daily routine and adequate lighting above or around the mirror.
- The Shower/Tub: Consider the entry point. A walk-in shower offers a clean, open feel, while a tub is essential for families with kids. Make sure a swinging shower door has room to open fully without hitting anything.
Small Bathroom, Big Impact
Designing a small bathroom is a unique challenge, but a smart drawing can unlock its hidden potential. The key is to think vertically and choose space-saving fixtures.
- Corner Sinks: These free up valuable floor space and can fit into otherwise unusable corners.
- Wall-Mounted Toilets and Vanities: “Floating” fixtures expose more flooring, creating an illusion of a larger room.
- Walk-in Showers: A glass-enclosed or curbless shower feels more open than a bulky tub/shower combo.
- Large Mirrors: A classic trick for a reason. Mirrors bounce light around and create a sense of depth.
Even with limited square footage, you can explore tons of Simple Bathroom Drawing Ideas that use clever layouts to make the room feel surprisingly spacious.
Today’s Trends to Inspire Your Drawing
Once you’ve nailed the functional layout, you can start layering in style. Current bathroom design is moving toward creating personal sanctuaries that are both beautiful and highly functional.
- Spa-Like Atmosphere: Think natural materials like wood and stone, neutral color palettes, and clean lines. The goal is a calm, uncluttered retreat.
- Floating Vanities: These wall-mounted units are sleek, modern, and make cleaning the floor a breeze.
- Smart Technology: From smart mirrors with built-in lighting and defoggers to voice-activated faucets and showers, tech is seamlessly integrating into the bathroom.
- Matte Finishes: Matte black, brushed brass, and other non-glossy finishes for faucets and hardware add a sophisticated, contemporary touch.
- Eco-Friendly Fixtures: Water-saving toilets and low-flow showerheads are becoming standard, reducing environmental impact without sacrificing performance.
- Accessible by Design: Features like curbless showers, built-in benches, and stylish grab bars are increasingly popular as more people plan to age in place. This “universal design” approach benefits everyone, regardless of age or ability.
Use your bathroom drawing to test-drive these trends. See how a matte black faucet looks with a light wood vanity or whether a freestanding tub fits your spa-inspired vision.
Common Bathroom Drawing Questions, Answered
What is the best software for bathroom drawing?
For most homeowners, the best software is user-friendly and offers robust 3D visualization. Tools like Planner5D are ideal because they have a low learning curve, extensive libraries of objects, and allow you to switch from a 2D floor plan to a realistic 3D model instantly.
How much space do you legally need around a toilet?
While local codes vary, the International Residential Code (IRC) is a common standard. It generally requires at least 21 inches of clear space in front of the toilet bowl and at least 30 inches of total width for the toilet space (or 15 inches from the toilet’s centerline to the nearest wall or fixture). Always check your local regulations.
Can I really design my own bathroom layout?
Absolutely. With modern digital tools, you have the power to create a professional-quality bathroom drawing. It empowers you to refine your ideas and communicate them effectively to a contractor, ensuring your vision is executed correctly.
What is the most common bathroom layout mistake?
The most frequent error is ignoring flow and clearances. People fall in love with a large vanity or a freestanding tub without drawing it to scale, only to realize too late that it makes the room feel cramped, blocks a walkway, or prevents a door from opening properly.
Your Blueprint for a Better Bathroom
A renovation is a chaotic process, but your planning doesn’t have to be. A detailed bathroom drawing is your anchor, a clear, deliberate plan that guides every decision that follows. It’s the step that transforms a vague idea of a “nicer bathroom” into a functional, beautiful space tailored perfectly to your life.
Stop just pinning pictures of dream bathrooms. Open a design tool, plug in your measurements, and start dragging and dropping fixtures. Experiment with layouts, play with finishes, and see your vision come to life on the screen. This is where your perfect bathroom begins—not with a hammer, but with a plan.

- Bathroom Drawing Tools Help You Plan Your Ideal Layout - October 4, 2026
- Find Bathroom Stores Nearby For Your Home Remodel - October 3, 2026
- Browse Bathroom Cabinet Showrooms Near Me for Your Home - October 2, 2026