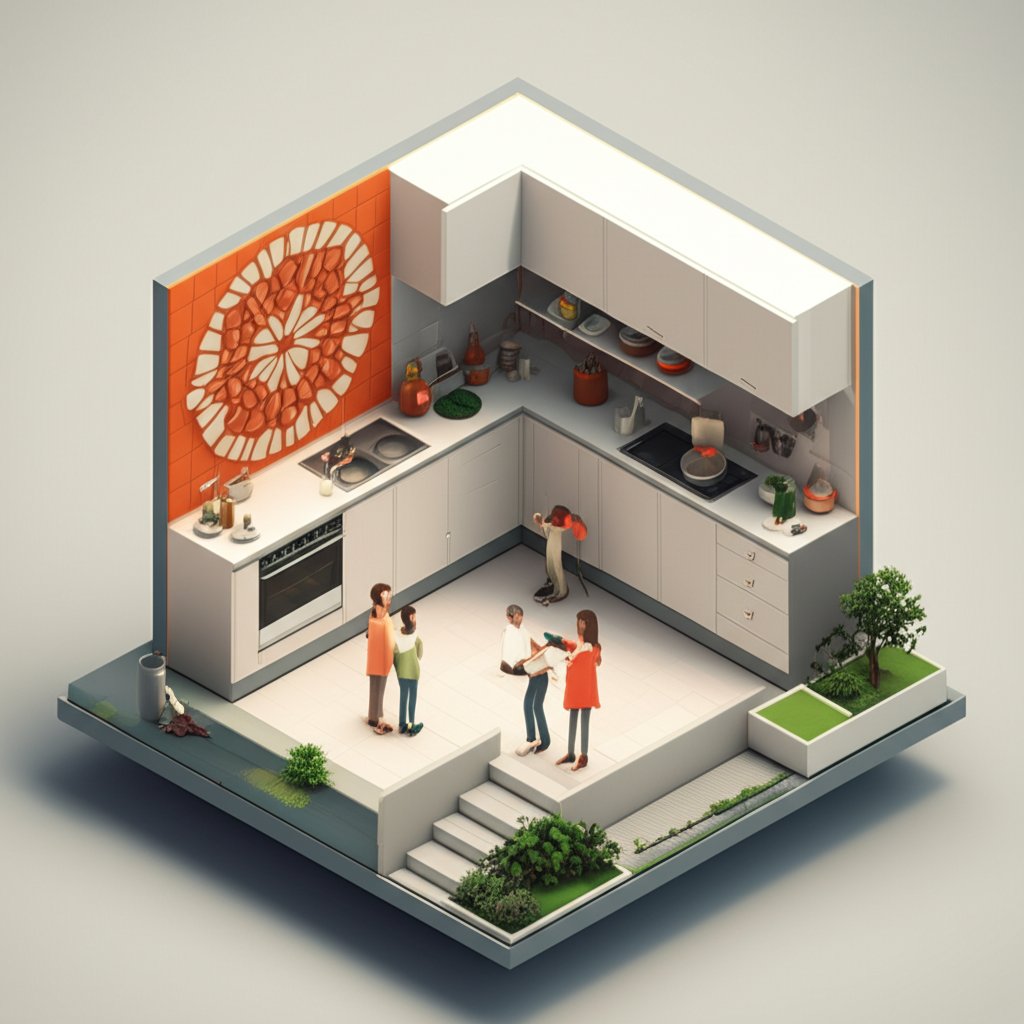
Choosing the right stove backsplash design is more than just aesthetics—it’s about protecting your walls from inevitable splatters and grease. The perfect backsplash is durable, easy to clean, and complements your kitchen’s overall style.
At a glance:
- Explore the best materials (tile, glass, stainless steel, stone) suited for the high-heat cooking zone.
- Learn how to balance form and function, creating a design that’s both beautiful and practical.
- Discover DIY installation tips and when to call in a professional.
- Understand how to choose a backsplash that complements your existing kitchen décor.
- Get answers to common questions about backsplash height, cleaning, and maintenance.
Why Stove Backsplash Design Matters: Protection Meets Style
The area behind your stove takes a beating. Splatters, steam, and heat can quickly damage unprotected walls. A well-designed stove backsplash not only provides a crucial protective barrier but also serves as a focal point, enhancing your kitchen’s design. Functionally, it needs to withstand high temperatures and frequent cleaning. Aesthetically, it’s an opportunity to inject your personality and style into the heart of your home.
Material Selection: Key to Durability and Style
Choosing the right material is paramount. Consider these popular options:
- Ceramic Tile: A classic choice, tile is relatively inexpensive, comes in countless colors and patterns, and is easy to clean. Remember that grout lines can be challenging to maintain. For example, opting for larger tiles minimizes grout and simplifies upkeep.
- Glass: Offers a sleek, modern look and is non-porous (easy to clean!). Tempered glass is a must for heat resistance. Consider tempered glass panels, which are heat-resistant and easy to wipe down.
- Stainless Steel: A durable, heat-resistant, and easy-to-clean option favored by professional chefs. Stainless steel offers a contemporary, industrial vibe.
- Natural Stone (Granite, Marble, etc.): Adds luxury and sophistication. Requires sealing to prevent staining. Natural stone backsplashes will require specialized cleaning products to avoid long-term damage.
- Solid Surface Materials: Some designers prefer solid surface materials because there are no grout lines to clean.
Decision point: Which material aligns best with your cooking habits, budget, and kitchen style?
Harmonizing Backsplash Design with Kitchen Décor
Your stove backsplash design shouldn’t exist in isolation. It needs to complement your existing countertops, cabinets, and overall kitchen aesthetic.
- Color Palette: Coordinate colors or create a contrasting focal point. For example, a dark grey backsplash is visually striking and hides stains well.
- Texture: Introduce visual interest with textured tiles or natural stone.
- Style: Ensure the backsplash aligns with your kitchen’s style (modern, farmhouse, traditional, etc.). White backsplashes paired with gold hardware complement almost any kitchen style.
While it’s not necessary for your backsplash to exactly match your countertops, it should complement them. Think of your kitchen as a unified space, where all elements work together. You can find more design inspiration and broader context on how to create a stylish kitchen cooking zone Here are a few options, playing with slightly different angles: * Stylish Backsplash Ideas for Your Stove * Stovetop Backsplash Inspiration & Guide * Protect Your Kitchen: Backsplash Ideas * Find stovetop backsplash ideas here.
DIY vs. Professional Installation: Know Your Limits
Some backsplash materials are easier to install than others.
- DIY-Friendly: Peel-and-stick tiles and simple ceramic tiles can often be installed by DIYers with basic tools.
- Professional Recommended: Glass, stone, and intricate tile patterns typically require professional installation.
Consider your skill level, available time, and the complexity of the project. Incorrect installation can lead to costly repairs down the line.
Example: Installing subway tile is a manageable DIY project for many homeowners. However, installing a large marble slab requires specialized tools and expertise.
Height and Coverage: Protecting What Matters
The standard height for a stove backsplash is typically 15 to 24 inches, but this can vary depending on your kitchen design and stove type.
- Gas Ranges: Require more coverage due to higher heat output.
- Electric Ranges: May require less coverage.
Ensure the backsplash extends beyond the width of the stove, providing adequate protection from splatters. The goal is full coverage of the cooking area directly behind the stove.
Cleaning and Maintenance: Keeping Your Backsplash Pristine
Regular cleaning is essential to maintaining the beauty and longevity of your stove backsplash.
- Daily Wipe Down: Wipe down the backsplash after each use with a damp cloth to remove splatters and grease.
- Mild Soap Solution: Use a mild soap solution and a soft cloth for tougher stains.
- Avoid Harsh Chemicals: Harsh chemicals can damage the surface of some materials. Always check with the manufacturer of your backsplash before using any specific cleaning product.
- Grout Cleaning: Pay special attention to grout lines, as they can accumulate dirt and grime. Use a grout brush and a grout cleaner to keep them clean. Many homeowners use a baking soda paste to clean grout.
- Sealing: If using natural stone, make sure it is properly sealed to prevent stains.
Level Up: Adding Unique Design Elements
Beyond the basics, consider these design elements to make your stove backsplash truly stand out:
- Accent Tiles: Incorporate decorative accent tiles to add visual interest.
- Herringbone Pattern: A classic pattern that adds sophistication.
- Arched Backsplash: An arch-shaped backsplash adds a touch of architectural elegance.
- Contrasting Grout: Use contrasting grout to highlight the tile pattern.
- Marble Slab: A single marble slab behind the stove creates a luxurious, seamless look.
- Varying Tile Size: Use a different sized tile directly above the stove area to differentiate that cooking zone.
Quick tip: Even in a room with an extensive tile backsplash, think about choosing a different design for the area behind the stove to distinguish this zone of the kitchen.
Practical Playbook: Implementation Tips
Here’s a step-by-step guide to selecting and installing your stove backsplash:
- Assess Your Needs: Evaluate your cooking habits, budget, and kitchen style.
- Choose Your Material: Select a material that is durable, heat-resistant, and easy to clean.
- Measure Your Space: Accurately measure the area behind your stove to determine the required backsplash size.
- Design Your Backsplash: Choose a design that complements your kitchen décor.
- Gather Your Tools and Materials: If installing yourself, gather all necessary tools (tile saw, adhesive, grout, etc.).
- Install the Backsplash: Follow the manufacturer’s instructions carefully. For complex installations, hire a professional.
- Clean and Seal: Clean the backsplash thoroughly and seal it if necessary.
Stove Backsplash Design: Quick Answers to Common Questions
- Is a backsplash behind the stove really necessary? Absolutely! It protects your walls from heat, grease, and splatters.
- What are the best materials for a stove backsplash? Heat-resistant materials like stainless steel, tempered glass, ceramic tiles, and natural stone are popular choices.
- Can I use peel-and-stick tiles behind a stove? Peel-and-stick tiles can be used, but they may not be the best option for high-heat areas. Consider their heat resistance before installing.
- How high should the backsplash behind the stove be? Typically, 15 to 24 inches, but adjust based on your stove type and personal preference.
- How do I clean the backsplash behind the stove? Use a mild soap solution and a soft cloth. Avoid harsh chemicals.
- Does the backsplash need to match my countertops? While it doesn’t have to match, it should complement your countertops and overall kitchen style.
Actionable Close: Decide and Design it Right
Choosing the right stove backsplash design involves balancing practicality with aesthetics. By carefully considering material, design, and installation options, you can create a beautiful and functional space that enhances your cooking experience for years to come. Now, take the knowledge you have gained, assess your kitchen needs, and start planning your dream stove backsplash today.

- Vanity Mirror Lamp Elevates Your Daily Makeup Routine - July 20, 2026
- Lights for Mirror That Perfectly Illuminate Your Vanity - July 19, 2026
- Modern LED Wall Sconce Indoor Up Down Wall Lamp Offers Elegant Interior - July 18, 2026