Tired of the same old kitchen look? A glass mosaic backsplash is a simple yet impactful way to inject personality and light into your cooking space. These shimmering surfaces not only look fantastic but offer practical benefits, too.
At a glance:
- Discover how glass mosaic tiles brighten and visually expand your kitchen.
- Learn the best types of grout and adhesives for long-lasting installation.
- Explore unique design ideas and color palettes to match your style.
- Understand the maintenance secrets to keep your glass mosaic backsplash sparkling.
- Get answers to common glass mosaic backsplash questions and concerns.
Why Choose Glass Mosaic for Your Backsplash?
Glass mosaic backsplashes aren’t just pretty; they’re practical. Their inherent properties make them a superb choice for the demanding environment of a kitchen. Here’s what makes them shine:
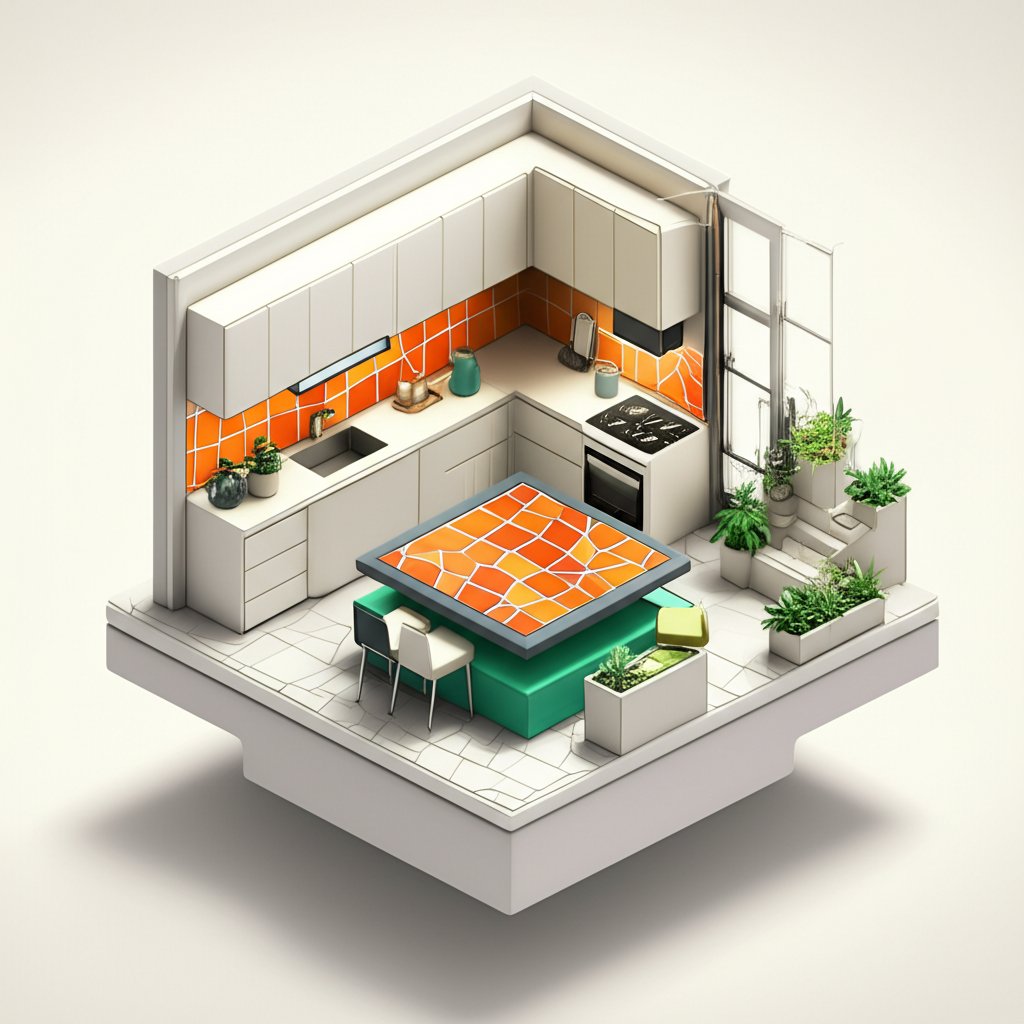
- Light Amplification: Glass reflects light, instantly making your kitchen feel brighter and more spacious, especially beneficial in smaller or darker kitchens. Imagine transforming a cramped galley kitchen into an airy, inviting space simply by adding a shimmering glass mosaic backsplash.
- Easy Maintenance: The non-porous surface of glass means spills and splatters won’t stain. A quick wipe with a damp cloth is usually all it takes to keep your backsplash looking its best.
- Moisture Resistance: Kitchens are prone to moisture. Glass is impervious to water, preventing mold and mildew growth, making it a hygienic choice.
- Heat Resistance: Tempered glass can withstand the heat from stoves and cooktops, making it a safe and durable option behind your range.
- Design Versatility: Glass mosaic tiles come in a dizzying array of colors, shapes, sizes, and finishes. From classic subway patterns to intricate geometric designs, the possibilities are endless.
Considering other options? Consider these options: * Glass Tile Kitchen Guide * Kitchen Glass Tile Ideas * Style Glass Kitchen Tiles * Glass Tile Kitchen Design** will give you a broader perspective.
Planning Your Glass Mosaic Backsplash: Key Considerations
Before diving into installation, careful planning is essential. This ensures a smooth process and a stunning final result.
- Measure Accurately: Precise measurements are crucial. Measure the height and width of the area you want to cover with the backsplash. Account for outlets, windows, or other obstructions. Add a little extra (around 10%) to your tile order to allow for cuts and breakage.
- Choose Your Tile: Glass mosaic tiles come in sheets or individual pieces. Sheeted mosaics are generally easier and faster to install. Consider the size of the tiles – smaller tiles create a more intricate look, while larger tiles offer a cleaner, more modern aesthetic.
- Select Grout & Adhesive: The right grout and adhesive are vital for a long-lasting backsplash.
- Adhesive: Use a modified thin-set mortar specifically designed for glass tiles. White thin-set is generally recommended to prevent the mortar color from affecting the tile color, especially with lighter-colored glass.
- Grout: Epoxy grout is highly recommended for glass mosaic backsplashes because it’s stain-resistant, waterproof, and durable. Cement-based grout is a more affordable option, but it requires sealing to prevent staining and water damage. Consider a light-colored grout to allow the mosaic tiles to be the focal point.
- Design & Pattern: Think about the overall style of your kitchen. Do you want a bold statement or a subtle accent? Consider the color of your cabinets, countertops, and flooring when choosing your mosaic pattern. Popular patterns include:
- Subway: A classic, timeless choice.
- Herringbone: Adds a touch of sophistication.
- Stacked: A modern, minimalist look.
- Random: Creates a unique, artistic feel.
- Lighting: Consider how the lighting in your kitchen will affect the appearance of the backsplash. Glass tiles can reflect light differently depending on the angle and intensity. Test different lighting scenarios to see how the tiles look at different times of day.
Step-by-Step Installation Guide
While professional installation guarantees a flawless finish, a DIY approach is possible for experienced homeowners.
- Prepare the Surface: Ensure the wall is clean, dry, and free of any loose paint or debris. Repair any imperfections with drywall compound and sand smooth. Prime the surface with a suitable primer.
- Layout the Tiles: Before applying any adhesive, dry-fit the mosaic sheets to ensure a proper fit and alignment. Adjust as needed. This is the time to plan your cuts around outlets and other obstacles.
- Apply Adhesive: Using a notched trowel, apply a thin, even layer of thin-set mortar to the wall. Work in small sections to prevent the mortar from drying out.
- Set the Tiles: Press the mosaic sheets firmly into the mortar, ensuring they are level and aligned. Use a grout float to gently tap the tiles into place.
- Cut Tiles (if needed): Use a wet saw or tile nippers to cut tiles to fit around outlets, windows, or corners.
- Grout the Tiles: After the mortar has cured (usually 24-48 hours), apply grout to the tile surface using a grout float. Work the grout into the joints, ensuring they are completely filled.
- Clean the Tiles: After the grout has set slightly (about 15-30 minutes), use a damp sponge to remove excess grout from the tile surface. Rinse the sponge frequently.
- Polish the Tiles: Once the grout has completely cured (usually 24-72 hours), polish the tiles with a soft cloth to remove any remaining grout haze.
Common Pitfalls to Avoid:
- Using the wrong adhesive: This can lead to tiles falling off or discoloration of the glass.
- Applying too much adhesive: This can squeeze between the tiles and make grouting difficult.
- Not allowing the mortar or grout to cure properly: This can weaken the bond and lead to cracking or crumbling.
- Using abrasive cleaners: These can scratch or damage the glass surface.
Design Ideas & Color Palettes
The beauty of glass mosaic lies in its design flexibility. Here are some ideas to spark your creativity:
- Monochromatic Magic: Choose varying shades of a single color for a subtle, sophisticated look. For example, use different tones of blue to create a calming, ocean-inspired backsplash.
- Bold Contrast: Pair dark cabinets with a light-colored glass mosaic backsplash for a striking visual contrast.
- Metallic Accents: Incorporate metallic glass tiles (gold, silver, bronze) to add a touch of glamour and luxury.
- Ombre Effect: Create a gradient effect by using progressively lighter or darker shades of glass tiles.
- Feature Strip: Use a band of decorative glass mosaic tiles as a focal point against a backdrop of plain tiles.
- Mix and Match: Combine different sizes, shapes, and colors of glass tiles for a unique, eclectic look.
Color Palette Inspiration: - Coastal: Blues, greens, sandy beiges, and whites evoke a beachy feel.
- Modern: Grays, blacks, whites, and silvers create a sleek, minimalist aesthetic.
- Rustic: Earth tones, browns, greens, and coppers lend a warm, inviting vibe.
- Mediterranean: Blues, yellows, oranges, and terracotta create a vibrant, sun-drenched atmosphere.
Maintaining Your Glass Mosaic Backsplash
Regular cleaning is key to keeping your glass mosaic backsplash looking its best. Here are some tips:
- Wipe up spills immediately: This prevents stains from setting.
- Use a mild detergent and a soft cloth: Avoid abrasive cleaners or scouring pads, which can scratch the glass.
- Clean grout regularly: Use a grout brush and a grout cleaner to remove dirt and mildew.
- Seal cement-based grout: Apply a grout sealer every 1-2 years to prevent staining and water damage.
Quick Answers: Common Questions About Glass Mosaic Backsplashes
- Are glass mosaic backsplashes expensive? Glass mosaic tiles can be more expensive than ceramic or porcelain tiles. However, their durability and aesthetic appeal often make them a worthwhile investment.
- Are glass mosaic backsplashes difficult to install? While DIY installation is possible, it requires patience and attention to detail. If you’re not comfortable with tiling, it’s best to hire a professional.
- Can I use glass mosaic tiles behind my stove? Yes, as long as the glass is tempered and heat-resistant.
- What is the best way to clean glass mosaic tiles? Use a mild detergent and a soft cloth. Avoid abrasive cleaners or scouring pads.
- Will the color of the thin-set mortar affect the color of the glass tiles? Yes, especially with lighter-colored glass. Use a white thin-set mortar to prevent any discoloration.
Your Glass Mosaic Backsplash Playbook: A Quick Start
Ready to transform your kitchen? Here’s a simplified path to get you started:
- Measure and Budget: Accurately measure your backsplash area and set a realistic budget considering tile cost, adhesive, grout, and potential labor.
- Tile Selection: Gather samples aligning with your kitchen’s style, paying attention to color, shape, and finish.
- Grout & Adhesive Decisions: Select epoxy grout for its stain resistance or cement-based with sealer for cost savings. Opt for white, modified thin-set mortar for glass tiles.
- Installation Type: DIY if experienced, otherwise, get quotes from local installers (check reviews!).
- Enjoy the Transformation: Properly maintain your backsplash with appropriate cleaners for years of enjoyment.