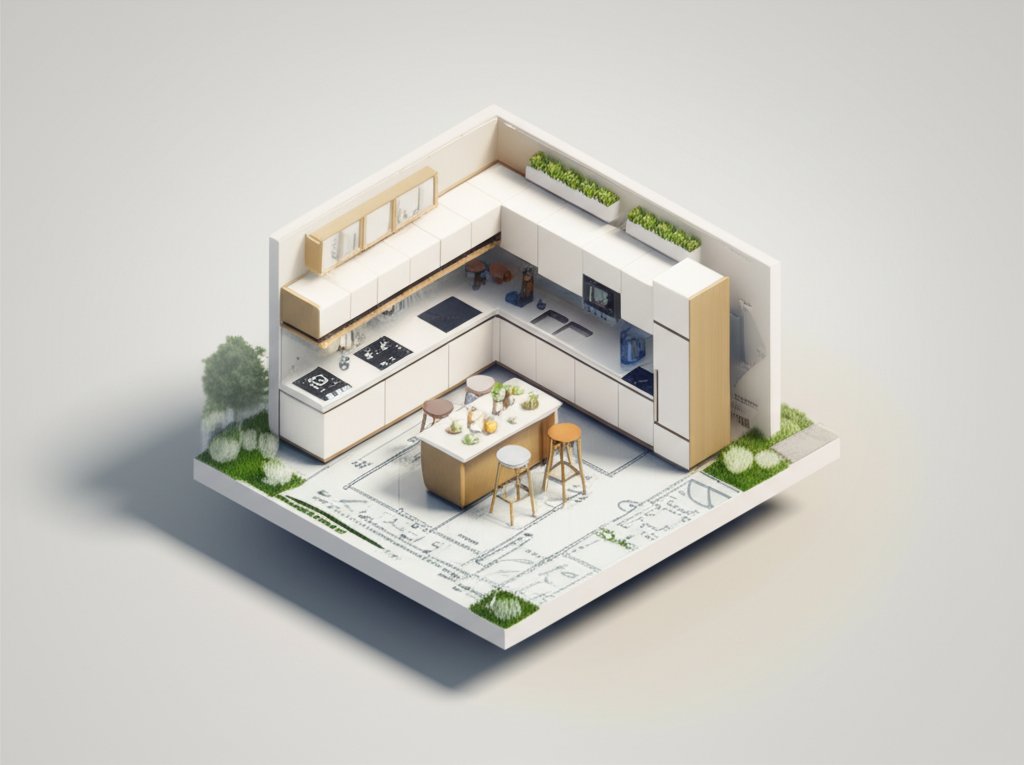
Imagine your dream kitchen: a central hub where cooking, conversation, and casual meals effortlessly blend. Often, this dream includes a beautiful and functional kitchen island. The good news is, you don’t need to spend a fortune on custom cabinetry. With the right kitchen island blueprints, you can build your own, tailored to your exact needs and style.
At a glance:
- You can significantly increase counter and storage space by adding a kitchen island.
- Numerous free plans are available online, catering to diverse needs and styles.
- These plans provide detailed instructions, material lists, and customization options.
- DIY islands are often more affordable than pre-built options, especially if you already have some building experience.
- Consider factors like kitchen size, traffic flow, and desired features when choosing a blueprint.
Why a Kitchen Island is a Game-Changer
Kitchen islands aren’t just trendy; they’re incredibly practical. Beyond aesthetics, they offer tangible benefits:
- Increased Counter Space: Prep meals with ease and have room for multiple cooks.
- Enhanced Storage: From pots and pans to cookbooks, islands provide valuable storage solutions.
- Social Hub: Create a gathering spot for family and friends.
Whether you envision a farmhouse-style island with open shelving or a modern design with hidden storage, blueprints can bring your vision to life.
Finding the Perfect Kitchen Island Blueprints: Know Before You Build
Before diving into blueprints, consider these key factors:
- Kitchen Size and Layout: Measure your kitchen meticulously. Leave ample space (at least 42 inches) between the island and surrounding cabinets for comfortable movement. A smaller kitchen might benefit from a kitchen cart, which combines counter and storage space with mobility.
- Functionality: How will you use the island? For food prep, casual dining, or both? This will influence the size, features (sink, seating), and storage solutions you choose. Popular kitchen island plans offer varied designs to suit diverse needs.
- Budget: Building your own island can be cost-effective, but costs can vary widely based on materials and complexity. Factor in lumber, hardware, countertops, and any appliances you plan to incorporate.
- Skill Level: Be honest about your DIY abilities. Some blueprints are simpler than others. Start with a beginner-friendly plan if you’re new to woodworking.
Minimum Size and Space Requirements
In most cases, an island should be at least 36 inches tall and 2 x 4 feet in surface space. Ensure a galley space (the space between the island and cabinets) of at least 42 inches. If you plan to add seating, allocate at least 20 to 24 inches of countertop length per stool. A standard countertop overhang is usually 1 ½ inches.
Decoding Kitchen Island Blueprints: What to Expect
A good set of kitchen island blueprints will include:
- Detailed Drawings and Measurements: Clear diagrams showing all dimensions and component placement.
- Material List: A comprehensive list of lumber, hardware, and other materials needed.
- Cutting List: A detailed breakdown of the sizes and quantities of each piece of wood you’ll need to cut.
- Step-by-Step Instructions: Clear, concise instructions that guide you through the building process. Photos or illustrations can be especially helpful.
- Tool List: A list of the tools you’ll need for the project (saw, drill, screwdriver, etc.).
- Estimated Cost: A rough estimate of the total cost of the project.
Free Kitchen Island Blueprints: A Treasure Trove of Options

The internet is brimming with free kitchen island blueprints. Here are some popular sources and examples:
- PopularMechanics: Offers plans designed to not look like a “cabinet in the middle of the kitchen,” complete with a PDF download containing a material list and step-by-step instructions.
- HGTV: Provides designs using kitchen cabinets, often incorporating casters for mobility. These plans include materials, tools, and assembly instructions. If you seek initial ideas, this can be a great start.
- DIY Network: Can offer plans using stock cabinets and a simple frame, complete with material, cut, and tool lists, along with cost estimates, pictures, and drawings.
These free plans offer a wealth of inspiration and can be easily modified to fit your specific needs.
DIY Island Transformation: Turning Existing Furniture into a Kitchen Island
Don’t underestimate the power of repurposing! An old bookshelf can become a surprisingly stylish and functional kitchen island.
Here’s how:
- Choose a sturdy bookshelf: Select one that’s the right size and height for your kitchen.
- Prepare the bookshelf: Remove the back panel, paint it your desired color, and consider adding decorative elements like shiplap-style sides using plywood.
- Create a countertop: Stain a piece of wood to your liking and attach it to the top of the bookshelf to serve as the island’s surface.
- Customize: Add storage (baskets, drawers) or a towel rack.
The beauty of this approach is that you can fully customize the island to your preferred design and color scheme. Taller bookcases can even be shortened to the required height.
Building with Stock Cabinets: A Semi-Custom Approach
Using prefabricated cabinet boxes is another popular way to create a DIY kitchen island. This method offers a balance between cost savings and customization.
Here’s the process:
- Choose your cabinets: Select cabinets that fit your desired size and storage needs. Three cabinet boxes can often form the base of a functional island.
- Position and secure the cabinets: Arrange the cabinets in your desired layout and attach them securely to each other and the floor.
- Build a frame (optional): If you want to add a decorative element or create a larger island, build a frame around the cabinets using lumber.
- Install a countertop: Choose a countertop material that complements your kitchen’s style (butcher block, granite, quartz) and install it on top of the cabinets.
- Add finishing touches: Install hardware (knobs, pulls), paint or stain the cabinets and frame, and add any additional features you desire (seating, outlets).
Customizing Your Kitchen Island Blueprints: Make it Your Own
The beauty of DIY is the ability to personalize. Don’t be afraid to modify existing kitchen island blueprints to suit your specific needs and preferences.
Here are some ideas:
- Adjust the size and shape: Enlarge or shrink the island to fit your kitchen perfectly. Consider adding a curved edge or a unique shape for visual interest.
- Choose different materials: Experiment with different types of wood, countertops, and hardware to create a unique look.
- Add custom storage solutions: Incorporate pull-out drawers, spice racks, or wine storage to maximize functionality.
- Incorporate seating: Add an overhang to the countertop and install bar stools for a casual dining area.
- Integrate appliances: Consider adding a sink, cooktop, or wine fridge to the island. (Note: This requires plumbing and electrical work, which may require professional help.)
Key Considerations Before You Start Building

Before you even pick up a saw, make sure you’ve thoroughly considered these points:
- Building Codes and Permits: Check your local building codes to see if you need a permit for your kitchen island project, especially if you’re adding plumbing or electrical components.
- Electrical Outlets: Plan for electrical outlets on the island, especially if you intend to use appliances or charge devices there. This will likely require hiring a licensed electrician.
- Plumbing (if applicable): If you’re adding a sink or dishwasher, you’ll need to run plumbing to the island. This is a job best left to a professional plumber.
Troubleshooting Common DIY Kitchen Island Problems
Even with the best blueprints, challenges can arise. Here are some common issues and how to address them:
- Uneven Surfaces: Use shims to level the island if your floor is uneven.
- Wobbly Island: Ensure the island is securely attached to the floor. Use screws or bolts to anchor it to the subfloor.
- Countertop Installation: Take your time and carefully measure and cut the countertop to ensure a perfect fit. Consider hiring a professional to install the countertop if you’re not comfortable doing it yourself.
- Cabinet Doors Not Aligning: Adjust the hinges to align the cabinet doors properly.
Adding Value to Your Home With a Kitchen Island
A well-designed and built kitchen island can significantly increase the value of your home. It enhances the kitchen’s functionality, aesthetics, and overall appeal.
Here’s how:
- Increased Functionality: A kitchen island provides additional counter space, storage, and seating, making the kitchen more practical and user-friendly.
- Improved Aesthetics: A stylish and well-designed island can become a focal point of the kitchen, enhancing its overall aesthetic appeal.
- Enhanced Appeal to Buyers: A kitchen island is a desirable feature for many homebuyers, making your home more attractive to potential buyers.
Beyond the Build: Accessorizing Your Kitchen Island
Once your island is built, it’s time to accessorize and add those personal touches that make it truly your own.
Here are some ideas:
- Bar Stools: Choose bar stools that complement the island’s style and height.
- Lighting: Install pendant lights above the island to provide task lighting and ambiance.
- Storage Baskets: Use storage baskets to organize items on open shelves.
- Cutting Boards: Keep a stylish cutting board on the countertop for easy access.
- Centerpiece: Add a vase of flowers or a decorative bowl to create a focal point.
Taking the Plunge: Next Steps
Ready to bring your kitchen island dreams to life? Here’s a step-by-step guide:
- Research and Choose Your Blueprints: Browse online resources and select blueprints that match your needs, skill level, and budget. Crafting Your Kitchen Island requires meticulous planning.
- Gather Your Materials and Tools: Create a comprehensive list and purchase everything you’ll need.
- Prepare Your Workspace: Clear a space in your garage or backyard where you can work comfortably.
- Follow the Instructions Carefully: Read the blueprints thoroughly and follow the instructions step-by-step.
- Don’t Be Afraid to Ask for Help: If you get stuck or encounter a problem, don’t hesitate to ask a friend, family member, or professional for assistance.
Building a kitchen island is a rewarding DIY project that can transform your kitchen and add value to your home. With the right kitchen island blueprints and a little bit of elbow grease, you can create the kitchen of your dreams.
- Glass Mosaic Kitchen Backsplash: Add Shimmer and Style - December 9, 2025
- Glass Mosaic Backsplash: A Stylish Upgrade For Your Kitchen - December 8, 2025
- Glass Tile Shower Ideas to Create a Stunning Bathroom Space - December 7, 2025


