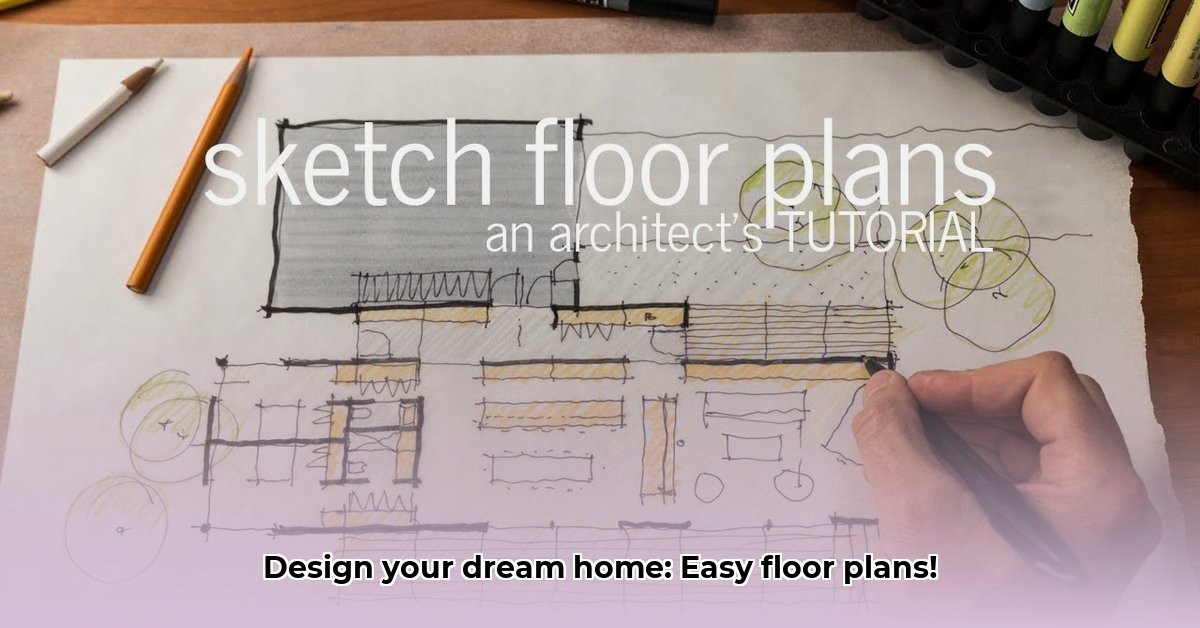
Ready to design your dream space? Whether you’re renovating, building, or just daydreaming about your perfect layout, knowing how to draw a floor plan is a game-changer. This guide shows you how to create amazing floor plans – whether you prefer the traditional pencil-and-paper method or the modern digital route using tools like Canva. We’ll walk you through measuring, drawing walls, adding details, and even share tips and tricks for both approaches. Discover the pros and cons of each method to choose what’s best for you. For more detailed guidance on measurements, check out this helpful resource on floor plan measurements. Get ready to turn your ideas into a real plan!
Creating a Floor Plan: A Beginner’s Guide
Dreaming of redesigning your home but not sure where to start? Creating a floor plan is the perfect first step! It’s easier than you think, and it lets you visualize your space before you even lift a hammer. Let’s explore two approaches: the classic manual method and the convenient digital route. Let’s dive in and explore floor plan design options!
Manual Drafting: The Traditional Approach
For those who appreciate the feel of pencil on paper and enjoy a hands-on method, manual drafting is a great option. It can be a creative puzzle, and the feeling of accomplishment when it’s complete is unbeatable. Let’s get started!
Step 1: Gather Your Supplies
You’ll need a few essential tools. Grab some graph paper (the grid simplifies accuracy!), a ruler or architect’s scale, a selection of pencils (a harder one for light sketching, a softer one for bolder lines), a good eraser, and a pencil sharpener. A triangle can also be useful for drawing crisp, accurate lines.
Step 2: Measure Your Space
Accuracy is crucial! Use your measuring tape to carefully measure every wall, window, and door. Note down every measurement meticulously. Don’t forget those alcoves or corners – details matter! Sketching a rough outline of the room and noting measurements on the sketch can be a great way to keep track of everything.
Step 3: Sketching the Basic Framework
Using your ruler and graph paper, carefully draw the exterior walls to scale. Pay close attention to your measurements. Next, add interior walls, ensuring they’re accurately placed according to your measurements.
Step 4: Adding the Details
Now for the fun part! Add doors, windows, and built-in features like fireplaces or cabinets. Use standard architectural symbols for doors and windows, or create your own legend. Remember to label each room clearly. Add details like the swing direction of doors.
Step 5: Refine and Review
Once the basic layout is done, take another look at your sketch. Make any necessary adjustments. Erase any unnecessary lines and darken the final lines to make the plan clear and easy to read.
Digital Drafting: Efficiency and Flexibility
If you prefer a faster, more adaptable approach, digital drafting is your best option. There are many user-friendly programs available. Here’s how to get started with a digital tool:
Step 1: Setting Up Your Digital Workspace
Many free or low-cost online tools can help you create floor plans quickly and easily. Create an account, explore the interface, and familiarize yourself with the tools. Look for features like drag-and-drop elements, pre-set scales, and measurement tools.
Step 2: Starting Your Design
Choose a blank canvas or select a template to get you started. Many tools have pre-made elements such as walls, doors, and windows, that can assist in the design process.
Step 3: Building Your Digital Home
Use the program’s drag-and-drop features to add walls, doors, and windows. Input the dimensions for each element to ensure accuracy. Some tools even have furniture you can drag into place.
Step 4: The Advantages of Digital Measurement
The benefit of digital tools is their measurement functionalities. These tools make it easy to maintain accurate scaling throughout your plan.
Step 5: Sharing Your Vision
Many design programs make it simple to share your plan with others. Invite friends or family to collaborate on your design, or export the plan as a PDF or image file.
Weighing Your Options: Manual vs. Digital
Choosing between manual and digital drafting depends on your priorities. Let’s compare:
| Feature | Manual Drafting | Digital Drafting |
|---|---|---|
| Cost | Low – just basic supplies | Free (for many basic features), paid options for advanced features |
| Time | Can be slower | Generally faster and more efficient |
| Accuracy | Relies on your precision with measurements | High accuracy with in-built tools |
| Ease of Use | Requires familiarity with drawing techniques | User-friendly, even for beginners |
| Collaboration | Difficult, requires physical sharing | Easy, real-time collaboration possible |
| Detail Level | High, allows for precise, customized details | Varies depending on the program’s features |
| Revisions | Requires redrawing | Easy to make changes and revisions |
Finding the Perfect Fit for You
Still not sure which method is right for you? Ask yourself these questions:
- Do I prefer working with my hands or using a computer?
- How much time do I have available for this project?
- Do I need to share my floor plan with others?
- How important is extreme accuracy to my project?
Experiment with both manual and digital methods to see which you prefer. Drawing a floor plan should be a rewarding process.
How to Accurately Scale a Floor Plan
Scaling a floor plan is crucial for creating functional and visually appealing designs.
Key Takeaways:
- Accurately scaling a floor plan is essential for creating realistic and useful designs.
- Both manual and digital methods offer advantages.
- Choosing the right method depends on your skills, the project, and desired precision.
- Accurate measurements are essential regardless of the chosen method.
- Mastering scaling techniques enhances your design process and helps avoid mistakes.
Manual Drafting: The Traditional Approach
Ready to embrace the pencil and paper method? Let’s dive in!
-
Gather Your Supplies: You’ll need graph paper, a ruler, a pencil, an eraser, a measuring tape, and an architect’s scale.
-
Measure Your Space: Measure each wall carefully, noting length and width. Record everything meticulously. Don’t forget odd angles or recesses.
-
Choose Your Scale: This defines how your measurements translate to paper. A common scale is ¼” = 1′. This means every ¼ inch on your paper represents one foot in reality.
-
Draw the Walls: Lightly sketch the outer walls first. Use your chosen scale to accurately represent each wall’s length. Use the graph paper’s grid for assistance.
-
Add Doors and Windows: Mark their locations and sizes according to your scale. Use standard symbols or label each.
-
Include Furniture (Optional): If you’re planning furniture placement, measure and represent it to scale.
Digital Drafting
Digital drafting streamlines the process.
-
Choose Your Software: Many options exist, from free online tools to full-fledged CAD (Computer-Aided Design) software.
-
Start a New Project: Select a template or start from scratch. Some tools offer pre-set scales.
-
Add Your Measurements: Input the dimensions you collected earlier. The software will have built-in tools to manage scaling.
-
Place Walls, Doors, and Windows: Use the software’s drawing tools. Digital versions often offer “snap-to-grid” features for enhanced precision.
-
Add Furniture (Optional): Many programs feature furniture libraries to easily add items to scale.
Manual vs. Digital: A Comparison
| Feature | Manual Drafting | Digital Drafting |
|---|---|---|
| Accuracy | Relies on precise manual measurement | Software provides accurate scaling |
| Time Efficiency | Time-consuming | Faster and more efficient |
| Modification | Difficult to modify | Easy to modify and adjust |
| Cost | Lower initial cost | May involve software subscriptions |
| Skill | Requires knowledge of drafting techniques | User-friendly interfaces, shorter learning curve |
Tips for Success
- Always double-check your measurements.
- Use a consistent scale throughout the plan.
- Label all elements clearly.
- Consider using architectural symbols to represent common features.
- Don’t be afraid to experiment and try different approaches.
Understanding how to draw a floor plan, whether manually or digitally, allows you to bring your vision to life.
- Gray Kitchen Backsplash Ideas: Find Your Perfect Gray Tile - December 11, 2025
- Glass Wall Tiles For Bathroom: A Stylish, Durable Choice - December 10, 2025
- Glass Mosaic Kitchen Backsplash: Add Shimmer and Style - December 9, 2025


